Everest Gokyo Lake Trek
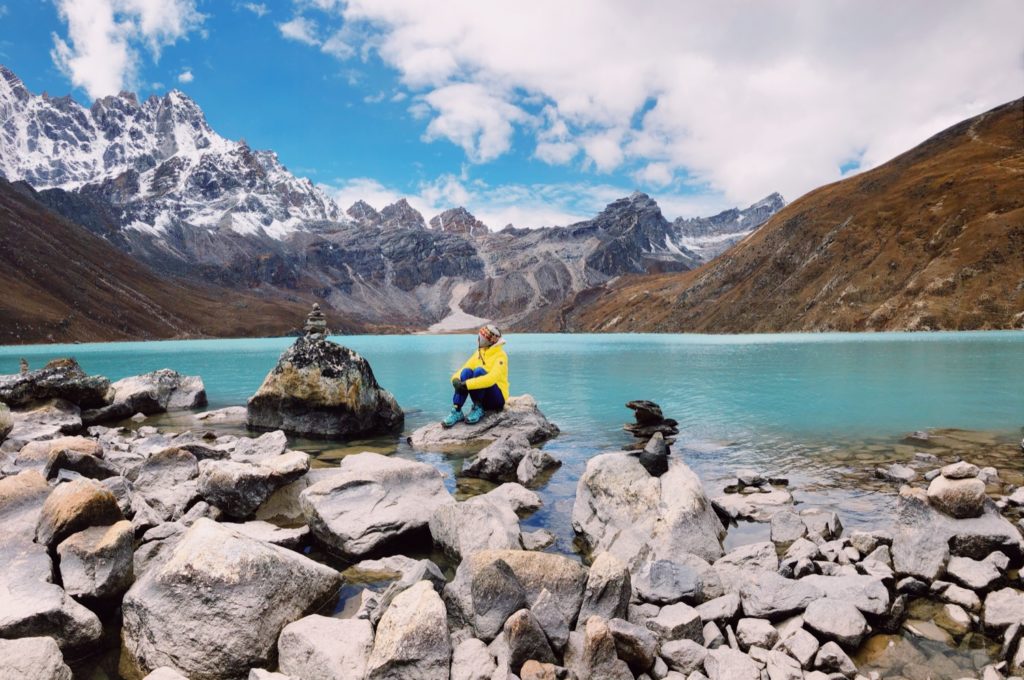
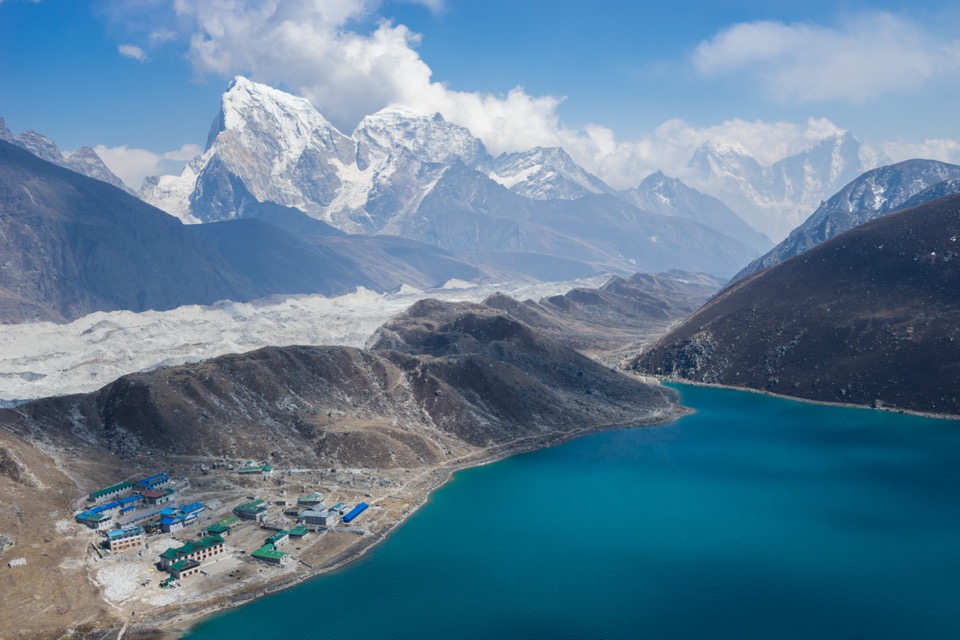
There is not just one Gokyo Lake but six in total, which all fall under the umbrella name of Gokyo. The lakes lie in the Khumbu Region (also known as the Everest Region) of Nepal. The trail starts and ends following the main trekking route in and out of Namche Bazaar. But it also takes you up to Gokyo Ri. At 5,357m, Gokyo Ri is a great viewpoint with a panorama view of the Himalayan mountains and lakes as well as glaciers.
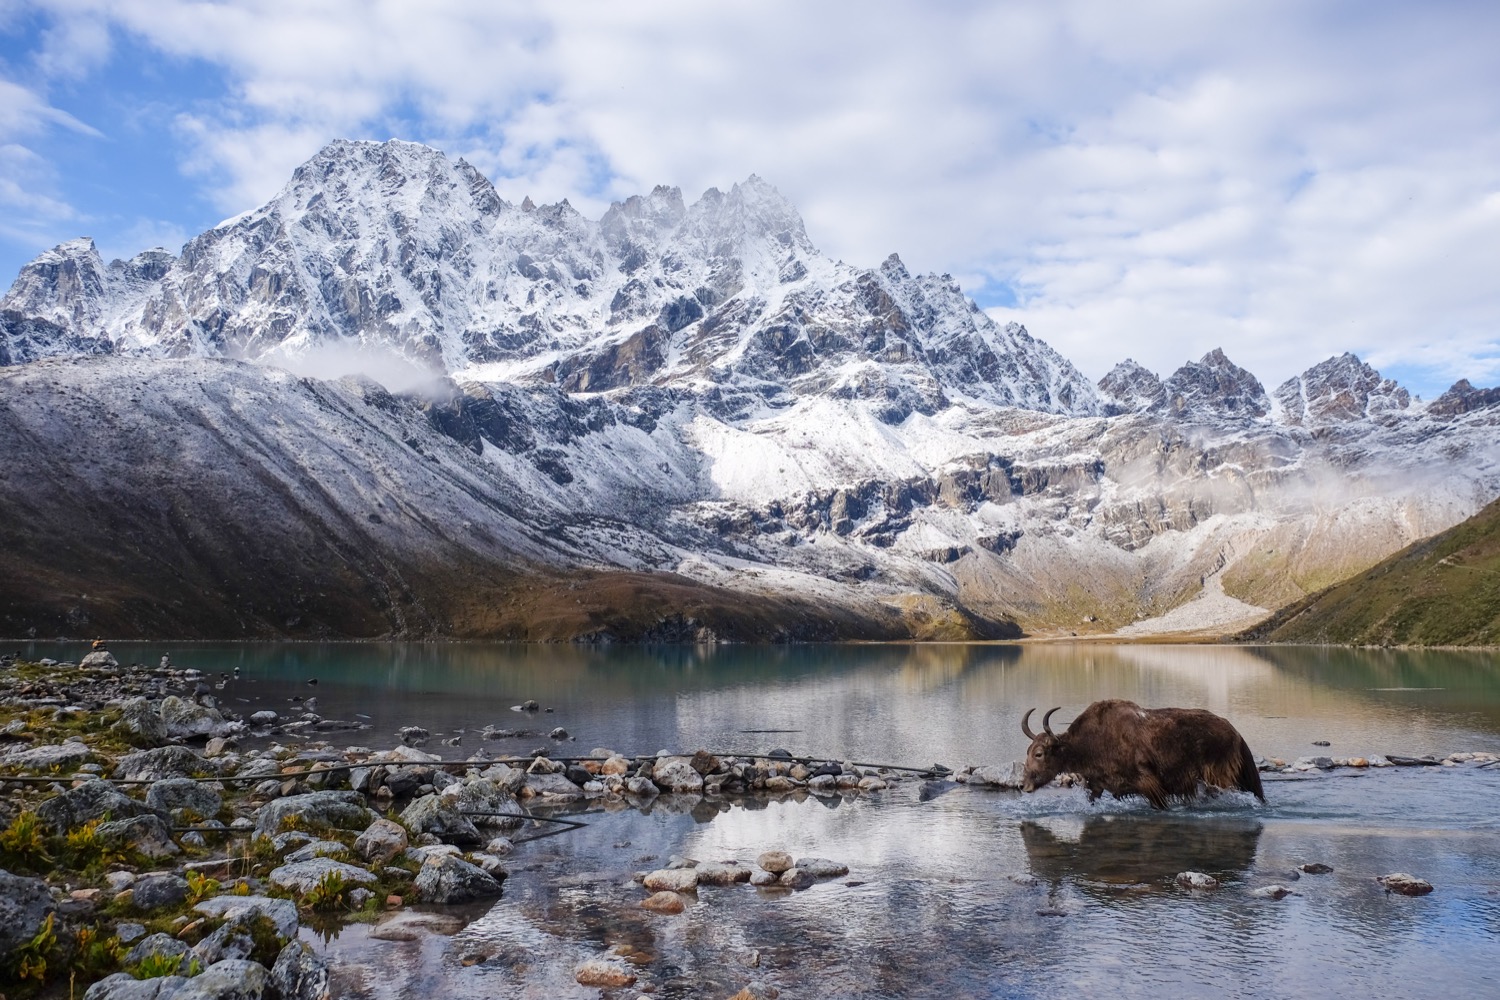
Table of contents
- Everest Gokyo Lake Trek
- Logistics for Gokyo Lake Trek
- Best Time to do the Gokyo Lake Trek – What to Expect Weather Wise
- How much does it Cost to do the Gokyo Lake Trek?
- What is the Accommodation like on the Gokyo Lake Trek?
- What to Eat on the Gokyo Trek
- Day by Day Itinerary for the Gokyo Lake Trek
- What is the Difference Between Trekking to Gokyo Lake Alone or with a Trekking Company?
- Individual Trekking to Gokyo Lake
- Trekking through an Agency
- Summing Up
How to Reach Gokyo Lake?
The only way to reach Gokyo Lake is to trek. Or pass over on the Everest Base Camp Helicopter Tour. But first, of course, you have to reach the Everest Region. And the easiest way to do that is to fly into Lukla from Kathmandu.
If you are trekking with a group or trekking individually (without using a trekking company) the flight is the same – 40 minutes from the Kathmandu domestic terminal to Hillary Tenzing Airport at Lukla. An exhilarating mountain flight to kick-start your trekking adventure.
Let me repeat here what I have said many times to those who are not using a trekking agency: –
“When you arrive, assuming the flight is on time, it is still early morning. Looking at the fact the first overnight stop in Phakding, is only a 3 or 4 hours hike away, it is very tempting to set out to go directly on to Namche Bazaar (about another 4 hours walk) and miss out on Phakding. Do NOT be tempted! You have just flown from Kathmandu at an elevation of 1,400m. Namche lies at 3,440m. This is too much for your body to adjust to on your first day.”
Logistics for Gokyo Lake Trek
Before I explain how to reach the Gokyo Lake trek from Lukla airport let me tell you a bit about the logistics of the trek.
Permits for the Trek
There is no getting away from buying the two permits you need for this region:
• Sagarmatha National Park Entry Permit: NPR 3,000 or roughly USD 30
• Khumbu Pasang Lhamu Rural Municipality Entrance Permit (the local government of the Khumbu Region): NPR 2,000 or roughly USD 20
If you are travelling through an agency, they will organize the permits for you.
If you are travelling individually, you can get the permits in Kathmandu or on the trek.
Best Time to do the Gokyo Lake Trek – What to Expect Weather Wise
This is another frequently asked question I hear time and time again “what is the best time to visit Gokyo Lake?” Like the rest of the Everest Region, the best time to head to the Gokyo Lake trek is in the spring (March to May) and autumn (September to December). These are also the main trekking seasons so expect to see lots of other hikers on the trails!
Weather: Clear skies and views. Warm(ish) at lower altitudes in the daytime but chilly in the mornings and evenings.
Why go in spring and autumn: All the lodges are open. There will be other trekkers to interact with and follow (if you are not going with a guide).
The downside of spring and autumn: The many many other trekkers! If you are travelling without a trekking agency you may find it hard to find accommodation and have to share a room or sleep in the dining room with others.
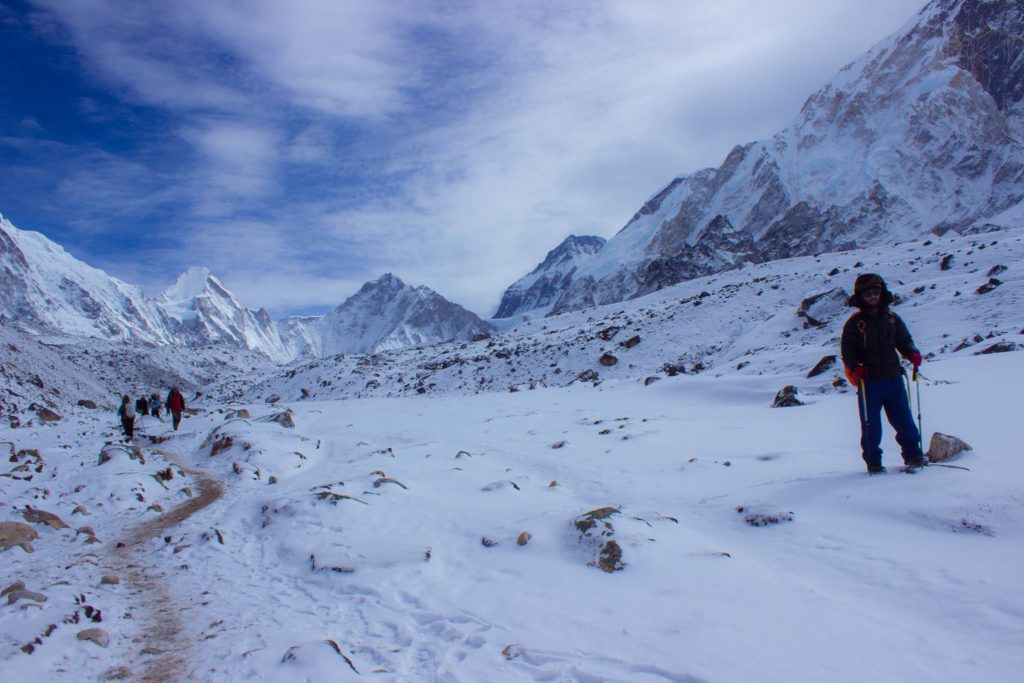
What about in winter: It is certainly less crowded in the winter but it is extremely cold! With chances of missing the trail if you are travelling without a guide. Some of the lodges will be closed as the locals go to lower altitudes for the winter. On the other hand, it will be very peaceful!
How much does it Cost to do the Gokyo Lake Trek?
The cost will depend on how you are doing the trek: individually, or through an international or local agency.
Flights: the costs are the same whether you go individually or through an agency. $170 one way.
Trekking agencies: international companies will charge you approximately USD3,000 to $6,000.
A local Nepali company will cost you around USD1,200 to $2,500.
**Please be aware some items are not included in the cost. Such as battery charging, hot showers, alcoholic drinks and extra food.
Individually: you should budget approximately USD 35 per day. Below is a rough indication as to where that $35 will go.
- • One meal: USD 5 to 6
- • A non-alcoholic drink: USD 2 to 5
- • An alcoholic drink: USD 6 to 10
- • One overnight accommodation: USD 5 to USD 150 (luxury lodges are only available in certain settlements)
- • A hot shower: USD 4
- • The cost of battery charge for your phone/camera etc. Electricity or solar: USD 2 to USD 6.
What is the Accommodation like on the Gokyo Lake Trek?
There are a few luxury lodges at the lower altitudes in Phakding, Lukla and Namche Bazaar. If you are booking through an agent please ask about the accommodation they have reserved for you. Obviously, you will pay more for that more luxurious room! At higher altitudes, all accommodation is pretty much the same. If you are travelling individually, then you are able to choose the lodge you want – if there is accommodation available that is. An agency will have organised that for you.
Here are some tips I also give to trekkers regarding accommodation on the trek: –
- Flights may be delayed at Lukla if the weather is not good. It can be very crowded and accommodation at a premium! Be prepared for this eventuality.
- You can trek a further 15 minutes to Dingboche if there are no rooms available at Tengboche.
- Take your own, clean and warm, sleeping bag!
What to Eat on the Gokyo Trek
All the treks (except camping treks) and lodges pretty much provide the same menu.
- Breakfast of noodles, porridge, bread and hot tea or coffee in your lodge.
- Lunch of dal bhat (rice and Nepali curry) at a teahouse on the trail.
- Dinner of Nepali and Western items such as soups, curry, and pizza in your lodge.
I would suggest you bring some snacks with you to have along the trail. And also, I recommend you avoid eating meat at the higher altitudes as it is probably not stored in a fridge. I also recommend not overindulging in alcohol – high altitudes make it work faster and harder! Trekking with a hangover is no fun. If you like bakery products, there are bakeries at Namche Bazaar, Lukla and Tengboche.
Day by Day Itinerary for the Gokyo Lake Trek
Whether trekking individually or trekking with a group, you will follow the same trail, visit the same settlements and see the same mountains!
Day 1:
Kathmandu to Lukla (Flight) to Phakding – 3 hours 2,651m / 8,697 ft at Phakding
It is an early morning start to fly into Lukla, one of the highest airports in the world. Stunning aerial views of the landscape and mountains! Then hike for approximately 3 hours to Phakding, your first night’s stop. Remember what I said about not pushing on, but resting here to let your body adjust!
Day 2:
Phakding to Namche Bazaar – 5-6 hours 3,238 m / 11,279 ft at Namche
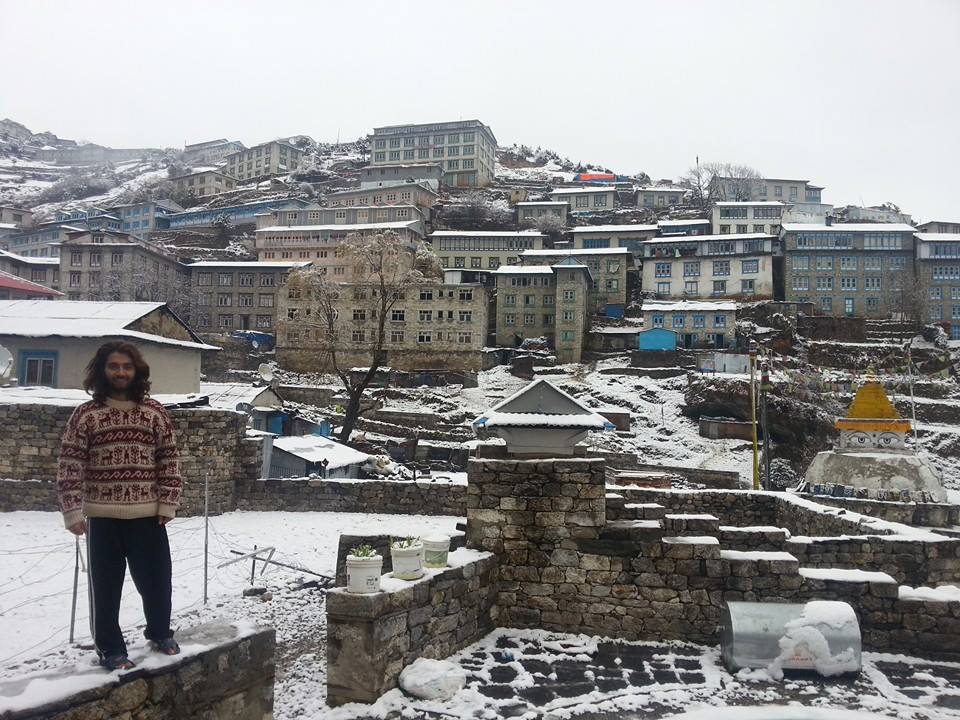
After breakfast set off for the market town of Namche Bazaar. On the way, you enter Sagarmatha National Park proper, cross a few more suspension bridges like you did the day before and walk through rhododendron forests. On reaching Namche you will see many other trekkers and climbers in this big market town.
Day 3:
Acclimatization Day in Namche Bazaar
It’s very important to stay in Namche today to let your body acclimatize. It’s especially important for those not travelling with a guide to obey this long-time rule! Don’t worry there are plenty of things to do – acclimatization day does not mean ‘stay in bed’ day.
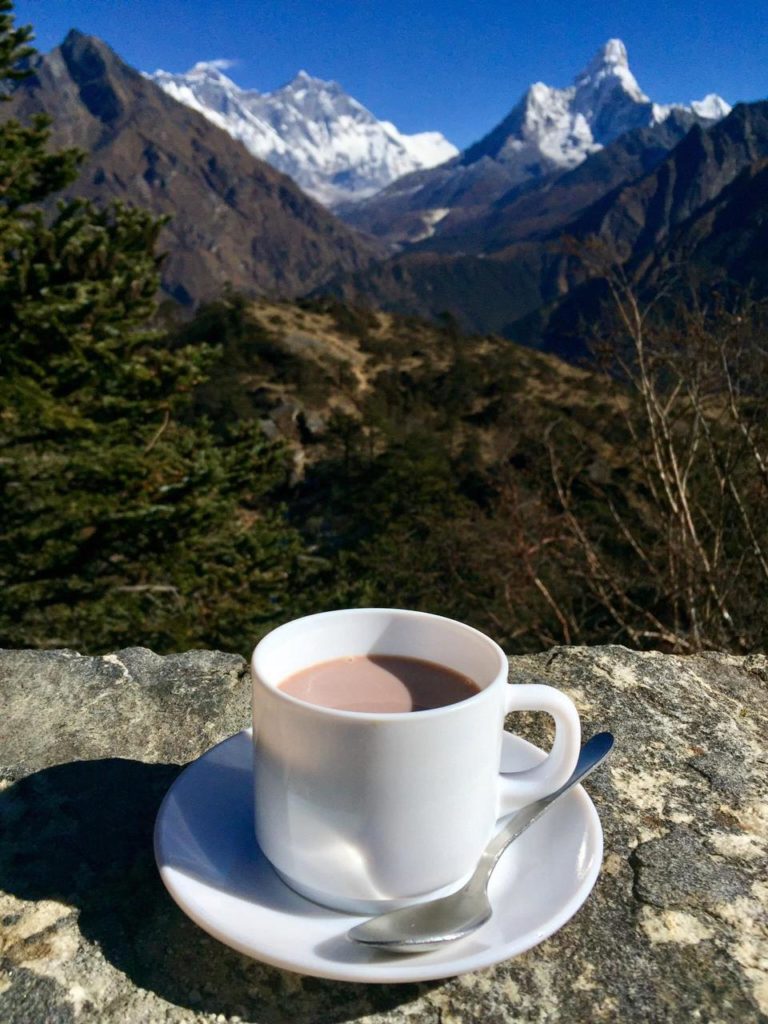
Head for the Everest View Hotel which has the finest views of Everest and great hot coffee! What a great way to start the day! From the hotel, continue on to Khumjung village with several interesting things to see.
Khunde Hospital was built in 1966 by Sir Edmund Hillary and is funded today by the Himalayan Trust. Nearby the Khumjung School was also set up by Sir Edmund. Finally, there is Khumjung Monastery which dates back hundreds of years although was reconstructed after the 2015 earthquake.
Day 4:
Namche Bazaar to Dole – 6 hours 3,680 m / 12,073 ft at Dole
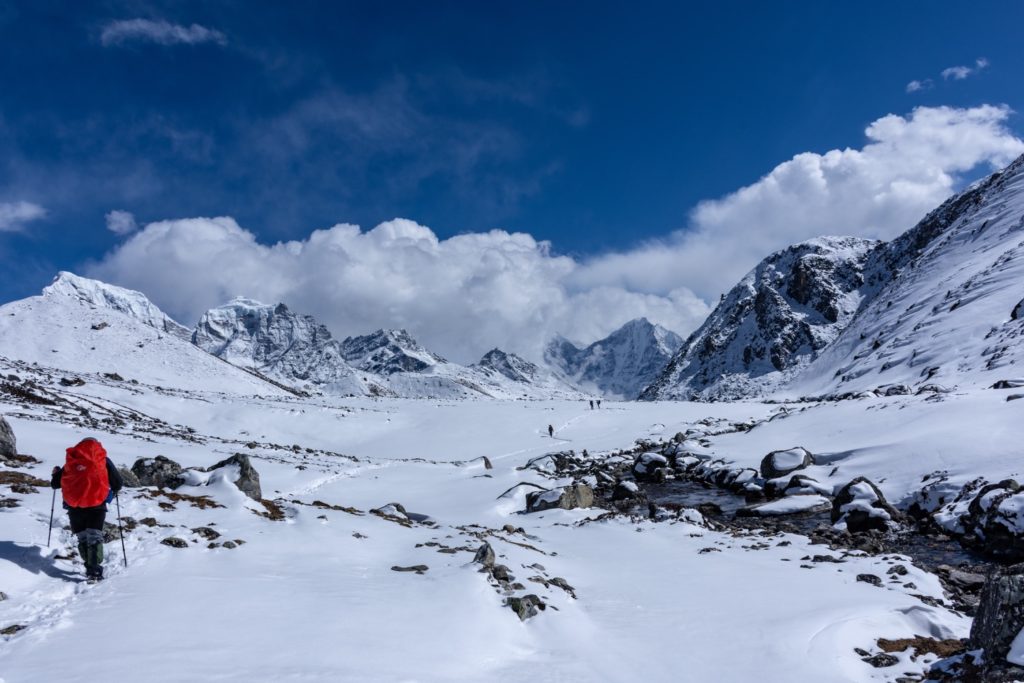
Leaving Namche hike up the Dudh Koshi valley, passing stupas and views of Ama Dablam, Everest, Thamserku and other mountains on this very beautiful trail of waterfalls and rhododendron forests. Descending into pine and rhododendron forests the trail divides. The route to Gokyo Lakes is to the left.
Day 5:
Dole to Machhermo – 3-4 hours 3,870 m / 12,696 ft at Machhermo
Leaving Dole there is an uphill gradient for around half an hour then thankfully it is less strenuous! You can see the Koshi River below and the trail goes up a ridge above the village of Machhermo where the views of Thamserku are wonderful.
Day 6:
Machhermo to Gokyo (Afternoon hike to Gokyo RI) –7-8 hours 4,800 m / 15,748 ft at Gokyo
Leaving Machhermo the trail heads up to another scenic ridge with views of Kangtega before heading through a narrow valley into a wider valley. Then descend to the Dudh Kosh River before a very steep climb to the Ngozumpa Glacier and the first Gokyo lake. This lake is quite small but there are more to come!
As you continue north the second lake appears. This lake is quite long and runs parallel to the trail. Hike on to the 3rd lake and some teahouses which I recommend you stop at for lunch before climbing up Gokyo Ri.
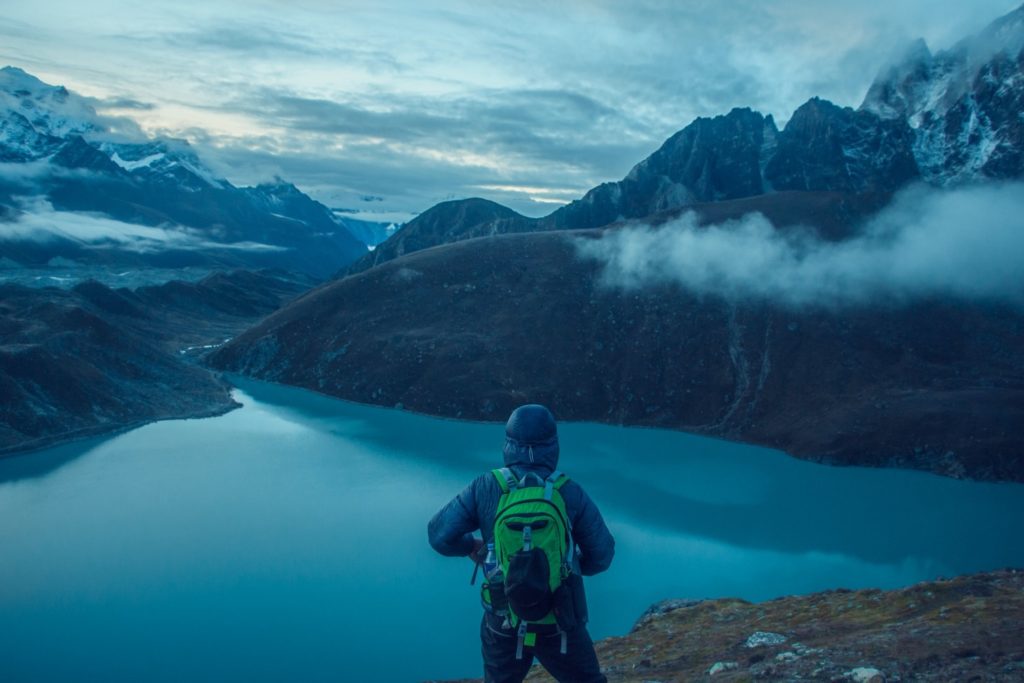
About three hours takes you up to the viewpoint at Gokyo Ri at 5,357 metres. The panorama of mountains above and lakes and glaciers below is well worth the long climb. Sunset is particularly spectacular.
Day 7:
Gokyo to Machhermo (Morning hike to Gokyo 4th Lake) – 4 hours 5,357 m / 17,575 ft
An hour’s hike will bring you to the 4th lake. I suggest you do this before breakfast. Most people do the hike and then return to Gokyo to eat before heading out for the next overnight stop at Machhermo.
Day 8:
Machhermo to Namche Bazaar – 8 hours 3,238 m / 11,279 ft at Namche
Today the trail brings you back to Namche Bazaar. It’s a long trek but the comforts and communication possibilities at Namche beckons trekkers!
Day 9:
Namche Bazaar to Lukla – 7 hours 2,860 m / 9,383 ft at Lukla
Time to head down the mountains. Follow the Dudh Koshi River, crossing the same suspension bridges and down to Lukla where it is necessary to stay overnight in order to catch the early morning flight back to Kathmandu.
Day 10:
Lukla to Kathmandu – 1,300 m / 4,265 ft at Kathmandu
If no delays, you will be back in Kathmandu for lunch.
What is the Difference Between Trekking to Gokyo Lake Alone or with a Trekking Company?
Taking a local guide or porter is definitely safer. There are other reasons too why this option is best, as I state below. Of course, some people do love the added adventure of trekking without the safety net or experience of a trekking agency.
Individual Trekking to Gokyo Lake
If you decide not to book through a trekking agency I suggest you hire at least a local porter. They will be there to help in an emergency, point out the correct trail to take, and help you with kit. One thing you should consider is that by hiring a local guide or porter you will be giving directly back to the local community through the money you pay him.
Here are my thoughts on the pros and cons of trekking individually:-
Pros:
The feeling of freedom and satisfaction; no unwanted companions talking all the way; taking your own decisions on accommodation etc; giving back directly to the local community.
Cons:
Safety could be an issue, particularly in the remote areas; no one to share the adventure with; no one to provide information on the local culture or names of mountains.
Trekking through an Agency
If you decide to trek with a trekking agency/ company, you need to decide on a local or international one. There are great and not-so-great agencies internationally and locally. An international agency will be more expensive and part of that money never reaches Nepal. A local agency ensures your money stays completely in Nepal. Both international and local companies will use local guides and porters and similar lodges on the trek.
Pros:
Decisions are taken by those with expert knowledge of the area and trails; your safety is the number one priority and the guides know what to do in case of emergencies; accommodation is booked in advance; guides are a great source of information about the local communities and landscapes; someone will carry your gear!
Cons:
You may be in a group of people who you don’t really fit in with or who don’t talk your language. Also, you need to hike at the rate of the majority – so no rushing ahead! You can’t add on any interesting side trips should you suddenly decide on the day.
Summing Up
The Gokyo Lake Trek is a lovely trek which takes you to Namche Bazaar and to view Everest and lots of other iconic mountains. Just make sure to organise your Mount Everest insurance too. It also gives you the opportunity to visit 6 lakes in one trip! Another way to do that would of course be to take a Everest Base Camp Helicopter Tour, a lot less work (but a bit more money!).
Whether you go alone or with a trekking agency is ultimately your own decision – Nepal does allow for trekking alone. First of all, you should consider your overall health, experience at hiking and ability to use GPS, maps and other tools and to be self-sufficient.
Remember, never travel without travel insurance! And never overpay for travel insurance!
I use HeyMondo. You get INSTANT quotes. Super cheap, they actually pay out, AND they cover almost everywhere, where most insurance companies don't (even places like Central African Republic etc!). You can sign-up here. PS You even get 5% off if you use MY LINK! You can even sign up if you're already overseas and traveling, pretty cool.
Also, if you want to start a blog...I CAN HELP YOU!
Also, if you want to start a blog, and start to change your life, I'd love to help you! Email me on johnny@onestep4ward.com. In the meantime, check out my super easy blog post on how to start a travel blog in under 30 minutes, here! And if you just want to get cracking, use BlueHost at a discount, through me.
Also, (if you're like me, and awful with tech-stuff) email me and my team can get a blog up and running for you, designed and everything, for $699 - email johnny@onestep4ward.com to get started.
Do you work remotely? Are you a digital nomad/blogger etc? You need to be insured too.
I use SafetyWing for my digital nomad insurance. It covers me while I live overseas. It's just $10 a week, and it's amazing! No upfront fees, you just pay week by week, and you can sign up just for a week if you want, then switch it off and on whenever. You can read my review here, and you can sign-up here!



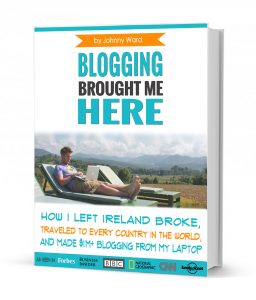 As you know, blogging changed my life. I left Ireland broke, with no plan, with just a one-way ticket to Thailand
and no money. Since then, I started a blog, then a digital media company, I've made
more than $1,500,000 USD, bought 4 properties and visited (almost) every country in the world. And I did it all from my laptop as I
travel the world and live my dream. I talk about how I did it, and how you can do it too, in my COMPLETELY FREE
Ebook, all 20,000
words or so. Just finish the process by putting in your email below and I'll mail it right out to you immediately. No spam ever too, I promise!
