Is Dubai A Country?
UPDATE JULY 2024. So I had a conversation with an American friend the other day, and he had never heard of the United Arab Emirates (UAE), he thought Dubai was the capital of Saudi Arabia and he thought their nationality was Muslim. Yup, really! Where do I start?! I tried to tell him the actual story but it got a bit long-winded. The UAE is a big tourist destination these days, and with so many people taking holidays to Dubai I thought the confusion would be over, but clearly not! So is Dubai a country or not? Is it one of the 197 countries in the world? Nope. Let me put things straight:
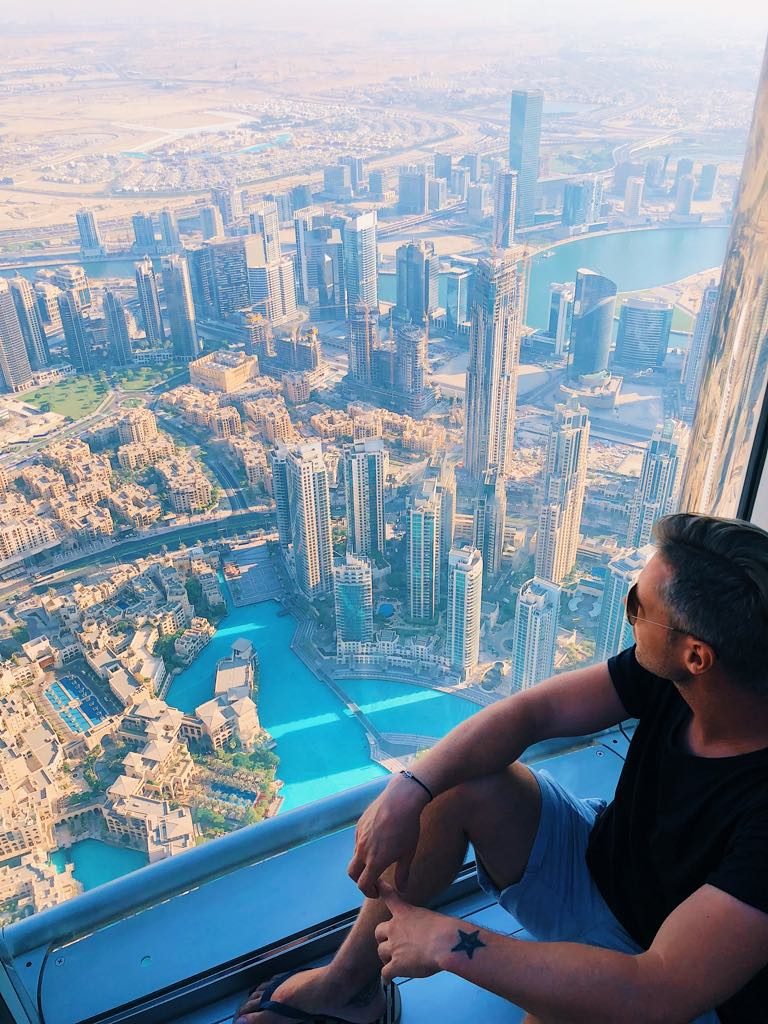
Table of contents
- Is Dubai A Country?
- What is the UAE:
- What is the Capital of the UAE:
- Wait for a second, so you’re telling me neither Dubai nor Abu Dhabi is a country?!
- What continent is Dubai in?
- So, Is Dubai in Asia?
- So why does Dubai, Abu Dhabi etc have their own flags?
- How does their Government work?
- Where is the UAE:
- Is Dubai a country? Where is Dubai? Google map:
- Should I Visit the UAE?
- Is Dubai Safe?
- Do women need to cover up in Dubai?
- Is the Dubai weekend Saturday and Sunday, or Friday and Saturday?
- Do you need a visa to visit Dubai?
- Why is Dubai rich?!
- So, is Dubai A Country After All?!
What is the UAE:
The UAE is an abbreviation of the United Arab Emirates. The UAE is a country, consisting of seven smaller ‘Emirates’ which are similar to states. Dubai and Abu Dhabi are 2 of those 7 states.
The seven emirates which make up the UAE are:
- Abu Dhabi
- Dubai
- Sharjah
- Ajman
- Fujairah
- Ras al Khaimah
- Umm al Qaiwain
What is the Capital of the UAE:
Abu Dhabi is the capital of the UAE.
Wait for a second, so you’re telling me neither Dubai nor Abu Dhabi is a country?!
Is Dubai A country? No, Dubai is not a country and Abu Dhabi is not a country.
What continent is Dubai in?
Dubai is on the continent of Asia. It’s in the Middle East of course, but that too is within the Asian border.
So, Is Dubai in Asia?
Yes! Remember, the Middle East isn’t a continenet. The middle east is part of the Asian continent. One of 7 continents in the world.
So why does Dubai, Abu Dhabi etc have their own flags?
They are the flags of their Emirate, all the seven emirates have individual flags BUT they also all fly the same UAE flag (seen below).

How does their Government work?
The UAE has a President (the Emir of Abu Dhabi) and a Prime Minister (the Emir of Dubai). Each Emirate retains autonomy over its region.
Where is the UAE:
It’s on the eastern side of the Arabian peninsula. It has Saudi Arabia to the West and Oman to the South. Check out the graphic and google map below.
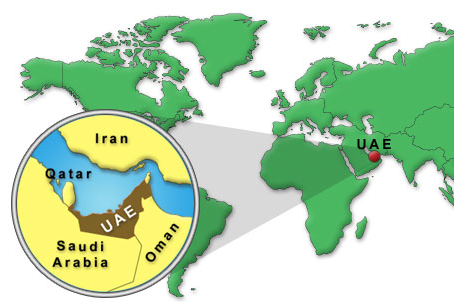
Is Dubai a country? Where is Dubai? Google map:
Should I Visit the UAE?
If you enjoy experiencing very different cultures, then yes certainly! It’s a lot more liberal (in the Western sense) than much of the UAE so it breaks you in nicely. You can also grab a cost-effective pass that let’s you visit the very best Dubai attractions. After than you can consider tours to Syria, or tours to Iraq, like the trips I took my readers on (read about them on those links, great trips!).
Apply for a Dubia tourist eVisa online using a website such as iVisa, and then make sure you do a regular Dubai visa check to keep up-to-date on the status of your application. Bumming on a beach in Thailand can only offer so many aspects to a holiday, so once you’ve ticked that box it’s time to put yourself to the test. The Middle East is back to ‘real’ travelling, no tourist buses, no dorms full of college students, you’re really on the road. And Dubai is a great starting point for that.
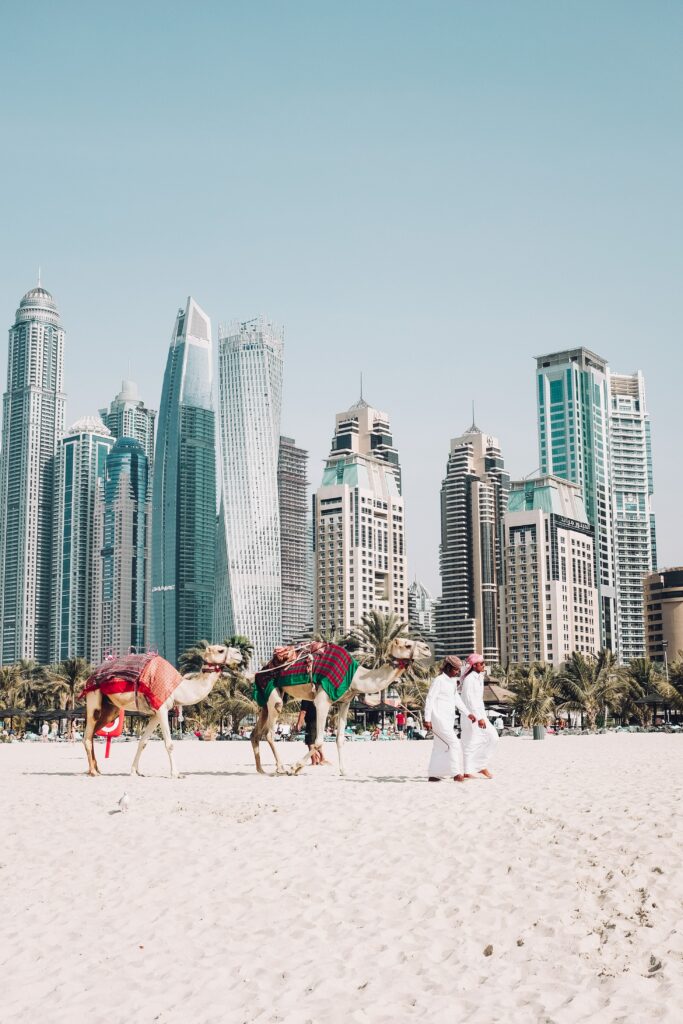
Why are so many people visiting Dubai these days!?
Dubai is the most famous place to visit in the region. Why? Cheap flights. Hot weather. And lots of instagrammable places. Quality food and pretty epic night life too mean that more and more influencers see it as the place to be. For better or worse.
And there are certainly enough things to keep you occupied for a good few days but the UAE is not cheap so don’t stay too long! Budget for around $60 per day at the super low end, get in, soak it up and move on. It’ll be an experience like no other.
Is Dubai Safe?
In a word, yes. Super safe. Unless that is you breach the cultural rules. Violent crime is almost non-existent. But if you disrespect the Mosques, or are drunk and disorderly in public, you can find yourself in trouble with the police quite quickly. Be sensible, and it’s one of the safest places on the planet.
Do women need to cover up in Dubai?
No. Dubai is a liberal state within the United Arab Emirates.
Some Muslim women do cover up, so don’t be shocked to see full hijabs in practice. However, you’re just as likely to see a Russian instagrammer in next to nothing right beside them.
Is the Dubai weekend Saturday and Sunday, or Friday and Saturday?
Dubai follows the Islamic tradition of Friday/Saturday weekends. So that means Dubai brunch on a sunday morning has become an institution for expats. All you can eat (and drink). It has to be seen to be believed!
Can You Drink Alcohol in Dubai?
Yes! It is of course a Muslim country. However, the vast majority of people who live in Dubai aren’t from Dubai. It has a HUGE expat population. And with that, there are venues to serve them. Most hotels have alcohol licences, and therefore have bars within them.
The pubs witin the hotels are designed to barely look like they’re part of a hotel, which means nightlife and drinking culture in Dubai is the same as anywhere else. In fact, it’s probably crazier. And a lot more expensive! Beers can run to $20, and cocktails can go all the way to $50!
Local Muslims are forbidden (however, that is practically never enforced).
Do you need a visa to visit Dubai?
For the people who have found this article, generally not. The developed world gets a visa on arrival. Some developing countries still need to apply for a visa in advance however. UK/US/Ireland etc can just show up without doing anything.
Why is Dubai rich?!
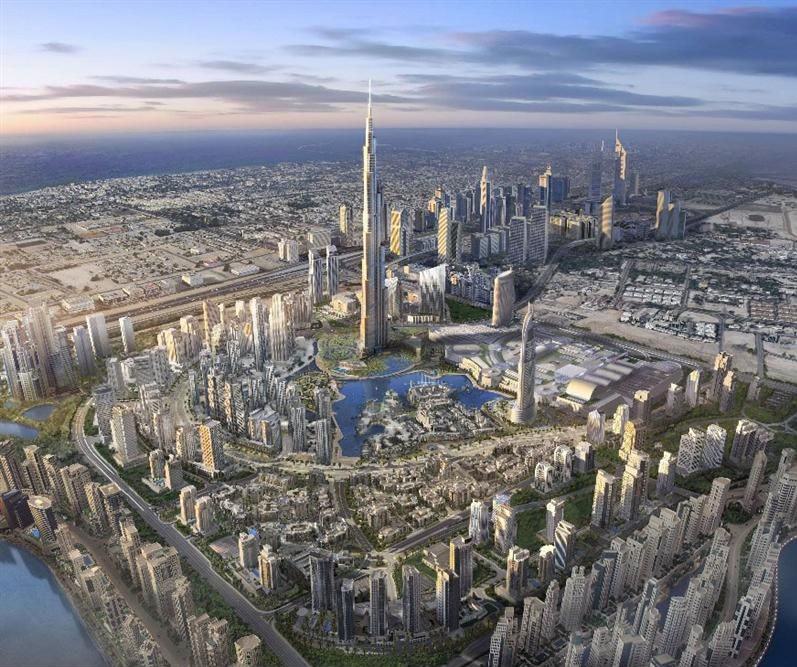
The simple answer would be oil. However, the UAE is rich in oil, but Abu Dhabi has most of it! So much so, that Dubai has gone broke more than once in recent times. Hence the largest building in the world being named after Abu Dhabi’s leader, after he bailed Dubai out to finish it!
Dubai however is a huge trading port. And it’s often known as the GCC’s financial centre. So money continues to flow through Dubai.
So, is Dubai A Country After All?!
Nope! Dubai is 100%, not a country. The United Arab Emirates, or UAE, IS a country though. And I hope that helps clear things up, it can be quite confusing. So that should answer your ‘Is Dubai A country?’ quandary, and remember the UAE really is a great place to visit, great for shopping too, for more ideas on what to give to photographers, check this out, and while I wouldn’t go as far as to say it’s a typical backpacker haunt it’s certainly an intriguing place. Happy travels!
Remember, never travel without travel insurance! And never overpay for travel insurance!
I use HeyMondo. You get INSTANT quotes. Super cheap, they actually pay out, AND they cover almost everywhere, where most insurance companies don't (even places like Central African Republic etc!). You can sign-up here. PS You even get 5% off if you use MY LINK! You can even sign up if you're already overseas and traveling, pretty cool.
Also, if you want to start a blog...I CAN HELP YOU!
Also, if you want to start a blog, and start to change your life, I'd love to help you! Email me on johnny@onestep4ward.com. In the meantime, check out my super easy blog post on how to start a travel blog in under 30 minutes, here! And if you just want to get cracking, use BlueHost at a discount, through me.
Also, (if you're like me, and awful with tech-stuff) email me and my team can get a blog up and running for you, designed and everything, for $699 - email johnny@onestep4ward.com to get started.
Do you work remotely? Are you a digital nomad/blogger etc? You need to be insured too.
I use SafetyWing for my digital nomad insurance. It covers me while I live overseas. It's just $10 a week, and it's amazing! No upfront fees, you just pay week by week, and you can sign up just for a week if you want, then switch it off and on whenever. You can read my review here, and you can sign-up here!
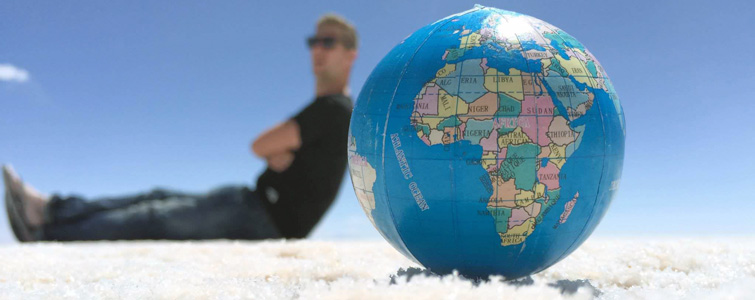


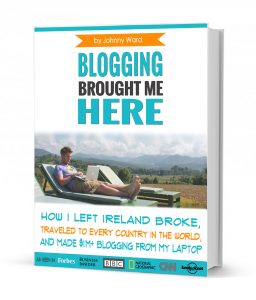 As you know, blogging changed my life. I left Ireland broke, with no plan, with just a one-way ticket to Thailand
and no money. Since then, I started a blog, then a digital media company, I've made
more than $1,500,000 USD, bought 4 properties and visited (almost) every country in the world. And I did it all from my laptop as I
travel the world and live my dream. I talk about how I did it, and how you can do it too, in my COMPLETELY FREE
Ebook, all 20,000
words or so. Just finish the process by putting in your email below and I'll mail it right out to you immediately. No spam ever too, I promise!
As you know, blogging changed my life. I left Ireland broke, with no plan, with just a one-way ticket to Thailand
and no money. Since then, I started a blog, then a digital media company, I've made
more than $1,500,000 USD, bought 4 properties and visited (almost) every country in the world. And I did it all from my laptop as I
travel the world and live my dream. I talk about how I did it, and how you can do it too, in my COMPLETELY FREE
Ebook, all 20,000
words or so. Just finish the process by putting in your email below and I'll mail it right out to you immediately. No spam ever too, I promise!