A Guide to Trekking Mount Rinjani in 2026
I was always interested in trekking Mount Rinjani, the highest mountain on Lombok Island, ever since I first visited Indonesia. So finally in April 2019 I finally did it. I had just finished building a library for a rural community in Bali with our Mudita Adventures Non-Profit. And after our 2 weeks in Bali itinerary, we were off to Lombok to celebrate.
Before we could crack the beers and jump in the ocean though, we wanted to earn it. So 6 friends and I signed up for a 1 night/2 day trekking Mount Rinjani up to the crater rim (I used the team at alitrekking.com, WhatsApp number +6281917124501 – cheap, trustworthy and easy to deal with!) And it was worth all the steep hills and sweaty stresses.
Table of contents
- A Guide to Trekking Mount Rinjani in 2026
- Where is Mount Rinjani? And How Do I Get There?
- What’s the Best Time to Hike Mount Rinjani
- How High is Mount Rinjani? And How High is Rinjani Crater Rim?
- How Much Does It Cost to Hike Mount Rinjani?
- Is It Difficult to Climb Mount Rinjani?
- Trekking Mount Rinjani; My 2 Day/1 Night Experience
- Mount Rinjani Packing List
- Final thoughts on trekking Mount Rinjani in Lombok
To help you guys out, I’ve answered all the main Rinjani questions below here. Followed by a recount of my experience trekking Mount Rinjani too.
Where is Mount Rinjani? And How Do I Get There?
Mount Rinjani is a volcano on Lombok Island, in Indonesia. Lombok is the lesser-known little brother of next door Bali.
To get to Lombok is super easy, you can either take a 25-minute flight from Bali (roughly $50 or so). Or you can take a 5 hour, bumpy boat ride from Bali. Also, you can now fly directly to Lombok from Singapore and Kuala Lumpur. Most people come from Bali though. To get to Rinjani from either the airport or the boat terminal. Your operator will meet you, pick you up and drive you to 1 of the 2 towns from which you begin climbing Mount Rinjani, Senaru or Sembalun.
What’s the Best Time to Hike Mount Rinjani
The dry season is best, from April to November. During the rainy season (early January to the end of March) the trails are actually closed, making it impossible to climb Mount Rinjani. I climbed it in April and the weather was great, apart from being freezing at the summit. But it’s almost always like that.
How High is Mount Rinjani? And How High is Rinjani Crater Rim?
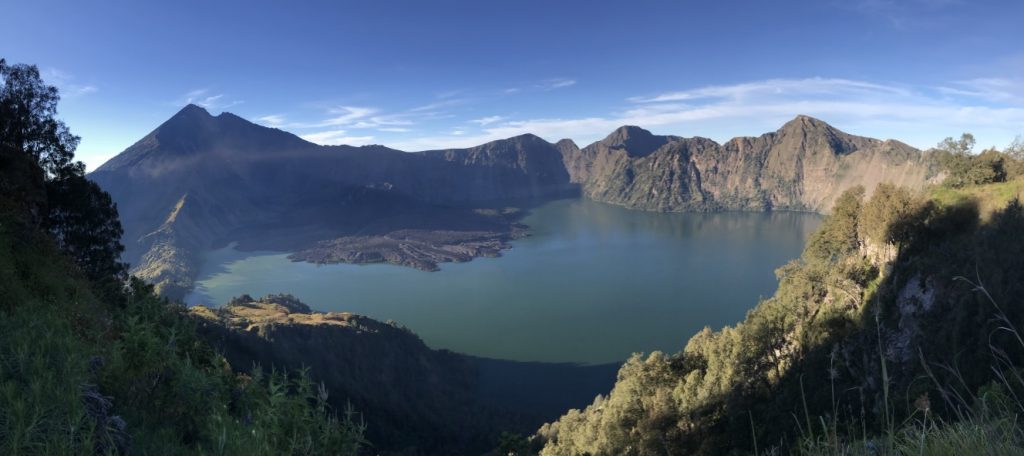
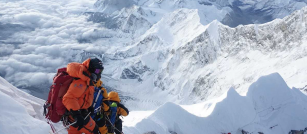
The summit of Mount Rinjani is 3726 meters (12,224 feet). Whereas Mount Rinjani Crater Rim altitude is 2639m (8,658 feet). As of June 2019, it’s impossible to climb to the Summit of Mount Rinjani due to an earthquake and a landslide rendering the route impassable. However, don’t worry – the famous views, and the photos you’ve probably seen of Rinjani are all found at the Crater Rim. So you can still enjoy that. This is exactly what our group did it and was amazing.
How Much Does It Cost to Hike Mount Rinjani?
You can either hike to the Summit (not currently possible due to the landslide), or to the crater rim. The Summit trek is 3 days/2 nights and costs around $250USD .The Crater Rim trek takes 2 days/1 night and costs roughly $185USD. My group booked with Ali Trekking, and it cost us around $160 or so but we had a group so it was a little cheaper.
Is It Difficult to Climb Mount Rinjani?
It’s not easy! The 3-day Summit climb is legitimately difficult, I’d say 7/10 for someone who is in shape. Tough, but very possible. The 2 day Crater Rim trek, which we did, is still not easy. If you’re moderately fit, play some sport or hit the gym, then you can do both treks without training specifically for them. If you’re out of shape, I’d suggest training for up to a month or so in advance. Each day is 6-8 hours hiking, and it’s steep, so it’s no joke. But if you’re travelling, and you’re active, then, by all means, sign up and do it. It might be a challenge but you’ll get up.
Trekking Mount Rinjani; My 2 Day/1 Night Experience
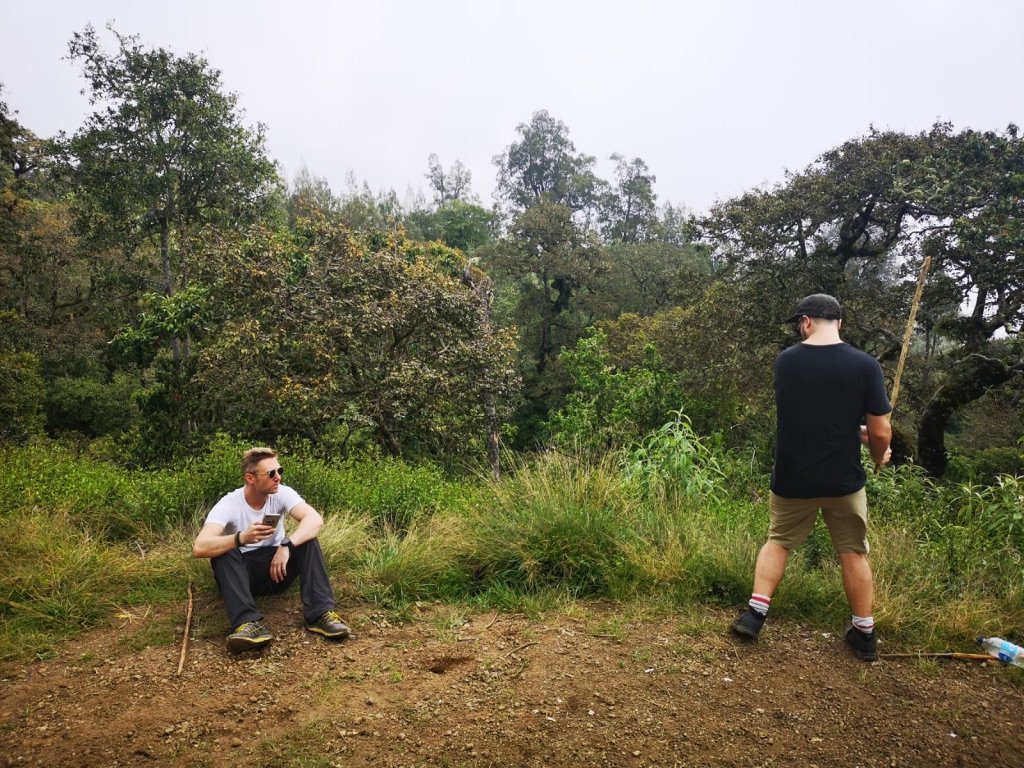
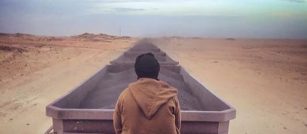
After volunteering in Bali for 2 weeks, we had planned to celebrate with beaches, beers, and paradise in the Gili Islands, off the coast of Lombok island. But before that, we wanted to get trek Mount Rinjani to the crater rim. We were 2 guys and 4 girls, and the last 2 weeks hadn’t exactly been perfect training, burning the candle at both ends. Despite that, we were determined to get to our destination.
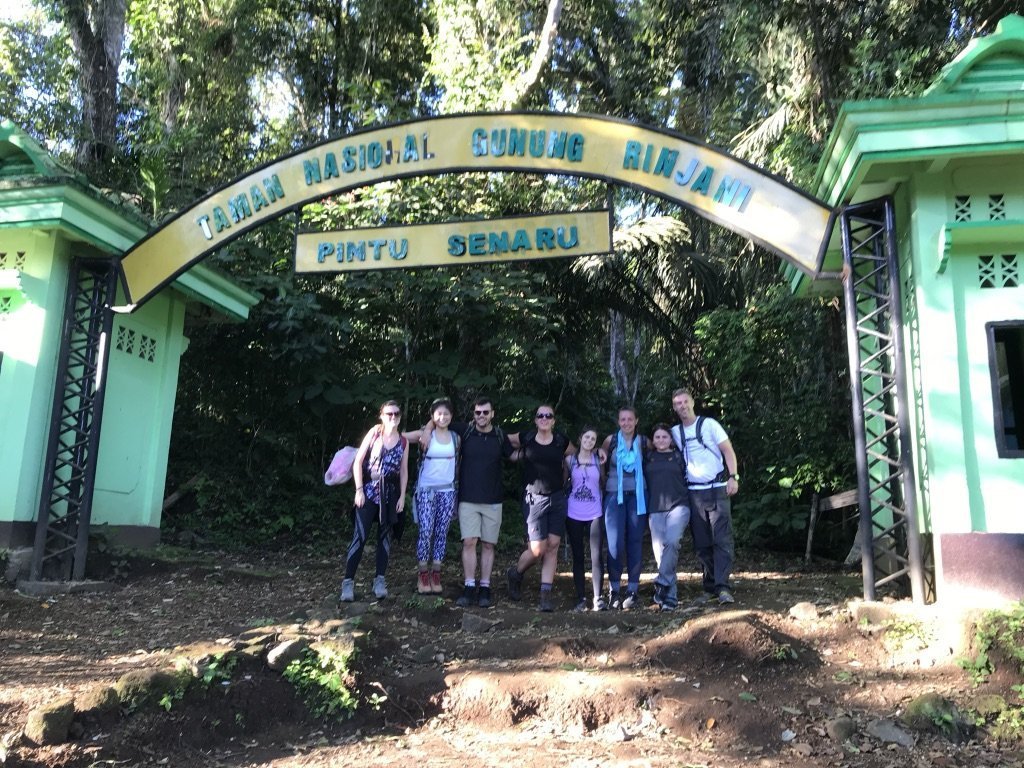
I had booked our Mount Rinjani Crater Rim Trek trip with Ali Trekking, and as part of that package, they’d pick us up at Lombok airport after our short hop across from Bali. From there we’d be driving to the North of the island to the town of Senaru. Senaru is one of the 2 towns from which you can start your climb, the other of which is Sembalun. It doesn’t make too much difference which you choose but generally, if you’re doing the Crater Rim trek, you’ll probably start from Senaru, like us.
The night before the climb
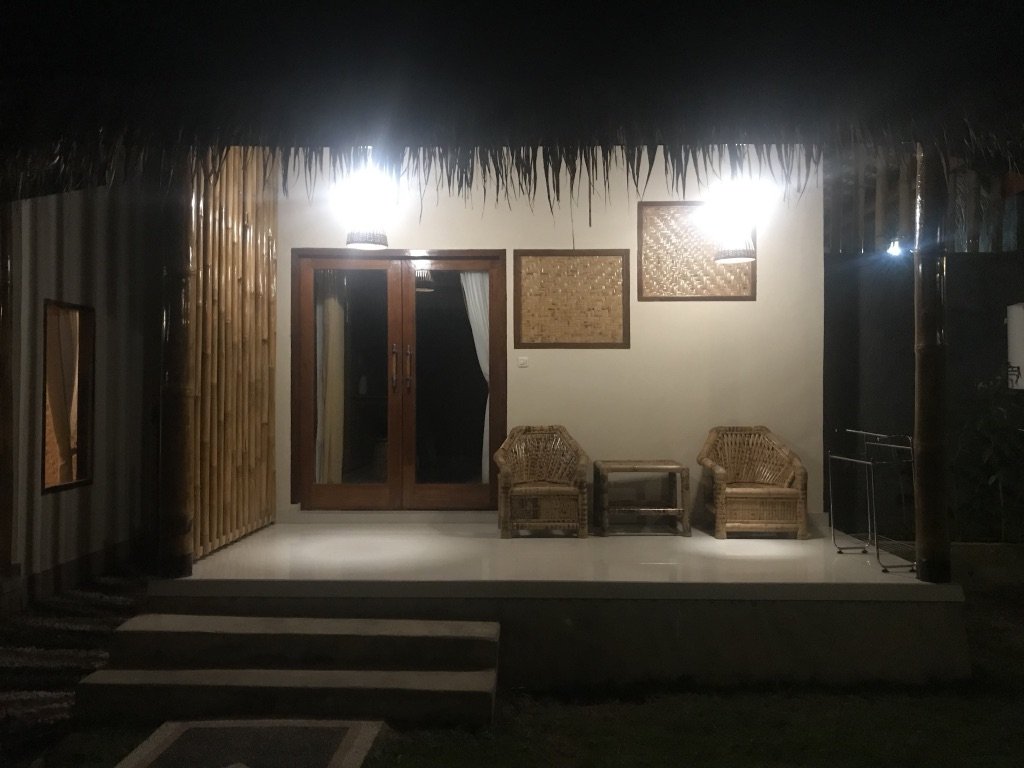
The drive from the airport to Senaru is actually pretty long, 3-4 hours, so aim to land in Lombok around lunchtime. That should get you into Senaru around 3pm and you can enjoy the views. If you go with the same operator as us, they own 2 hotels in Senaru, you can stay there for the 1 night (included in the price). Both hotels are decent, with WiFi, hot showers and amazing views.


The start of the climb
When you climb Mount Rinjani, the following morning you wake up around 6am and have breakfast at the hotel, before taking a very short 5-minute drive to the start point from the trek around 7.30am.
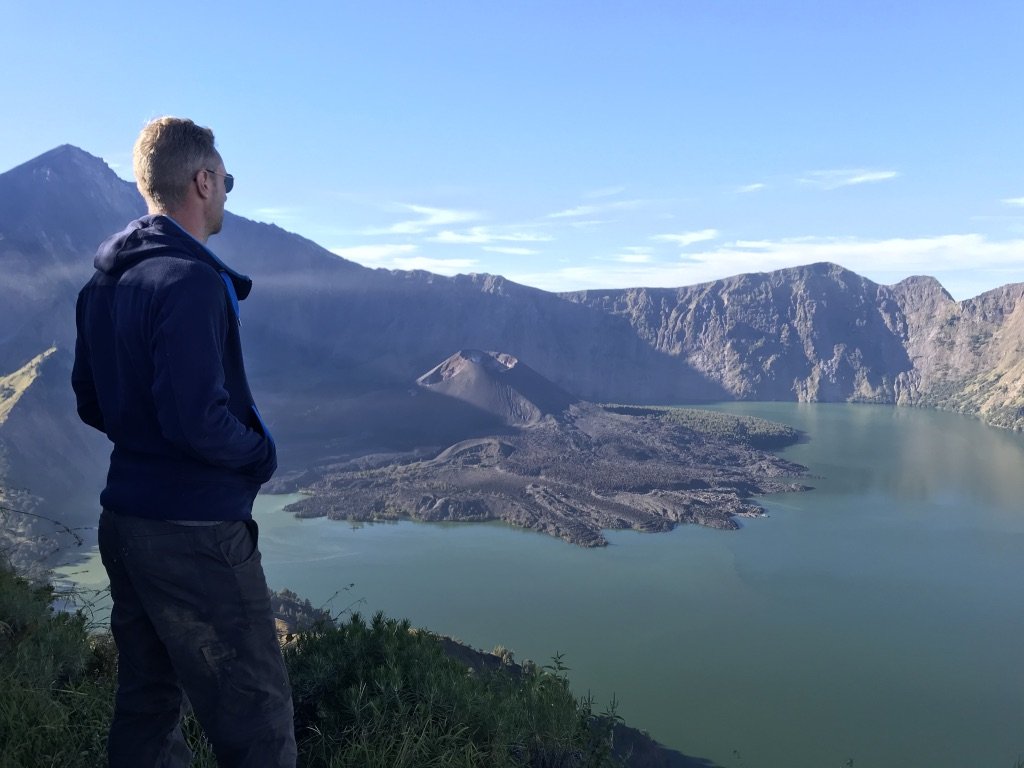
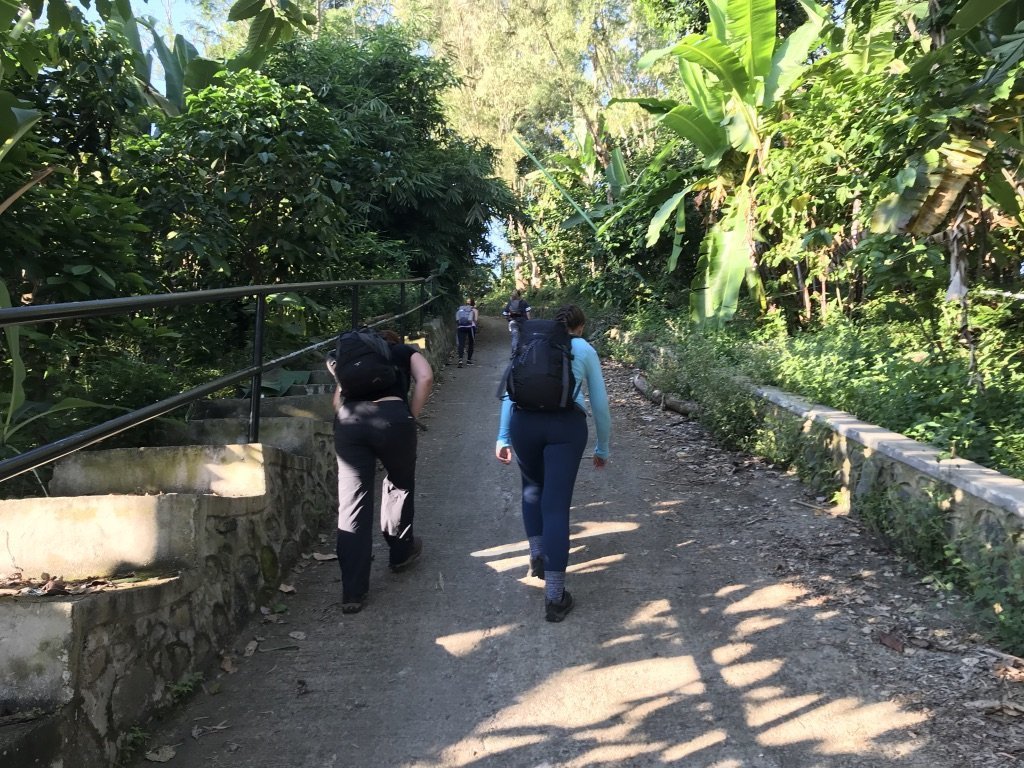
There’s not too much more to say from here, other than you start around 8am and stop for lunch at about 11.30. One thing to note though, as I mentioned above, is that the whole thing is seriously steep, and it starts off that way right from the start.
You have porters with you though, so the only thing you carry is a little daypack with your water and snacks, the porters have all the tents, food etc. Once you reach the mid-point around 11 to 12, you stop for lunch. Here the porters will set-up a little cooking station and make you fried noodles or fried rice (with chilly sauce, yum!). We ended up chilling here for over 90 minutes, but you can get on your way faster once you’re done if you wish.
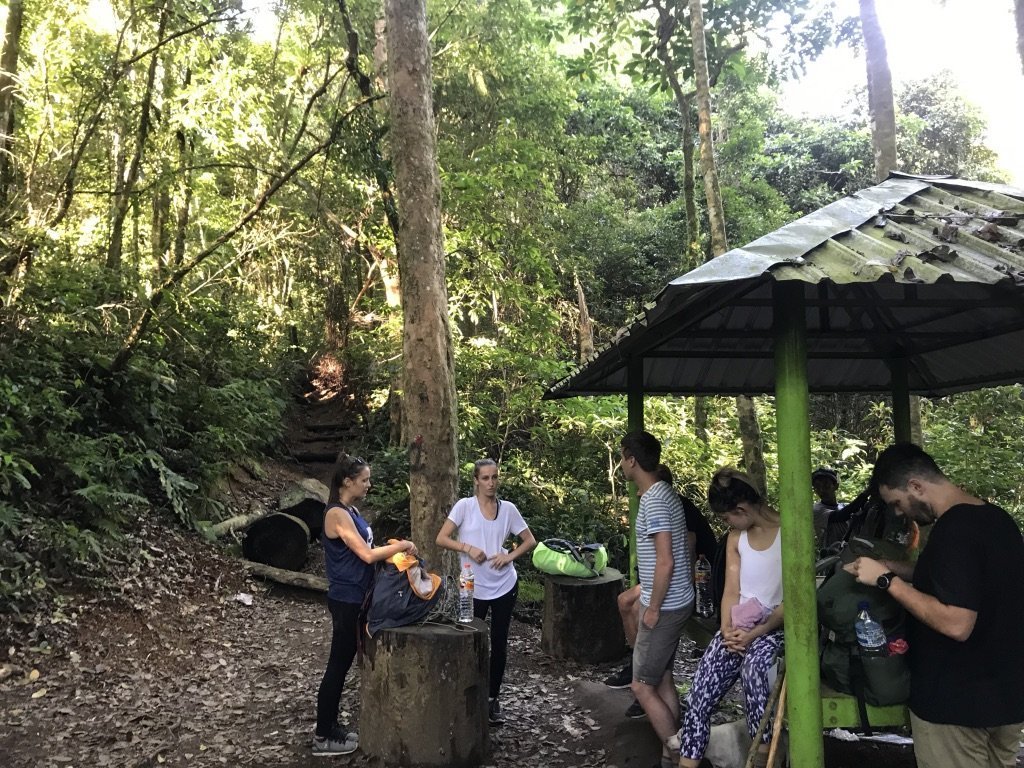

The next couple of hours are the last sections of trees, still steep, and still tough, but at least you’re undercover. The final push, you’re at about 2500+ metres of altitude so less trees and more sunburn. The girls in our group found the last 1.5 hours a real challenge, so be ready for it. 3 large, steep hills that go on for quite a while before finally, you reach the campsite.
Reaching the campsite for the night
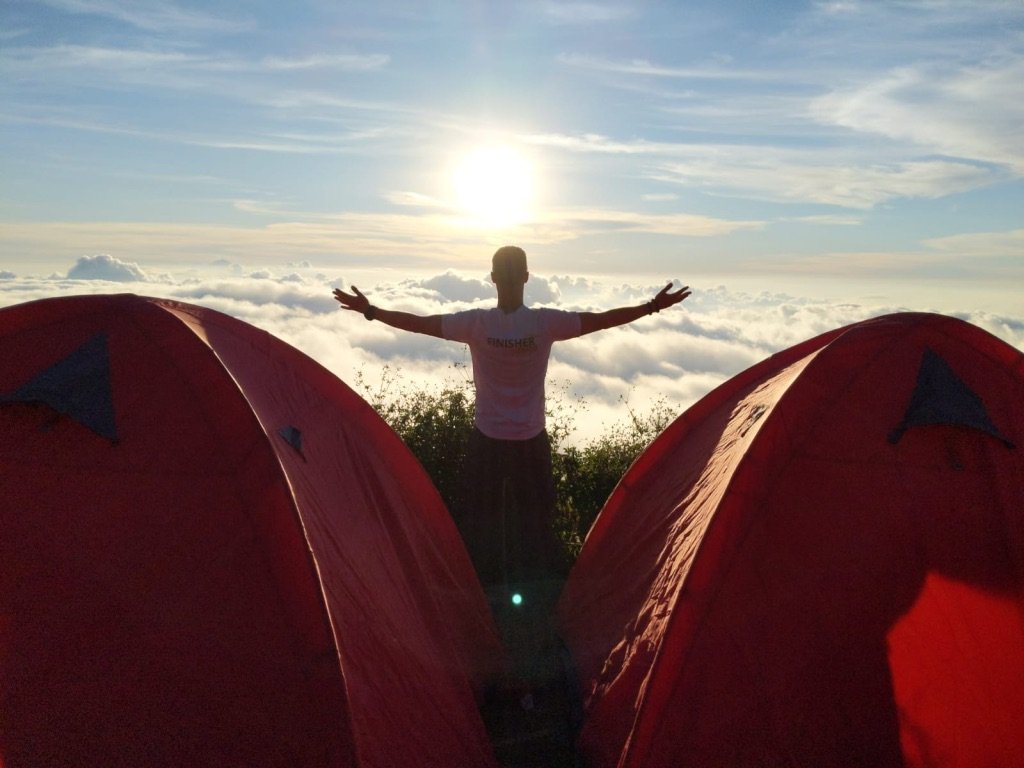
As the porters assemble your tents, you can walk the last 10 minutes from camp to the crater rim, and you’ll see why so many people make this epic hike. It’s just gorgeous. For us, the crater was quite cloudy, so we didn’t get that postcard shot, (until the next morning), but the clouds make the most amazing natural scene from camp.
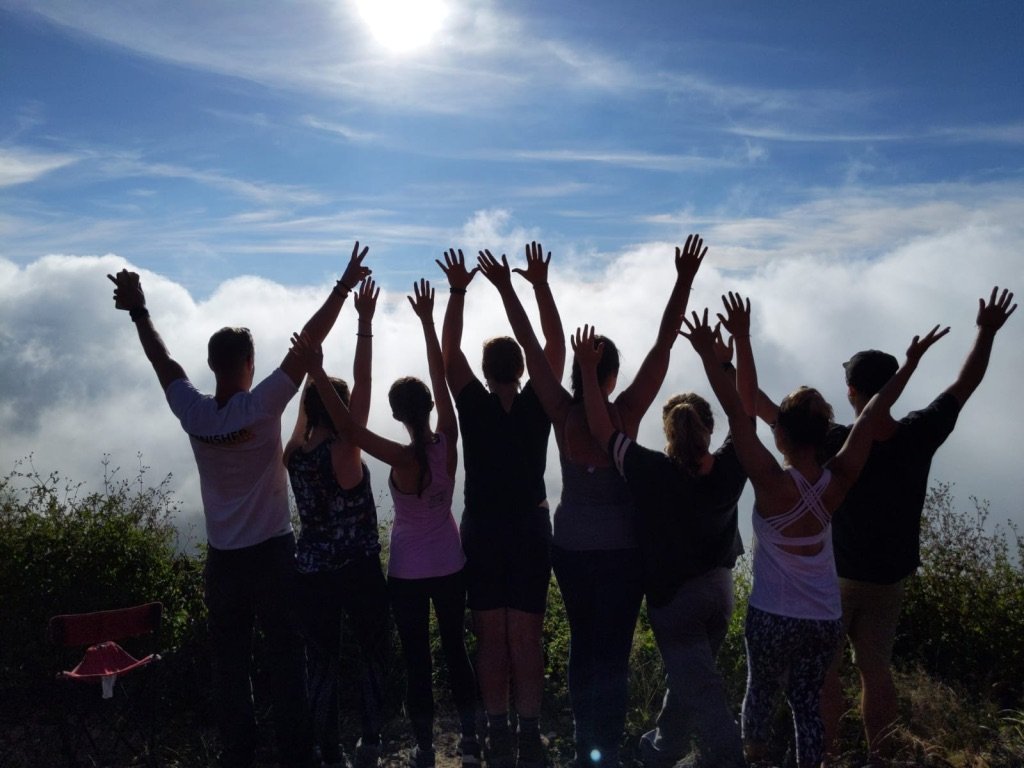
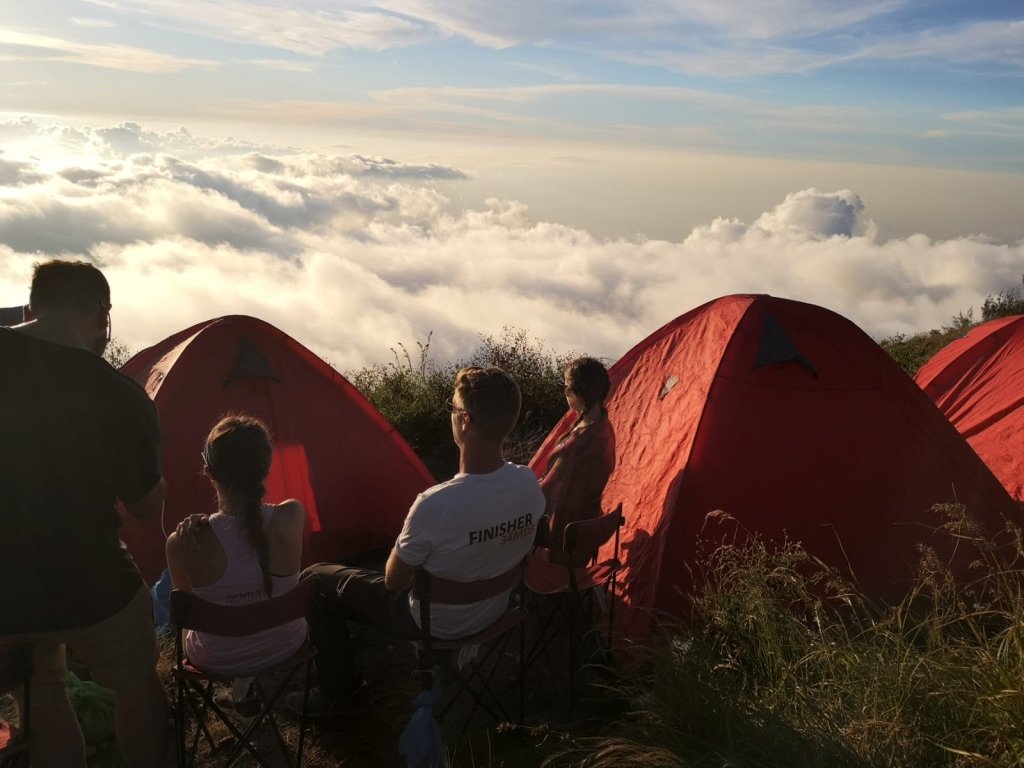
After soaking up the volcano views, you come back to camp and relax. It’s probably still only about 4 pm, with dinner around 6.30. So chat with your group, check the view and relax. I wish we had bought a bottle of booze, there’s something about camping and strong alcohol that makes an amazing mix, but alas we didn’t. Still, sitting above the clouds, after a beautiful hike, was a wonderful evening regardless. Our guides even revealed a bottle of Bintang beer for us each after dinner, which was a welcome touch.
One word of warning though, as soon as the sun sets, it gets FREEZING. Like almost 0 degrees freezing. So bring woolly hats, gloves, thermals and a big coat. You’ll need it. A lot of our group were really chilly during the night and struggled to sleep. The porters bring decent mattresses and ok sleeping bags, so no drama there, it’s just the right clothing that you need to bring.
The next morning
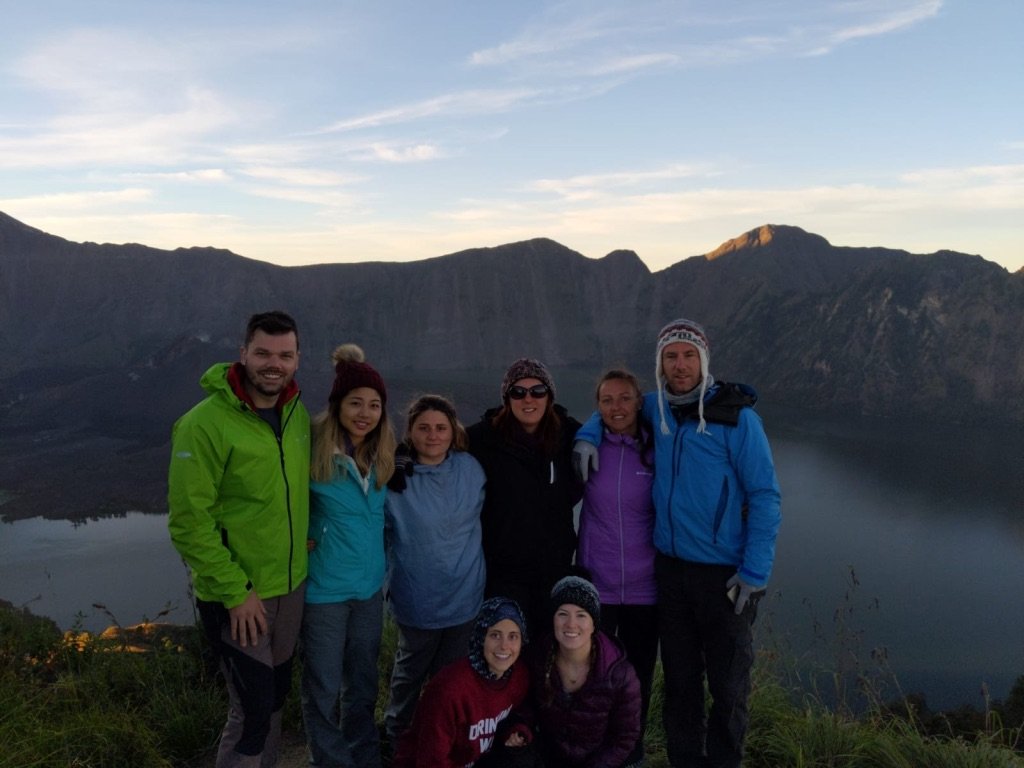
After a chilly night, you’ll wake up for a 7am breakfast. Some people wake up to watch the sunrise on the volcano. But the sun doesn’t rise at the right angle so I wouldn’t bother personally. That said, absolutely go to the Crater Rim first thing when you do wake up, the clouds normally haven’t formed yet and you get a crystal clear view of the whole rim. It’s beautiful. A spot of breakfast, and you begin your descent around 8am.
All things being well, you’re due for lunch around 11am or so. We decided to tell the porters to skip lunch, so we could get down quickly and get to Gili T. I’d recommend you do the same. And we were at the foot of the mountain by about 1pm. From there, we got dropped to the port near the Gili Islands. A 1.5-hour drive and we organised a private boat to take us to Gili T. We were having smoothie bowls and cocktails by 5pm. Now that’s efficiency!
Mount Rinjani Packing List
Bellow are list of items you should carry during the trek programme. All items to be packed in a small backpack no more than 5 kgs.
Wear:
》Small bag/daily pack
》Good shoes (normal training sneakers are fine)
》Trekking poles (optional)
》Sun block/lotion/hat/cap
》Sunglasses
》Short pants
Pack:
》2 T-shirts
》Sun block
》An easy dry towel
》Windproof/warm jacket
》Camera and flashlight
》A powerbank in case your phone runs out of battery during your trek.
》Flashlight or headlamp ( for the night hike to the summit)
》Gloves
》Personal toiletries
》Charger (optional)
》Hiking trousers & shorts
》A light raincoat – the weather is sometimes unpredictable.
Final thoughts on trekking Mount Rinjani in Lombok
Trekking Mount Rinjani was a really worthwhile hike, and it made our time in the Gilis even more special. While it’s not quite one of the seven summits, it’s still quite a hike. It’s a shame that the summit is closed, but the Crater Rim is spectacular and still allows you to push yourself hard for the hike. Our operator was great, he was well priced, easy to deal with, spoke English and was quick to answer emails and queries in the lead up to the trip, so thanks to AliTrekking.com.
Does it make it into the list of 25 best hikes in the world? Not quite. I’d say it’s the second-best climb in Indonesia, with Puncak Jaya claiming the title.
Remember, never travel without travel insurance! And never overpay for travel insurance!
I use HeyMondo. You get INSTANT quotes. Super cheap, they actually pay out, AND they cover almost everywhere, where most insurance companies don't (even places like Central African Republic etc!). You can sign-up here. PS You even get 5% off if you use MY LINK! You can even sign up if you're already overseas and traveling, pretty cool.
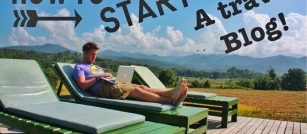
Also, if you want to start a blog...I CAN HELP YOU!
Also, if you want to start a blog, and start to change your life, I'd love to help you! Email me on johnny@onestep4ward.com. In the meantime, check out my super easy blog post on how to start a travel blog in under 30 minutes, here! And if you just want to get cracking, use BlueHost at a discount, through me.
Also, (if you're like me, and awful with tech-stuff) email me and my team can get a blog up and running for you, designed and everything, for $699 - email johnny@onestep4ward.com to get started.
Do you work remotely? Are you a digital nomad/blogger etc? You need to be insured too.
I use SafetyWing for my digital nomad insurance. It covers me while I live overseas. It's just $10 a week, and it's amazing! No upfront fees, you just pay week by week, and you can sign up just for a week if you want, then switch it off and on whenever. You can read my review here, and you can sign-up here!

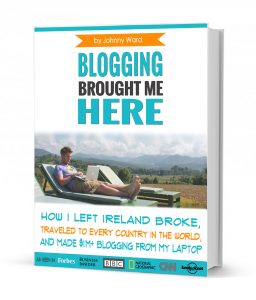 As you know, blogging changed my life. I left Ireland broke, with no plan, with just a one-way ticket to Thailand
and no money. Since then, I started a blog, then a digital media company, I've made
more than $1,500,000 USD, bought 4 properties and visited (almost) every country in the world. And I did it all from my laptop as I
travel the world and live my dream. I talk about how I did it, and how you can do it too, in my COMPLETELY FREE
Ebook, all 20,000
words or so. Just finish the process by putting in your email below and I'll mail it right out to you immediately. No spam ever too, I promise!
As you know, blogging changed my life. I left Ireland broke, with no plan, with just a one-way ticket to Thailand
and no money. Since then, I started a blog, then a digital media company, I've made
more than $1,500,000 USD, bought 4 properties and visited (almost) every country in the world. And I did it all from my laptop as I
travel the world and live my dream. I talk about how I did it, and how you can do it too, in my COMPLETELY FREE
Ebook, all 20,000
words or so. Just finish the process by putting in your email below and I'll mail it right out to you immediately. No spam ever too, I promise!