Climbing Denali; EVERYTHING You Need to Know & My Personal Experience
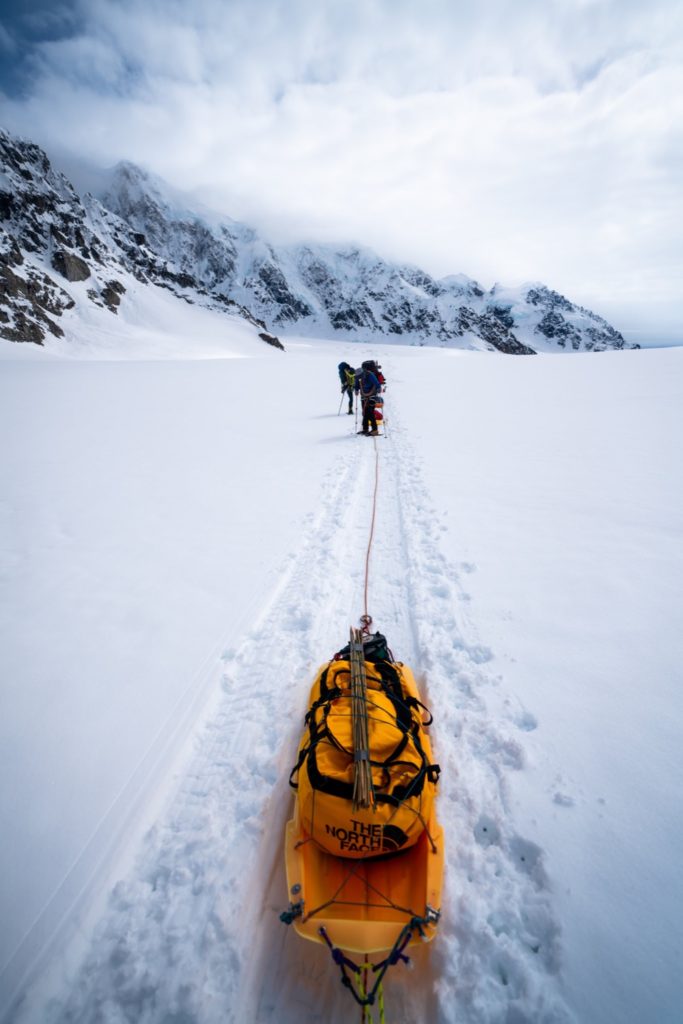
I spent this summer training for, and then climbing Denali. Denali is tough for a number of reasons. Firstly, you have to drag 25kg (55lbs) on a sled that’s attached to your waist, and another 25kgs (55lbs) strapped in a backpack to your back, for up to 12 hours a day, at altitude There is no base camp so you have to do this regularly. Breaking down camp and then setting camp up from zero again each time.
Also Denali is often referred to as ‘the coldest mountain in the world’. I’m not sure if that’s the case, but I can confirm it’s seriously cold! In fact I didn’t get feeling back in my fingers and toes for almost 2 months after my expedition. I was pretty worried that I had lost the feeling in the tips permanently actually!
Anyway, I summited Denali on the 29th May, 2022. So, looking back, how was the experience climbing Denali? I hope to help anyone who is interested in climbing Denali to learn all about the climb. The costs, the preparation, the packing list, how long it takes, and a blow-by-blow account of my Denali expedition. So let’s have a look.
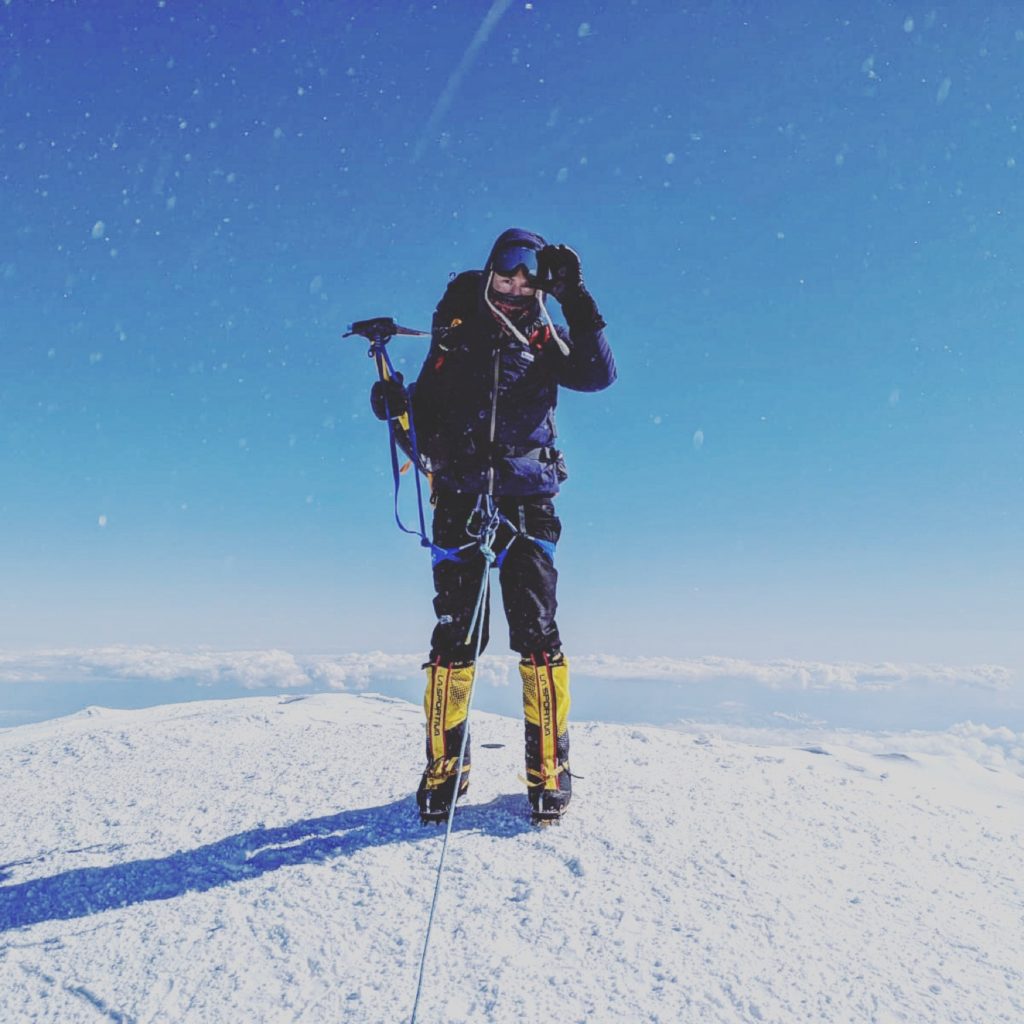
Table of contents
- Climbing Denali; EVERYTHING You Need to Know & My Personal Experience
- Why I climbed Denali
- Preparing for climbing Denali
- MY DENALI EXPEDITION BEGINS
- Our Denali Expedition Schedule:
- Day 3: Arrive at Base Camp, sleep at Base Camp
- Day 4: MOVE DAY to Camp 1 (2,400m altitude, 7,700 feet), sleep at Camp 1
- Day 5: Cache carry, back to sleep at Camp 1
- Day 6: MOVE DAY to Camp 2 (3,350m/11000ft), sleep at Camp 2
- Day 7: Back carry to cache, back to sleep at Camp 2
- Day 8: Cache carry, back to sleep at Camp 2
- Day 9: MOVE DAY to Camp 3 (4,300m/14,200 feet), sleep at Camp 3
- Day 10: Back carry to cache, sleep at Camp 3
- Day 11: First rest day! Sleep at Camp 3
- Day 12: Cache up fixed ropes, back to sleep at Camp 3
- Day 13: Another rest/acclimatization day, sleep at Camp 3
- Day 14: Weather day. STUCK at Camp 3
- Day 15: MOVE DAY to high camp, sleep at high camp (5,245m/17,200ft)
- Day 16: Acclimatization day at high camp, sleep at high camp
- Day 17: SUMMIT DAY! back to sleep at high camp
- Day 18: Hike back down to Camp 3 in the day. All night climb down begins.
- Day 19: All night climb down to base camp. Fly back to Talkeetna. Sleep in Talkeetna.
- Day 20: Drive back to Anchorage and get very, very drunk
- Final thoughts on my experience climbing Denali
- Denali FAQs
- Where is Denali? And how do you get there?
- Is Denali one of the Seven Summits?
- How high is Mount Denali?
- How much does it cost to Climb Mount Denali?
- Do I need a permit to climb Denali?
- Do I need a guide to climb Mount Denali?
- How long does it take to climb Mt Denali?
- Why was it called Mount McKinley Before?
- When was Denali first climbed? And who climbed Denali first?
- When is the best time to climb Mount Denali?
- Has anyone ever summited Denali in the winter?
- Is the West Buttress route the only route to Denali Summit?
- How does climbing Denali compare to climbing Everest?
- What’s the death rate on Denali?
- How many people have summited Denali?
- How many people summit Denali each year?
- What’s the success rate in climbing Denali?
- How cold is Denali?
- How about the Mount Denali Packing list?
Why I climbed Denali
I had dedicated 10 years of my life to be the first Irish person to visit every country in the world. And 5 years ago, in 2017, when I finished, I was left so empty. The next 6 months were probably the worst of my life. I thought I’d be basking in the glory of reaching my dream. But it was the opposite. I was depressed. Putting on weight, eating too much, drinking too much alcohol, my business went to sh*t because I couldn’t be bothered with it at all. I lost all motivation for life. And it sucked. I did some deep soul-searching and was honest to myself. I’m a goal-orientated person. Without my eyes on a prize, I struggle. So Snap of it johnny boy. Set a big goal.
1st person to visit every country and climb 7 summits:
So I decided to try to become the 1st person to visit every country and climb 7 summits (the highest mountain on each continent). I had never climbed a real mountain though. Kilimanjaro, as a hungover backpacker perhaps.
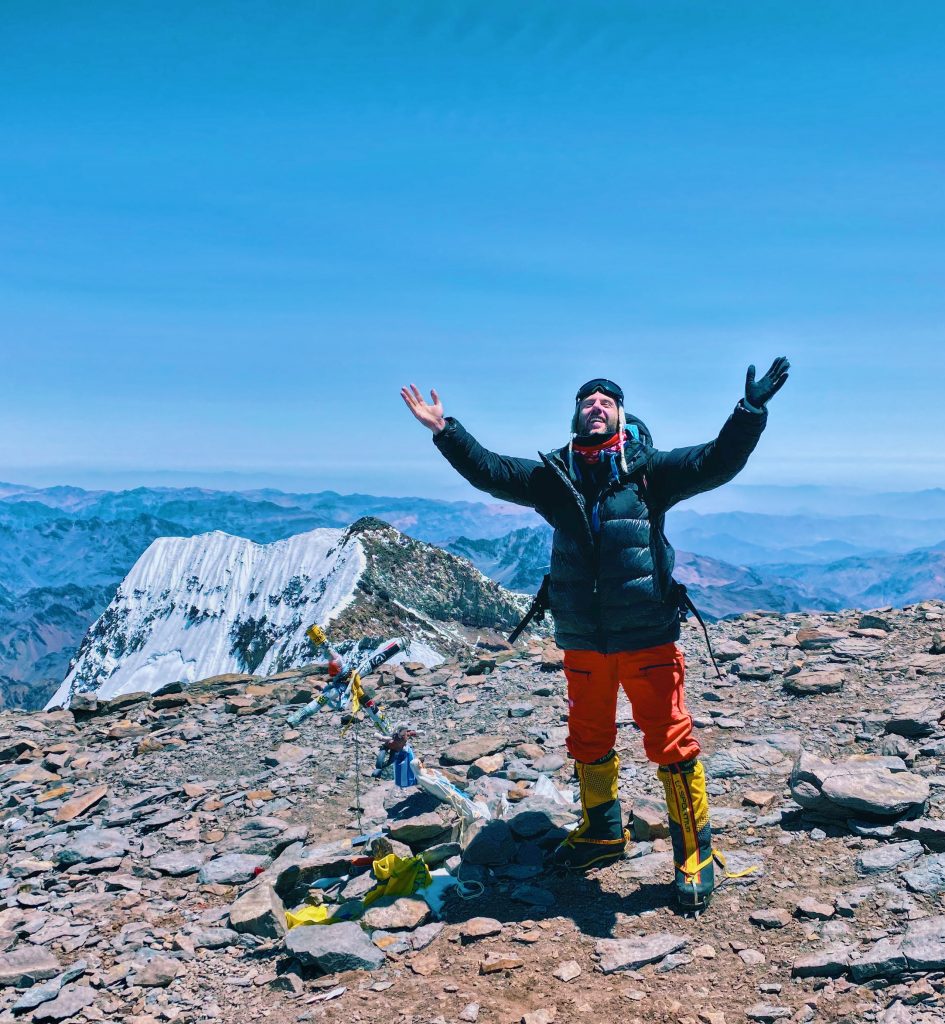
So I started. Elbrus (Europe’s highest mountain) next. Mont Blanc, in France. Punjack Jaya, Indonesia (Australasia’s highest peak). Even flew to, and ‘climbed’, Australia’s highest peak when I climbed’ Mount Kosciuszko to cover all bases. And also flew to Argentina to take on Aconcagua (twice, once I failed, 2nd time managed to get it!). So 4 of the 7 Summits done.
Denali now would be 5, Everest is already booked for April and May 2023, and then Vinson, Antarctica winter of 2024 if i can afford it.
Preparing for climbing Denali
I have been living in Thailand for over 10 years. It’s my base when I’m not traveling. So I began training for Denali in December 2021. That gave me about 5 or 6 months before the climb. And I trained hard. Mostly cardio. Running up and down mountains in Chiang Mai, in the north of Thailand.
There was one huge problem with my training schedule though. I had just got married in Thailand, and I had a one-month long honeymoon booked for all of April. Paris, Rome, Lake Como, Venice, Florence, Rome and Sicily.
So the month before my climbing Denali expedition began, I drunk wine every single day, and ate pizza almost every single day. Through in plenty of gelato and tiarmisu and it’s not ideal preparation for climbing Denali. But I had to put my life, and my wife first, so my training took a hit there. I managed to get a handful of runs in along the way. All-in-all, if you’re looking at advice on how to train for Denali, I’m not the man to ask! But my simple advice would be don’t go for a 5 week holiday the month before, it’s moronic.

MY DENALI EXPEDITION BEGINS
After my training, I was fit. I could have been fitter of course, because the Euro-trip dampened the fitness, and added a few kgs. All in all I was probably at 6.5/10 fitness. Hopefully that would be enough.
I booked my climbing Denali expedition with Jagged Globe, a famous UK-based expedition organiser. Would I recommend them? Well, Rosie, the lady I dealt with throughout was great. And their communication in general was excellent. But personally I had booked Denali for 2020, then Covid hit, and Jagged Globe refused to refund me. So I’m not in love with their owners, or their policy. They essentially made me rebook with them as they held on to my money regardless. I couldn’t have gone with another operator without having to pay twice. Also, they don’t run the expedition! They simple outsource it to American Alpine Institute.
TOP-TIP: Save $2k on your Denali climb!
Book directly with American Alpine Institute and save yourself $2k off the middle men. Check them out HERE.
One good thing about climbing with a middle-man like Jagged Globe was that they put a group of Irish and British people together. I ended up being with an amazing group of guys – Irish, Welsh, English and they were tip-top. To be frank, in the end I would have happily paid the $2k ‘fee’ if I had known I could climb with these guys. So all’s well that ends well I guess.
ARRIVING IN ALASKA
Aside from the training and getting your mountain gear ready, the first step for climbing Denali is getting yourself to Alaska. I flew Air France from UK to Anchorage, Alaska. Via Chicago. I arrived a couple of days early to try to beat the jet lag, but I was meeting a close friend of mine, Bryan, there so our plans to beat jetlag just ended up with a 10 hour drinking session/reunion in one of the local bars. Genius.
2 days later, the other climbers arrived. There were 7 of us in total. We had 2 nights in an Anchorage hotel, our climbing briefing with our 3 mountain guides, a gear check and some food preparation. All pretty simple but I was starting to feel very nervous about the whole thing. You have a chance to pick-up any last minute gear in town too, we all had to frantically do that, so don’t worry if you’ve forgotten anything, they have it all in Anchorage.
Suddenly the prospect of a month in -20,-30 even -40 degrees sounded pretty daunting. Reality set-in. The night before we flew to Denali National Park I hardly slept a wink. In fact, I felt on the edge of a panic attack. I’ve never experienced that before. I honestly think it was because last year I had such an emotional and difficult experience rowing across the Atlantic ocean, that I was worried about having those feelings again. But I had signed up for this, trained and paid for it. So I kept it to myself and figured once I get going, it’ll be fine.
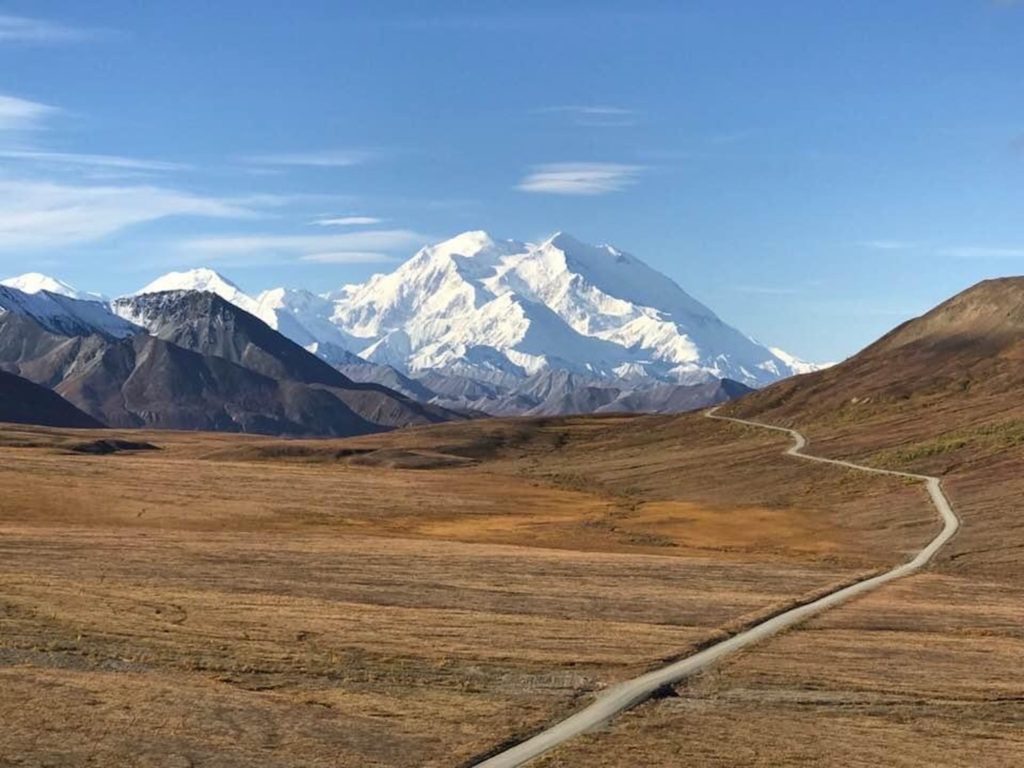
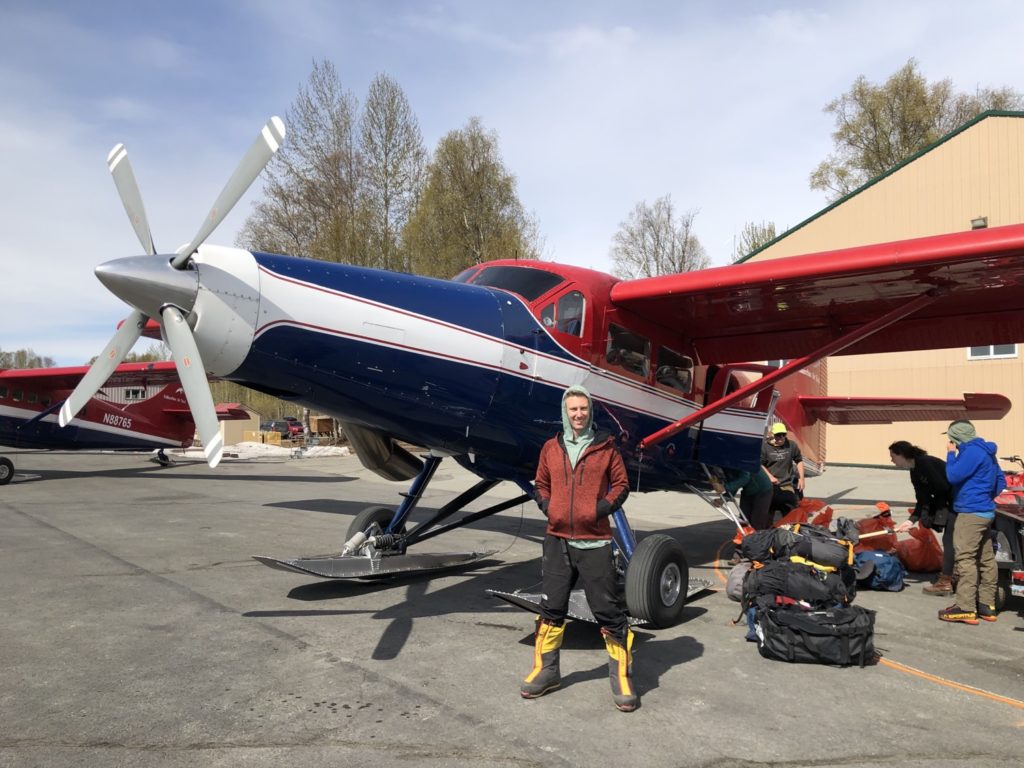
The following morning we had a light breakfast, our last ‘proper’ food, shower, and sleep were over. We drove the 2 hours to the village of Talkeetna. Seeing Denali in the distance was pretty intimidating. It looked MASSIVE. And freezing! Anyway, we got to Talkeetna, where we boarded our propeller plane and flew onto the glacier where Denali’s base camp would be. We were off. The flight was spectacular, and also a big warning as to what would be facing us ahead!
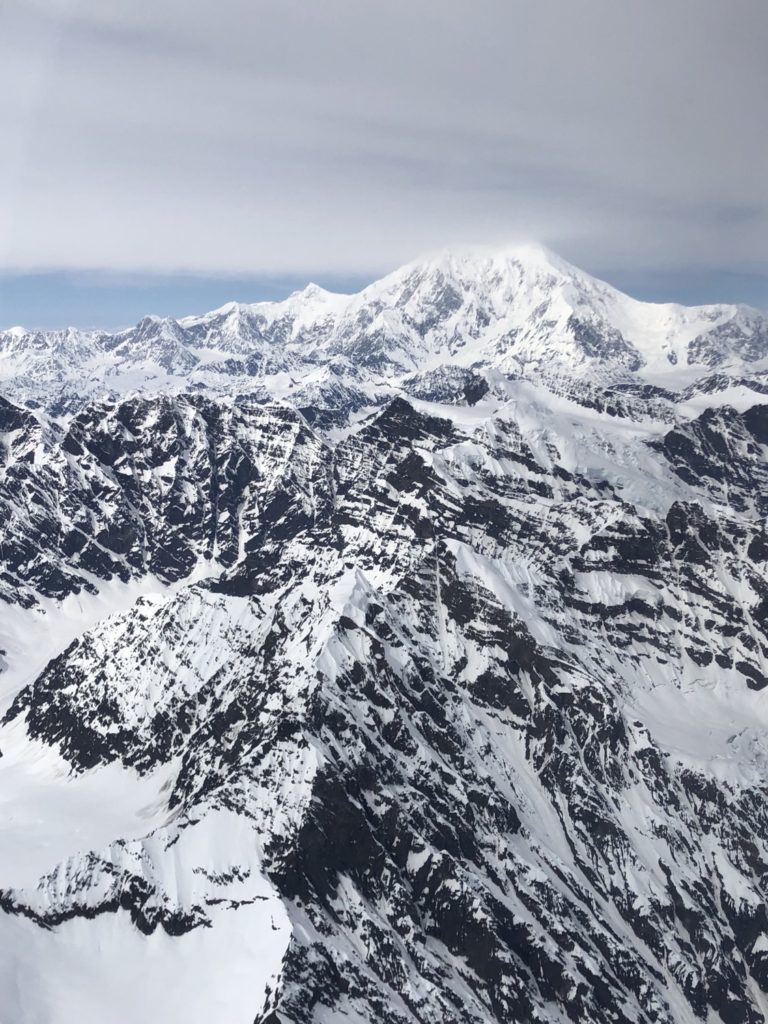
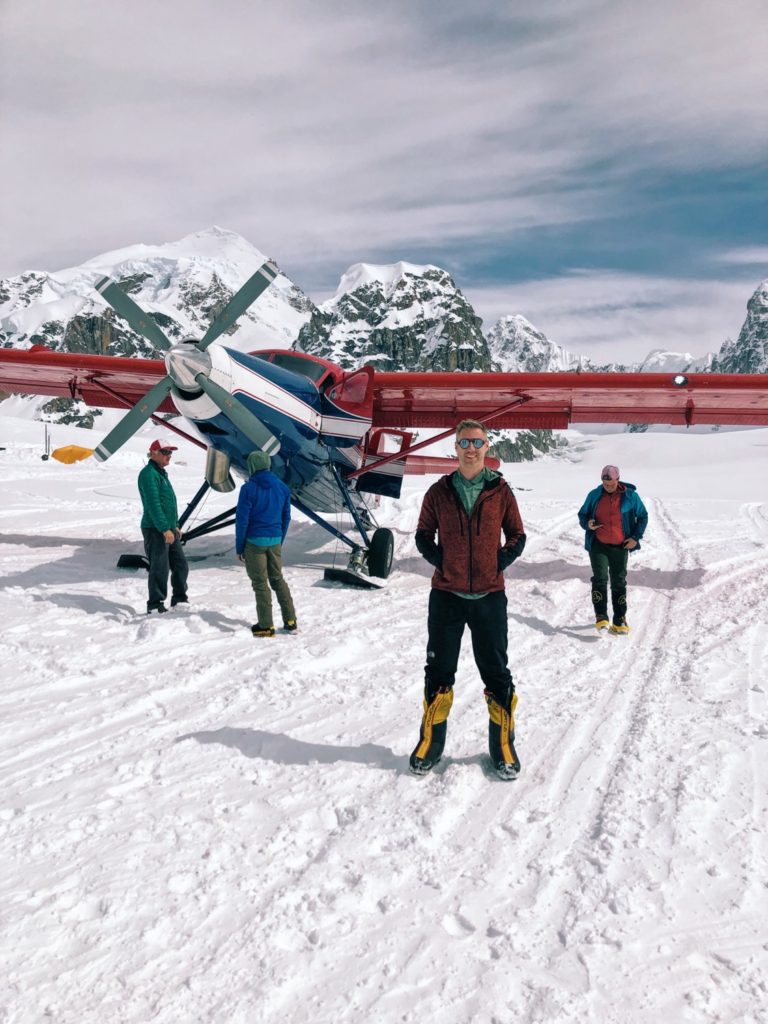
From base camp, our Denali Expedition would look like this, although the weather could change this at any time of course. I had left the UK on May 10th, so this was effectively day 5 for me already! But officially it was Day 3 of the actual expedition, so here we go:
Our Denali Expedition Schedule:
Day 3: Arrive at Base Camp, sleep at Base Camp
We arrived in Base Camp and set-up our tents. This was our first night in tents and still getting to know the group and the guides. The weather was ok. Not so cold in the night, and even ‘warm’ before the sun went down .
I was sharing my tent with Bryan, who I’ve known for years and that was a massive help. Good banter, chill, no drama and no having to get to know someone. It’s so much easier that way, I was very grateful to have him instantly!
We had no hard work to do today aside from getting used to the sleeping quarters, and preparing the ground for our camp. I could feel the altitude a tiny bit, with shortness of breath, but all-in-all a comfortable first day. We experimented with the snow shoes a bit too. We’d be wearing those badboys for the first 10 days or so, as we trek through deep snow. Then switch out of the snow shoes and into crampons for the next 10 days or so as we reach higher altitude, where the snow will have frozen.
I was also pleasantly surprised to see we had a dining tent. Here our lead guide, Andy (an absolute mountain beast by the way) would set up the tent but dig out the bottom of it, allowing our whole group to stand in the tent and eat brekkie and dinner together. It’s a huge boost for morale. And stops you from spending every resting second in your own tent.
Day 4: MOVE DAY to Camp 1 (2,400m altitude, 7,700 feet), sleep at Camp 1
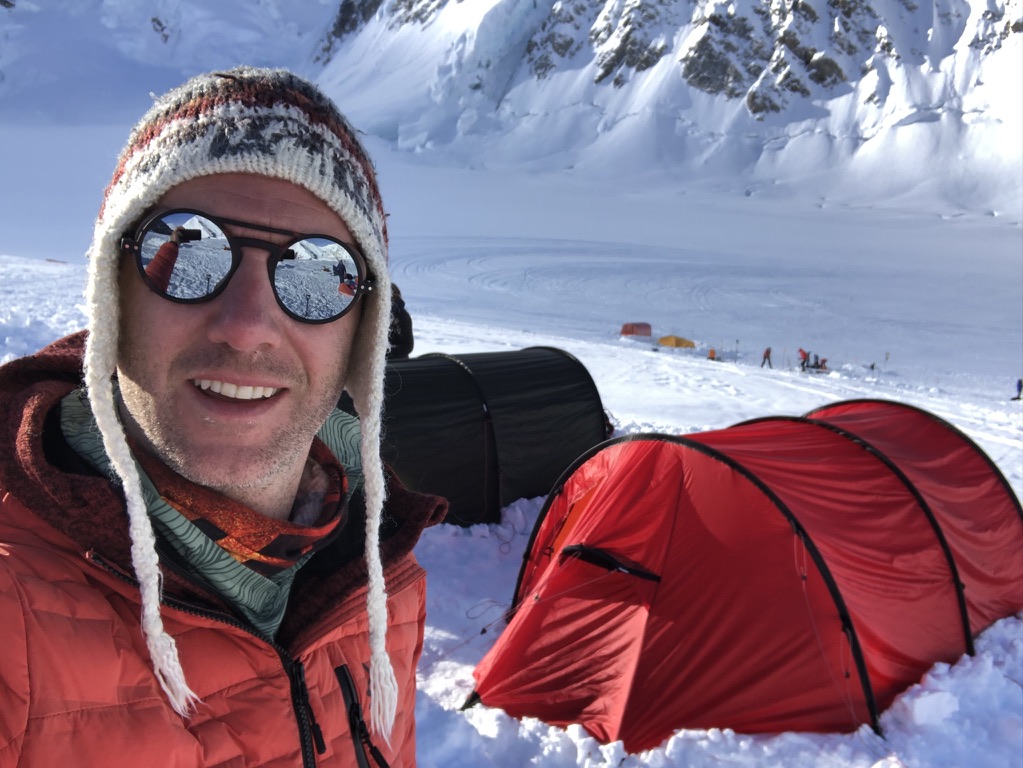
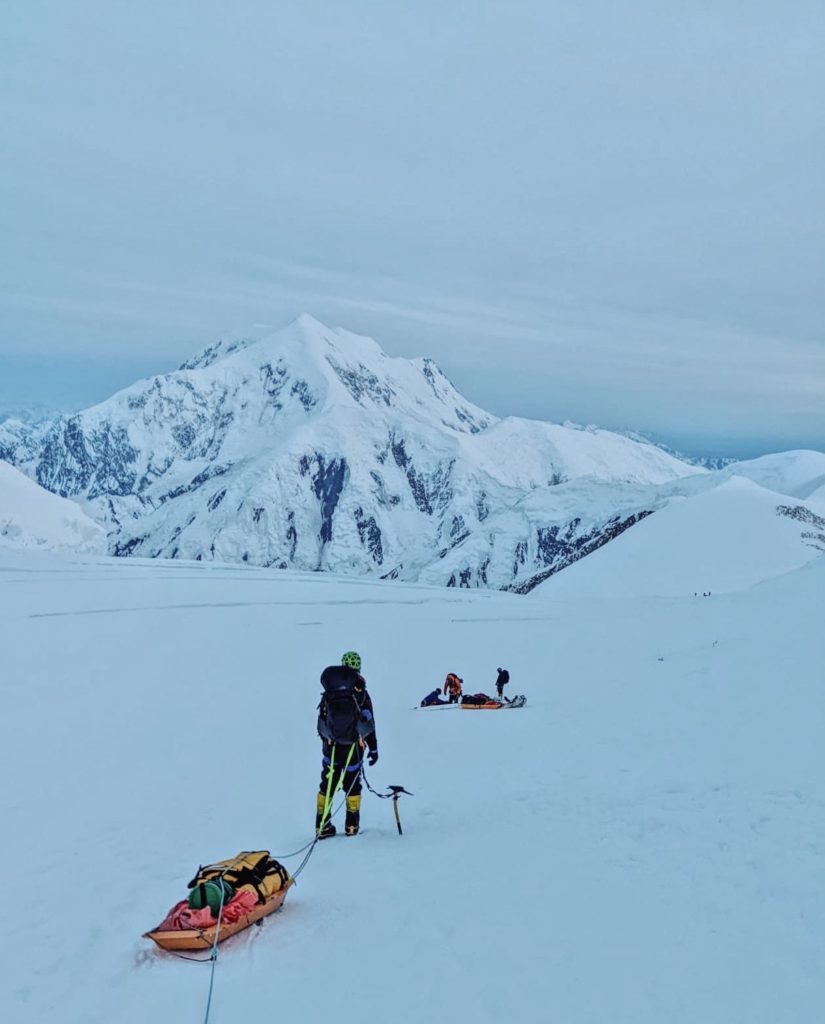
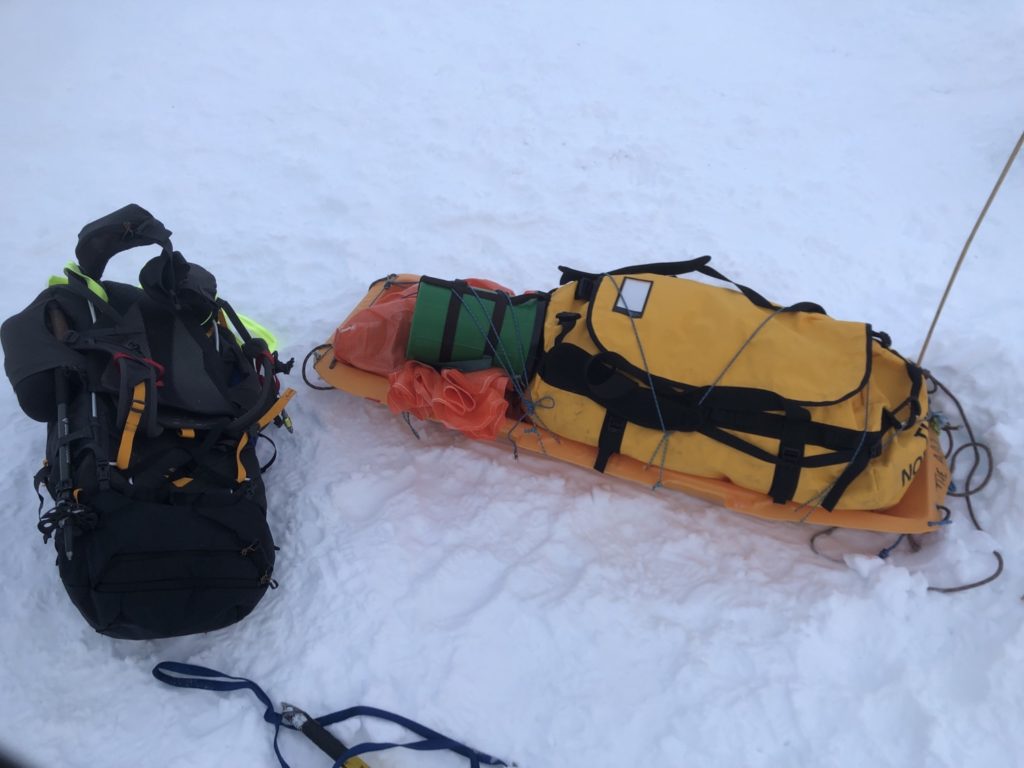
We woke up before sunrise. It was chilly. Maybe -10 (50 farenheit). Each morning we have breakfast together as a group, then we break down camp, repack our bags and get going. So today was our first day to do that. It takes a couple of hours to break down camp, especially with your fingers freezing up, then you have to prepare your sled, strap on the 25kgs (55lbs) of gear tightly to make sure nothing falls off. Then prepare the next 25kgs in your backpack (another 55lbs). Then tie yourselves on to groups of 2 or 3 to prepare yourself if you fall down a glacial crack, or crevasse. And finally when all that’s done, you can set off for your long day trekking in the snow and ice!
Today was our first day doing it, and it’s often said that today is one of the toughest days. 8-10 hours with the full 50kgs+ (110lbs+) load to drag and carry. A long, slow day.
Looking back, after all the fear that I held, it was a relief to finally feel like working hard. Truth be told, I struggled in the morning. The cold had a bite, and after so many months in Thailand I wasn’t quite ready for that. And I have no knowledge of tying knots, so I felt a bit of a dead weight, asking people to help prepare my sled to get moving.
Freeze or fry…
Once we were on the slog though, all good. Apart from the temperatures. “Freeze or fry” is about the height of it. As the sun rose, and we were surrounded in huge, majestic, snow-capped mountains, it was cold. Bearable but bloody cold. As soon as the sun hit us, instantly roasting. Sweating. Which is not good in these temperatures and your body temperature can plummet, your sweat can freeze and then you’re in trouble.
So working out the layering system, and your gear is a challenge. So today was a good day to get this stuff wrong, and learn on the job, whilst still at low altitude and with the weather not being too severe.
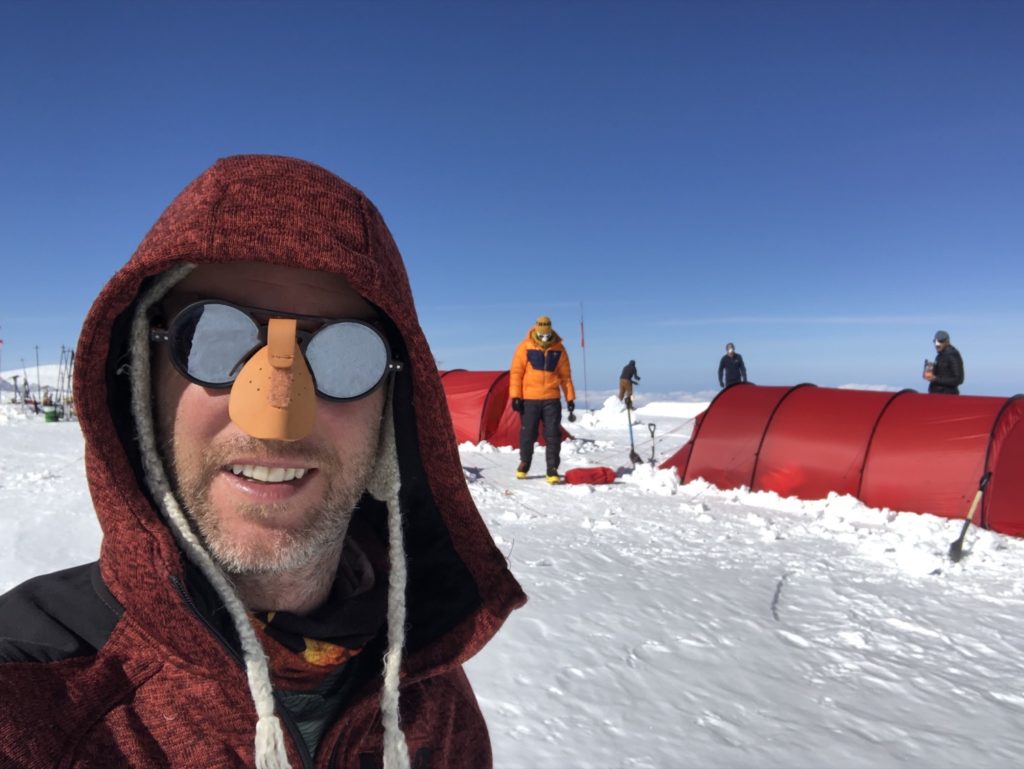
I’m an overthinker, so after all the stress of the trip, to be out here suffering, this is what I can do. I can control the controllables. Dig deep, one foot in front of the other, breathe. Nothing else to worry about. Finally I was excited, and enjoying the task ahead. That being said, I’m still a pasty-skinned Irishman, so I managed to get very sunburnt on day 1. Lesson learned instantly. Wear more sunscreen, wear a hat, wear a noseguard.
One death.
The day as whole though was so so beautiful. Trekking across endless huge glaciers. It’s a special place. And you have nothing but your thoughts to keep you company while you plod on. This kind of self-inflicted torture, to set a goal and risk failure, and come to terms with your thoughts. It’s true meditation. It freaks me out, so I have to do it more.
We finally reached camp and as we set up our tents in Camp 1 we heard mumurs of the season’s first death. Soon we found out an Austrian solo climber, 1 day ahead of us, had died a few hours previously. He had fallen down a crevasse near our camp. If we didn’t know this was a serious mountain before today, I was certainly aware of it now. Wow.
Day 5: Cache carry, back to sleep at Camp 1
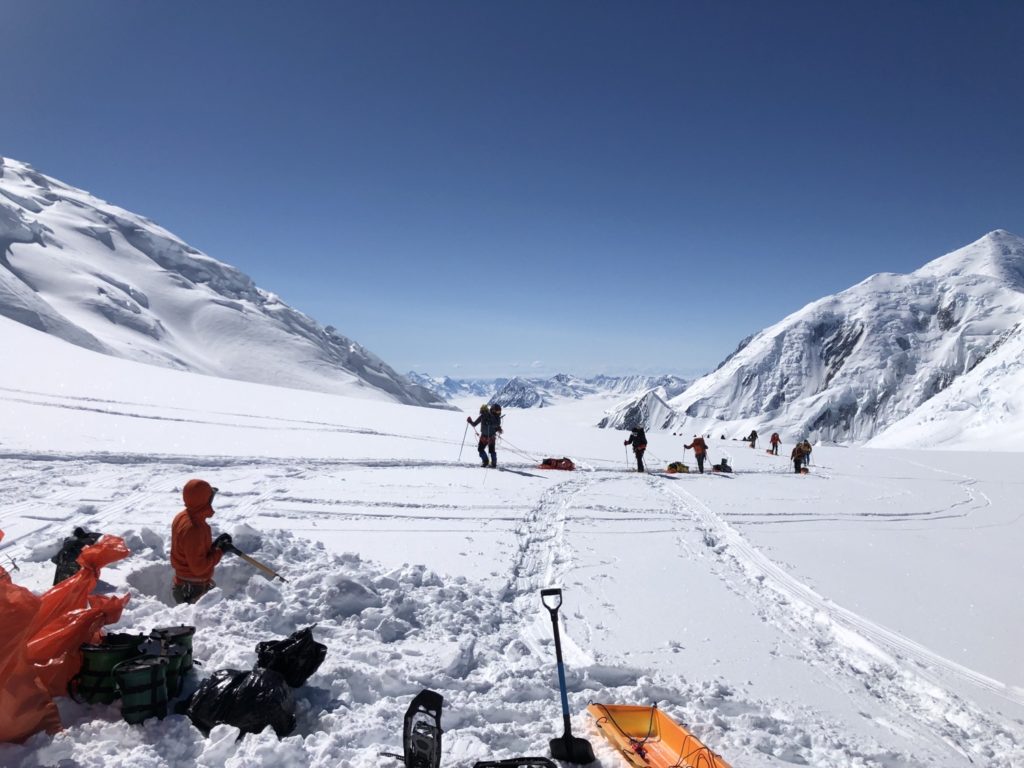
The muscles were burning a little this morning! And another chilly, early breakfast in the cook-tent. Today we would be doing our first ‘cache’. This is when you bring half of all the gear you need for the next camp and dump it 70% or so of the way to the next camp. That way you don’t need to carry everything each time. It also allows a little more time to get used to the new altitude.
We began our hike and it was a little tougher than I expected. Again spectacular views, but our group of 7 was soon to crack. Dave, a guy I had met previously on our Aconcagua trek, was struggling and after 8 hours or so he had mentioned to our team leader that he was considering calling it a day. His training hadn’t gone according to plan due to a pretty cool walk across England. It had been with his girlfriend, and was done at a leisurely pace over months. That mean little heart-rate training, and general fitness so the long days and heavy weights took their toll. He promised to give it one last shot tomorrow. And tomorrow was going to be tough.
Once we reached our cache station, we simply dug a large hole in the deep snow, and threw all our gear into the hole, then refilled it. Simple. We’d come back and dig it out again at a later date.
Day 6: MOVE DAY to Camp 2 (3,350m/11000ft), sleep at Camp 2
Move days are the hardest. It involves at 5.30/6am wake-up, brekkie in the freezing cold, then packing up all of camp, preparing the sleds and then getting going. All-in-all the process can take 3 or 3 hours before you even set off. And as we get higher, the air is thinner and the temperatures are colder. Fixing the sled, with the knots, in the cold is brutal on my hands. I learn to hate it every morning, but it has to be done. So crack on regardless.
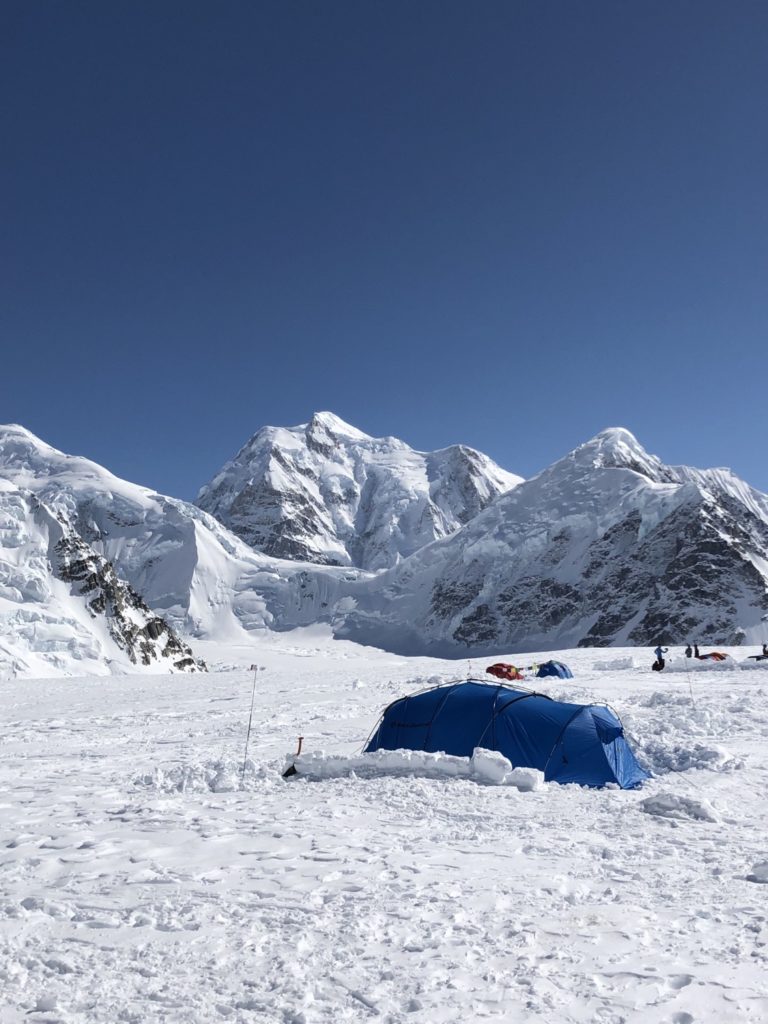
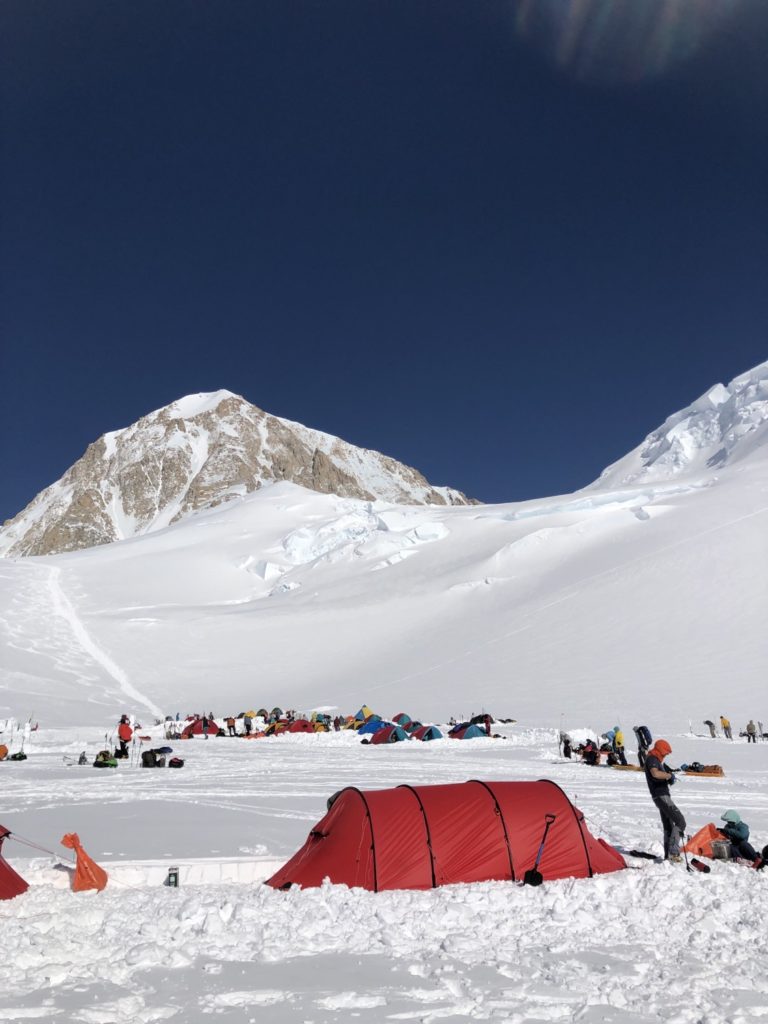
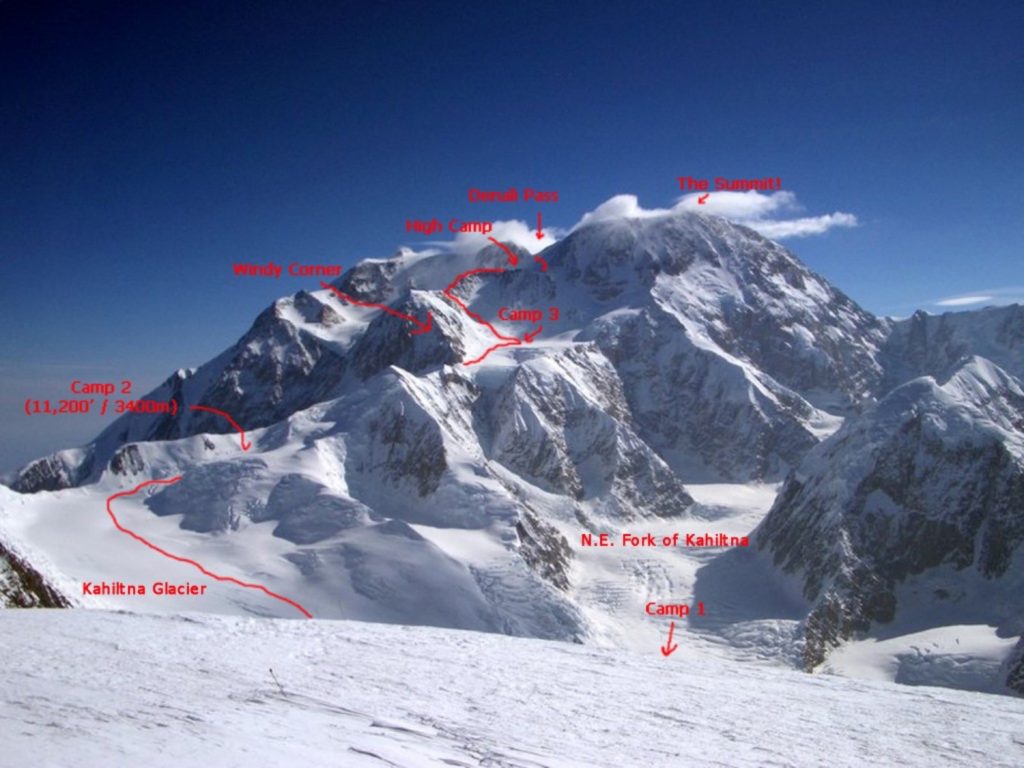
Today we’d move past the point where we cached our stuff yesterday, and onwards on to Camp 2. A new altitude at 3,350m (11,000 feet). This is where we’d start noticing a shortness of breath, even as we sleep. And it’s a steep climb today to add to it all.
6am start, and we probably tramped into camp around 4pm. The last 2 hours were the first “oh sh*t” moment on the climb for me. It was tough. And it was steep. I was tied on to both Bryan and Dave. And I could see Dave struggling even more than me. We were taking a lot of breaks and falling behind the rest of the group. Selfishly, I was happy for the breaks each time. It wasn’t easy for me either, and I know Bryan was feeling the same now too.
The last hill we climbed to get into camp was nothing short of brutal. Out of breath as if we’d run a 5km after every 10 steps or so. Dave had actually asked the expedition leader to call it a day, but that’s the thing about high altitude mountain expeditions. Even if you want to quit, you have to get the right spot to quit. You can’t stay out and exposed. So on we trudged until we got to Camp 2.
Building a new camp
Time to rest, finally. Not! Each move day means that when you reach camp, you have to prepare a whole new camp. So no matter how f*cked you are, you have to dig out a flat platform, build ice walls, set-up tents. It can take hours. And it’s the last thing you want to do after a whole day of struggling.
I’m super injury prone, and my expedition took a turn for the worse at this juncture. I pick up an ice axe was digging into the ground aggressively, and quickly. Having to prep camp is hell, so might as well work hard and fast and get the bloody thing done. Whack. I cracked the axe into a rock, and cracked something in the back of my left hand. My hands were freezing so I didn’t know how bad it was, but I could no longer clench my first. Not good.
We did the best we could, and clambered into our new Camp 12 hours or so after we set out this morning. Relieved, tired and happy as a group.
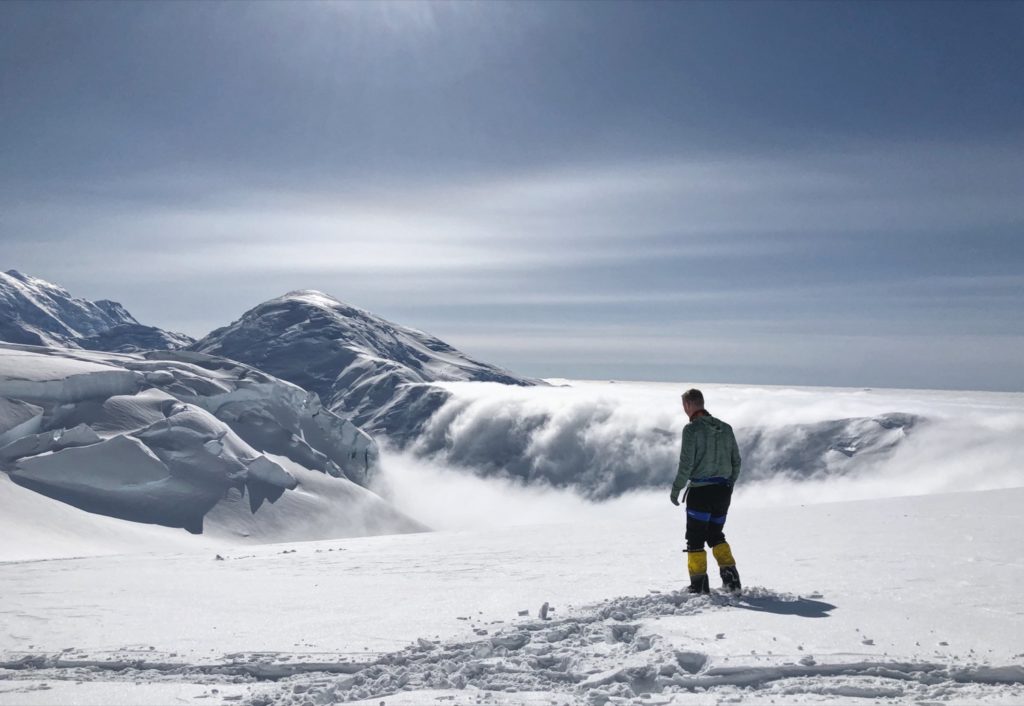
Sadly, we saw Dave chatting deeply with the leader and we came to learn that this was the end of Dave’s climb. 7 became 6. And that night, Dave would be escorted off the mountain. A 2 day walk to the base camp, and a snow-plane back to Talkeetna. Heartbreaking.
Day 7: Back carry to cache, back to sleep at Camp 2
We woke up this morning, and Dave was gone. It’s a weird feeling. Bryan was still suffering from yesterday’s exertions too, so he rested at Camp 2 while the rest of us climbed back down the hill to where we had cached our gear a couple of days ago.
Walking down hill, with no bags, was a dream. Still a little weary from yesterday, it felt like a confidence booster to be free from our bags for a while. I fashioned a weird, kind of handle with my gloves and a strap that meant I could ‘grip’ my left walking pole by wrapping my arm around it and putting pressure with my wrist. My left hand had swollen up a chunk, but I only told Bryan, terrified that the exped leader would force me to go home. So I shut my mouth and just worked on.
We dug out our cache, and carried it back up that bloody steep hill. Back to Camp 2 for a restful half-day. Job done.
Day 8: Cache carry, back to sleep at Camp 2
Another cache day. So we’d pack half our gear, and walk 70% of the way to next camp, dig a whole, bury it all at 13,500ft/4,100m, and walk back to Camp 2 to sleep.
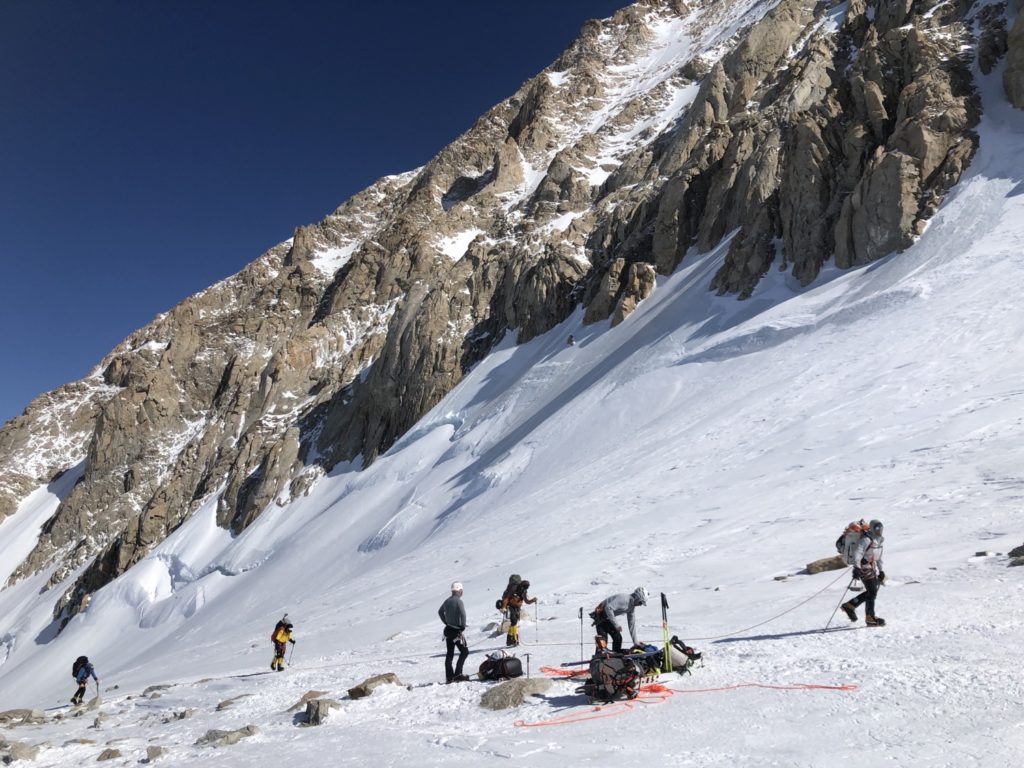
This time though we had the added difficult of the infamous ‘Windy Corner’ in Denali. You have to climb i3 super steep hills all morning. Knackering. Then finally when you’re nearly at the cache point, you have to attach yourself to fixed ropes, and bend around a ice-packed corner, where the wind can brutalise you. Worse than that though is that the fixed ropes only cover 50% or so of the corner. Which means oyu have to be sure footed for the other 50%. Fall and your dead.
I’m not great with heights (to say the least!) so while normally on expeditions I’m the one trying to push the pace, windy corner nearly had me beaten. “Don’t look down, don’t look down“. Despite the -15 afternoon temperatures I was drenched with sweat. So relieved to get to the other side. We buried our stuff and tried to eat something for lunch. I struggled to eat anything knowing that I had to go back across windy corner to begin the descent back down to Camp 2 for the night.
Getting back to camp, the day’s exertions had really worsened my left hand. I couldn’t use it to get my mountain boots on or off, could barely eat 2 handed. I was genuinely worried that when we reached the rock-climbing section in a couple of days, I wouldn’t be able to hold my weight.
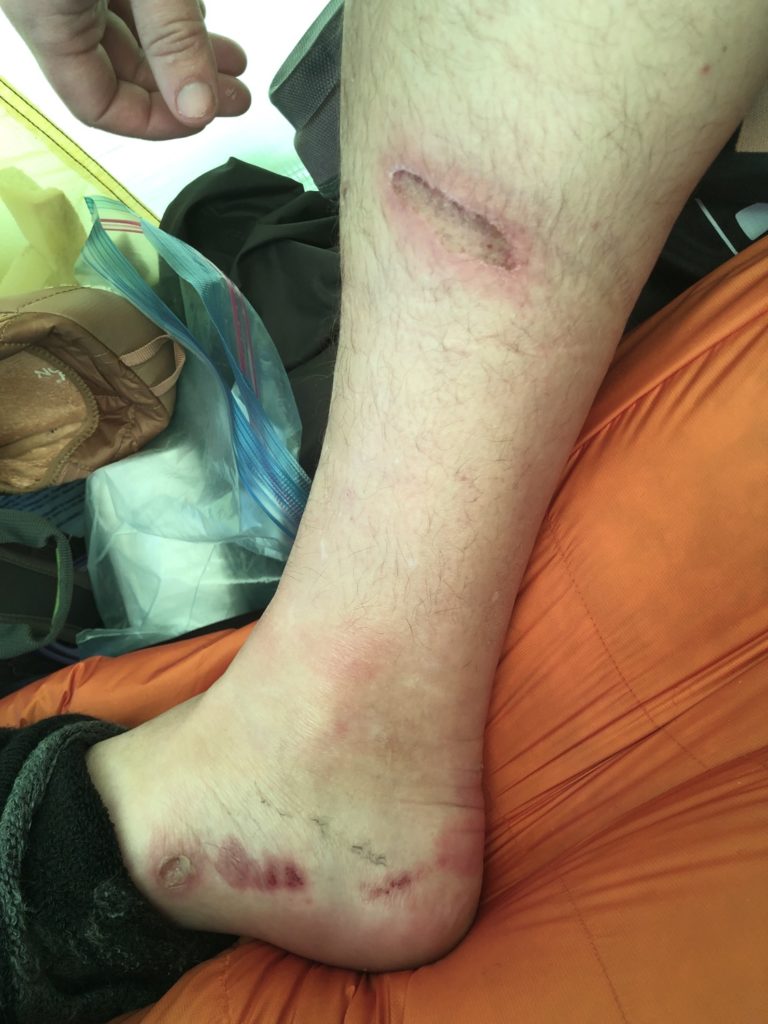
Also, Bryan was hurting bad too. His boots weren’t fitting correctly, and they were digging deep into his calves. All-in-all, the war wounds were beginning to mount.
Day 9: MOVE DAY to Camp 3 (4,300m/14,200 feet), sleep at Camp 3
The weather has been kind so far. We hadn’t lose any days to extreme colds or extreme winds. So although normally you would take a couple of rest days or acclimatization days by this point, due to the unpredictable weather on Denali, when it’s good you have to use it and keep going.
So ahead of schedule, today would be another move day. A 5am wake-up, breakdown camp, prepare the sleds, pack the bags. We switched from Snow Shoes to crampons though and that felt like a little victory.
We attacked the 3 hills, and windy corner (equally as terrifying as yesterday) and reach Camp 3 in good time. It felt like the longest day so far, but I was in the best spirits I had been. Camp 3 is just 1 stop from high camp, and high camp is 1 or 2 days from the Summit Attempt.
So we weren’t there by any stretch, but from here we could wait for a weather window hopefully. It was real progress.
Setting up camp was hell. Bryan was destroyed from the climb, and my hand was a mess, so the pair of us were as much use as chocolate teapots trying to help the boys set-up camp. I told the rest of the climbers about my hand, terrified they’d think I was just being lazy. But I still couldn’t tell the group leaders, so I’m pretty sure they thought I was being a bum. Fair enough. I’d prefer that than them knowing the truth.
The altitude finally felt ‘high’. Quickly nipping for a pee, or unpacking our rucksacks in the tent too fast would result in being a bit out of breathe. A weird sensation.
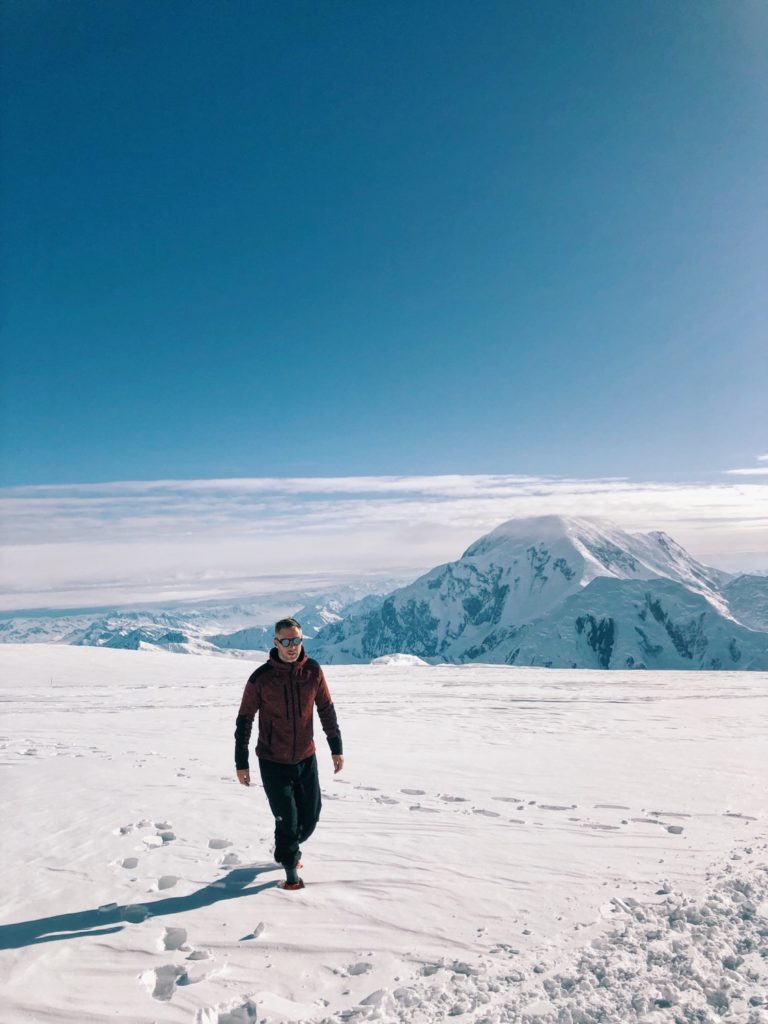
Day 10: Back carry to cache, sleep at Camp 3
Waking up at ‘real’ altitutude is always weird. Thankfully, though, we finally have a ‘lie in’. No crazy early starts. Around 8am we make our way to breakfast at the dining tent. The views throughout the last 10 days had been amazing of course, but at Camp 3 it was honestly something else. And the weather had been so perfect. Not one lost day to weather, so far so good.
We had to go back to just around ‘Windy Corner’ to pick up our stuff from a couple of days ago which we had buried. So that was all that was on the cards for today. Maybe 4 or 5 hours. Down and back up again. Finally my hand could have a bit of a rest. No digging, just trekking. No sled preparation either, so I could keep my hand locked away, strapped up and in a glove.
Things were looking good. And when I dug out dinner from my backpack, discovering a curry from my adopted home, Thailand, I knew it was a good omen!
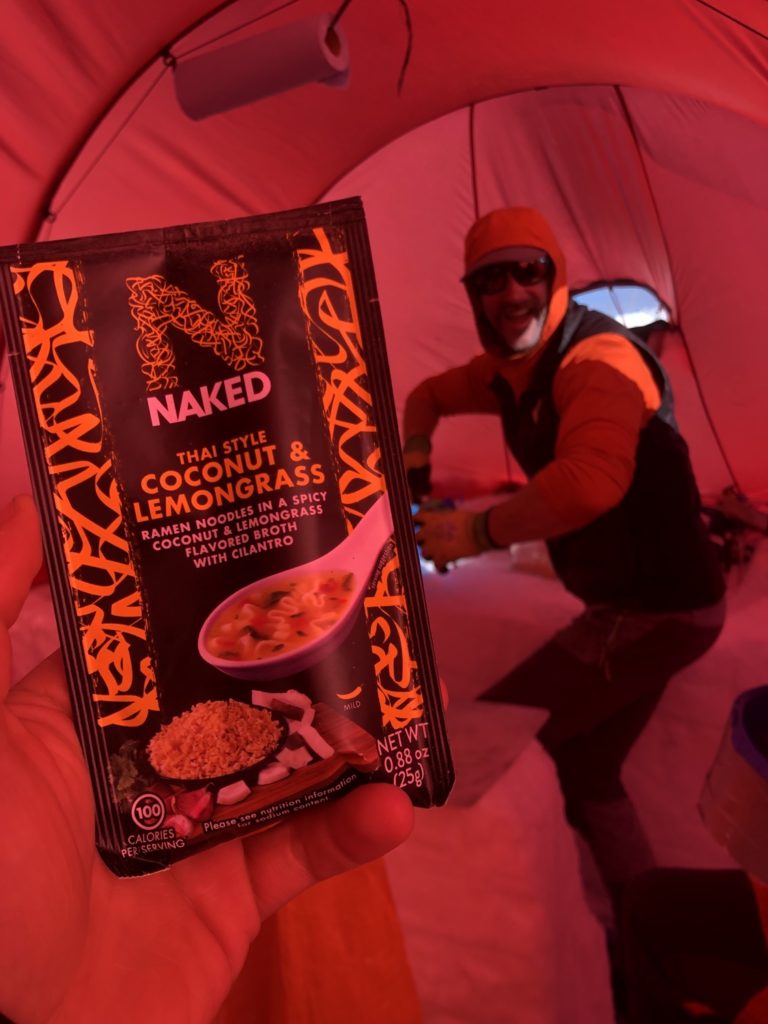
Day 11: First rest day! Sleep at Camp 3
Chatting with our expedition leaders, the perfect weather we’ve been having as come to an end. Still, it could be worse. There were no awful conditions impending, but the wind is due to pick-up and the temperatures due to drop.
In fact, the fixed ropes (the rock climbing section ahead of us) still hadn’t thawed from last year yet. The first time ever. So temperatures, despite the ‘good’ weather, had never been so low. And they were dropping.
Finally, after 10 consecutive days of moving, with the weather worsening, we take our first rest day. If you know me, I hate this. It kills me. I know it’s good for you. Equally, I know it helps get used to the altitude. I know we can prep our gear, eat well, sleep well etc etc. But I hate it. It feels like we’re going backwards. But of course we suck it up, eyes on the prize. A few extra days won’t matter as long as we reach the top!
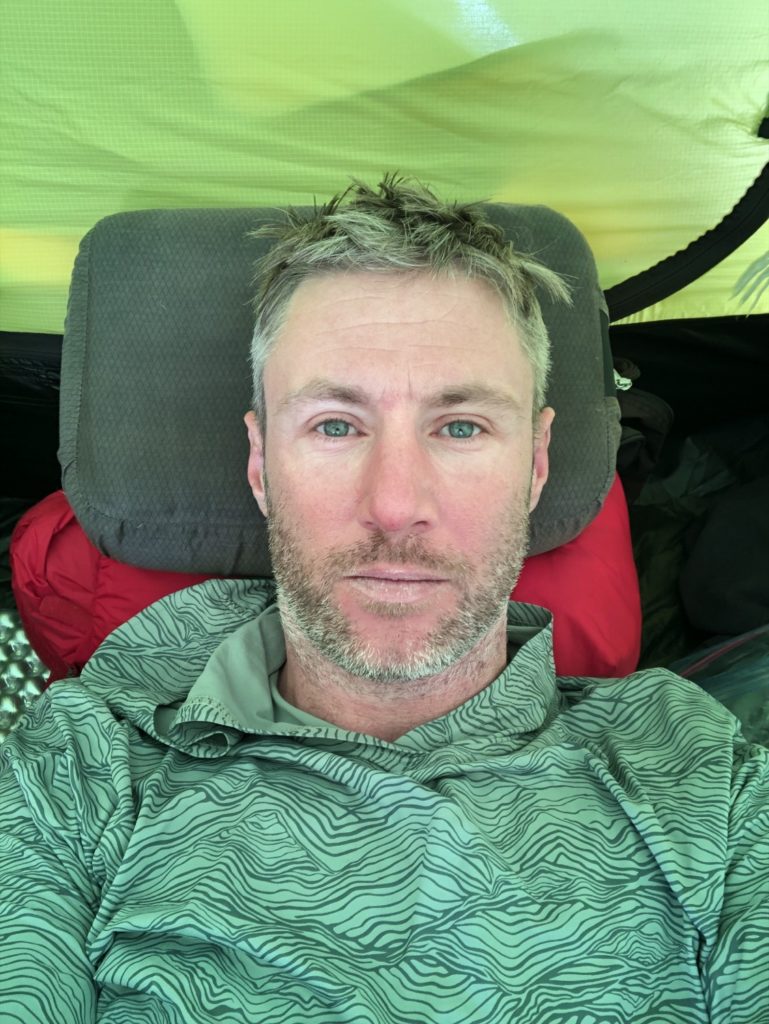
Day 12: Cache up fixed ropes, back to sleep at Camp 3
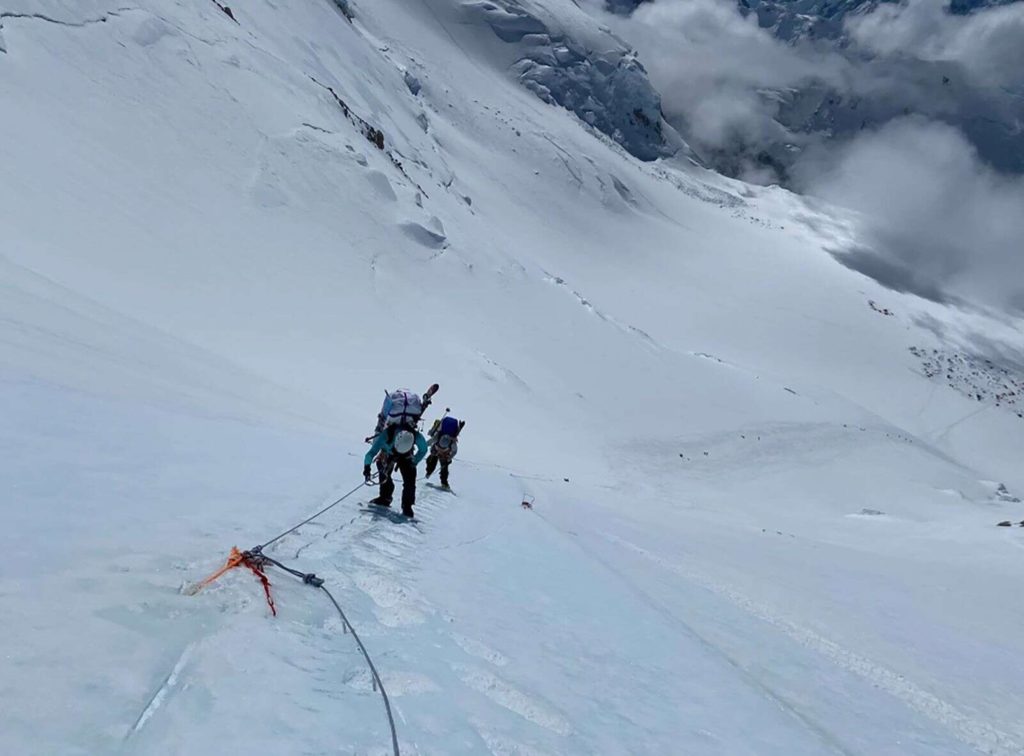
Today was a big one. For a start we’d be making our way half way to high-camp, up to 4,900m (16,100ft). But also because we’d be going up the famous Denali fixed ropes. A sheer mountain cliff face, frozen solid, with a sheer drop should you fail to clip into the ropes properly (and then probably death).
So an early start once more. 6am or so, brekkie at 7-8am. Gear prep then off we go. An hour or 2 to the bottom of the fixed lines, a couple of hours or so up, dig a hole, cache our gear, then return down the fixed ropes and celebrate tonight.
It was FREEZING when we started. My hands were ice blocks. I was nervous about climbing the fixed ropes, and my hands were making it worse still. Although the frozen nature of them was keeping the pain at bay at least, so every cloud and all that.
Once we reached the fixed lines, we were at the front of most of the expeditions. Our team was strong and fit. But today was the first time I felt like I was truly struggling. Once we started the sheer climbing, I was pretty damn scared about falling to my death. I’m not good with heights, so this was a challenge. As my hand thawed out from working hard, it began to throb. Before long it was agony. And the pace was fast. Doing it with my weak left hand/arm as my primary climber was really tricky.
Anyway, 2 hours later I was at the top. So whatever, it was done. We reached the peak and we got belted with 50kmph winds and -25 degree temperatures. From sweating up with fixed lines to instantly risk of severe frost bite. Wow.
We tried to eat and drink as we cached our stuff, but at the those temperatures and in those conditions, it wasn’t easy. We were delighted to quickly return down over the peak, onto the fixed ropes, just to protect ourselves from the deafening wind, and heat up a bit. 3 hours or so we were back at camp. Phew.
Day 13: Another rest/acclimatization day, sleep at Camp 3
A challenging day yesterday. First day in a long time I felt close to capacity for fitness (and pain threshold). Bryan too had had a tough day with losing his ice-axe and the weight of the bag. So when it was decided today would be our 2nd, and perhaps last, rest day it was welcomed. No frustration this time around.
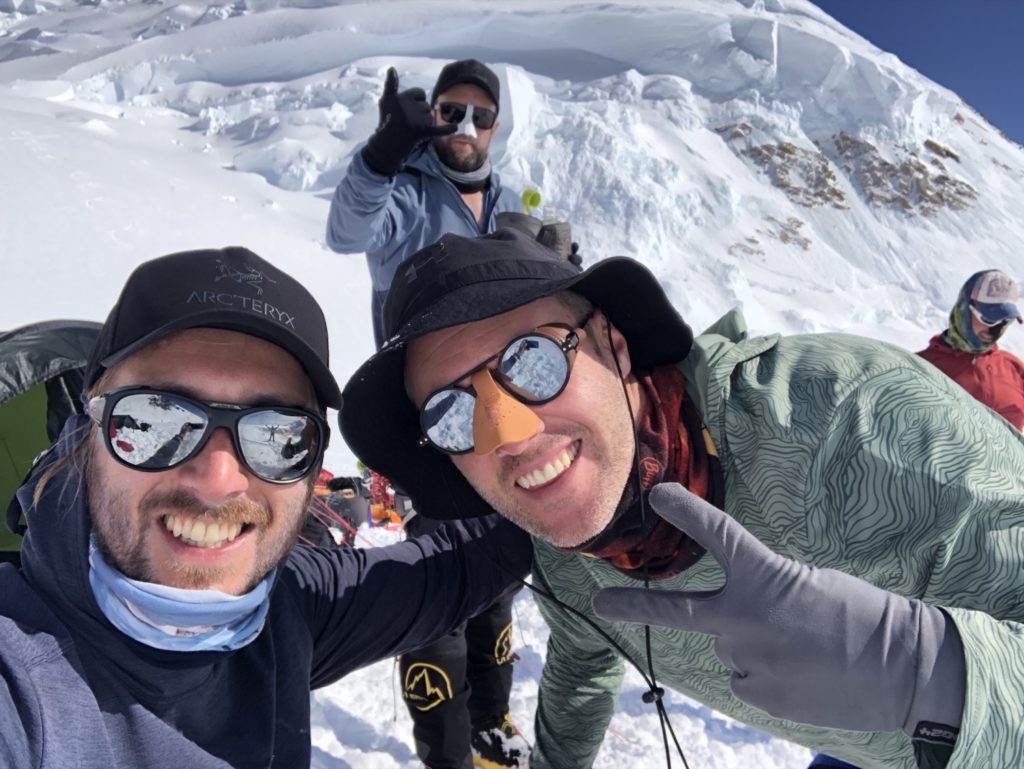
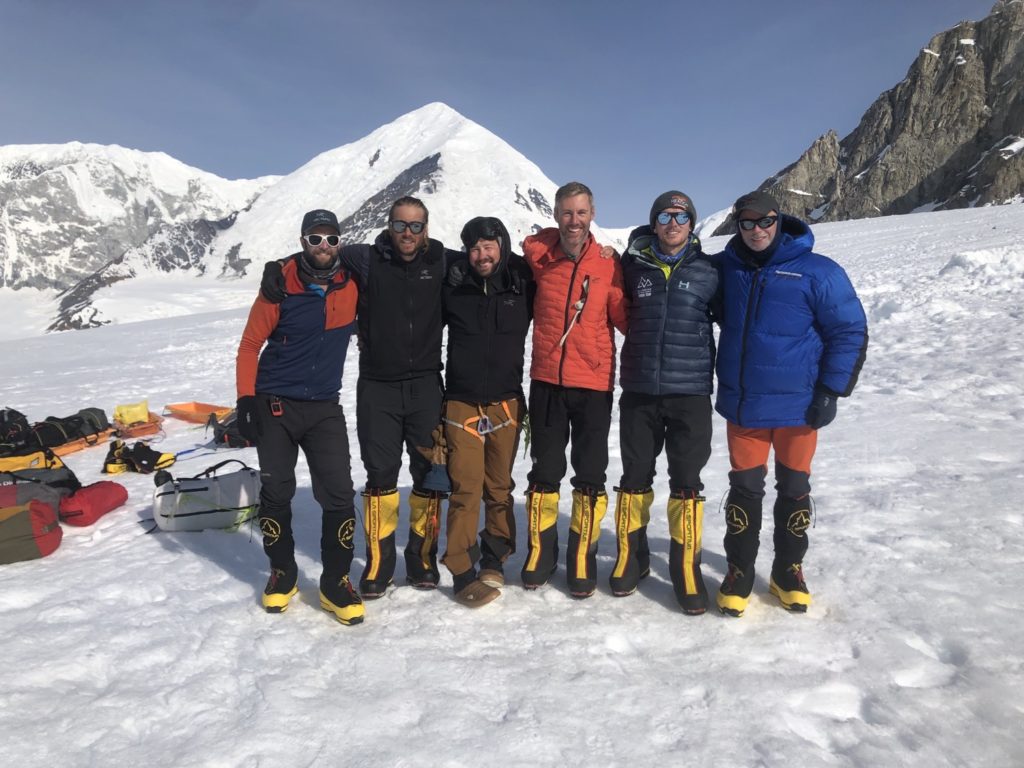
We hung around camp with the boys. Alex, Craig, Tom, Keith, Bryan and myself. Getting on great, and delighted to be climbing with them. A couple of mini-photo shoots. Smiles, laughs and recovery. Exactly what we needed. Until dinner. Then the clouds moved in. And the temperatures dropped once more. Our summit plans, after 2 weeks of good weather, were in jeopardy.
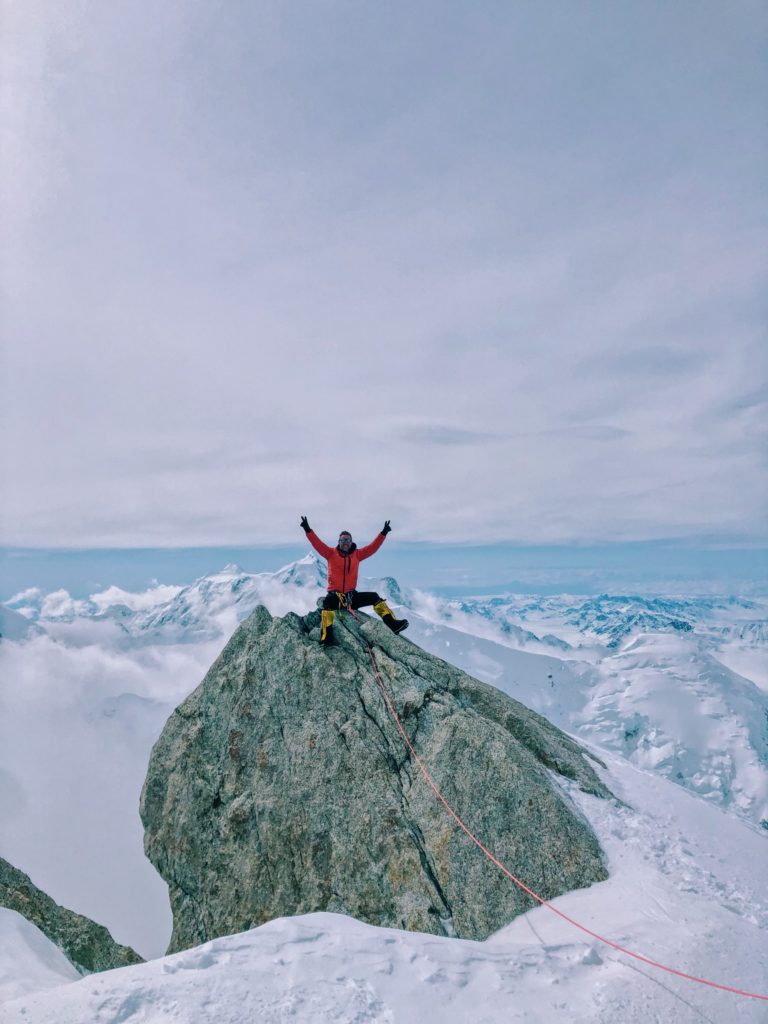
Day 14: Weather day. STUCK at Camp 3
We had planned for a long move day to high camp today. But no such luck. FREEZING cold conditions. -30, -40 and wind, with little visibility. It was easy to see why this mountain has a low success rate. Conditions just flipped.
So another day. Our SIXTH consecutive night here. It would be a week at Camp 3 from tomorrow. We had hit it so well the first 10 days or so, to still be here at camp 3 a week later was a shock. Slowly getting weaker. Skinnier. Lots of expeditions had planned to go today, but no-one moved. Camp 3 was filling up. We just needed to suck it up and hope for any window tomorrow to go right back up those frozen fixed ropes, and on to high camp. All I could do all day was pray/dream/hope for ok weather. The mental game of high altitude mountains is something else.
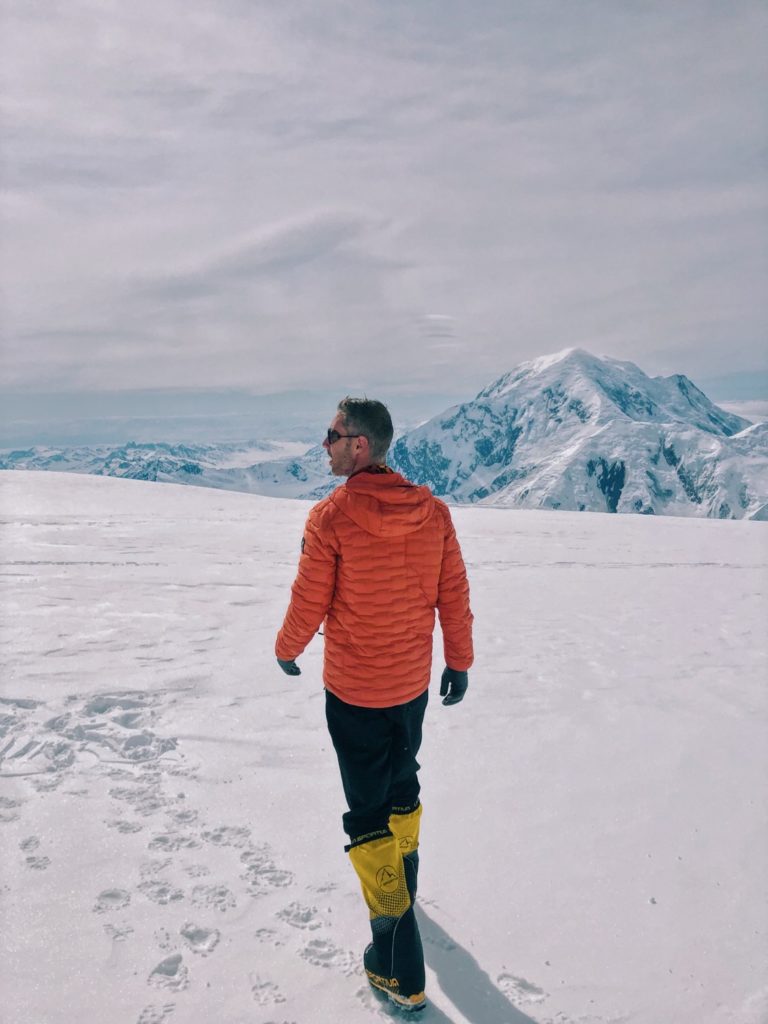
Day 15: MOVE DAY to high camp, sleep at high camp (5,245m/17,200ft)
Late last night, our guide said “f*ck it, let’s go for it tomorrow – not perfect, but a strong team, we can give it a go”. That meant a move day. From now on we were on absolute necessary gear for summit only. no more sled, just a 25kgs (55lbs) backpack and ice crampons on our boots. With our super warm weather gear for our (heopfully) upcoming summit attempt in a couple of days.
And off we went. I had a bad day on the fixed ropes last time. But even though my bag was much heavier this time around, I was ready. My fear had been broken, and I was ecstatic that we were moving to High Camp. So while it was a tough slog up the ropes, it was fine.
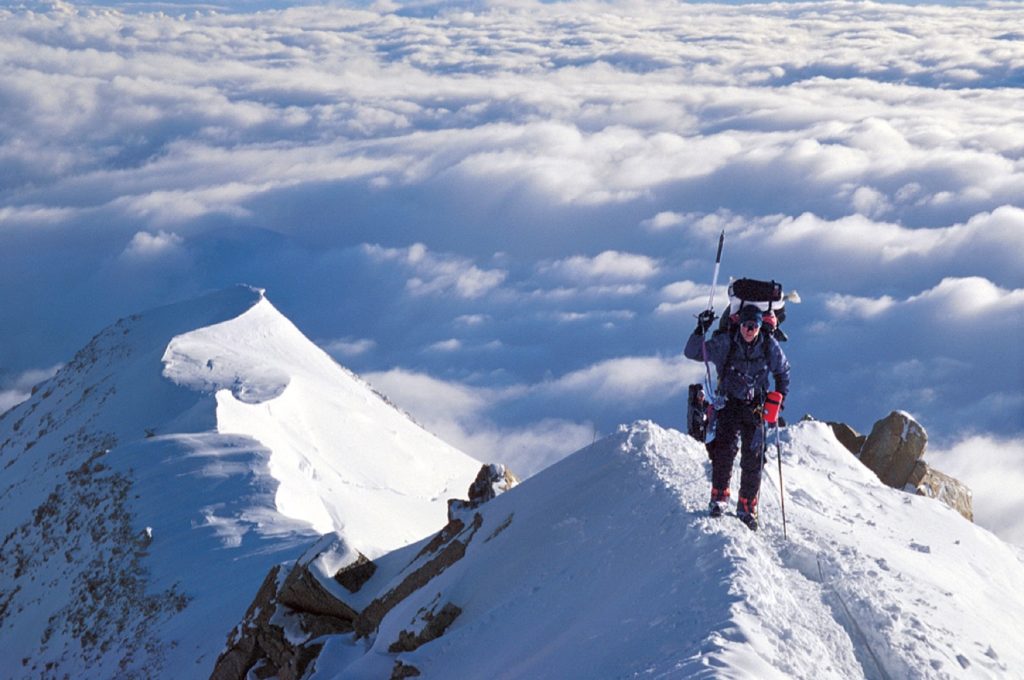
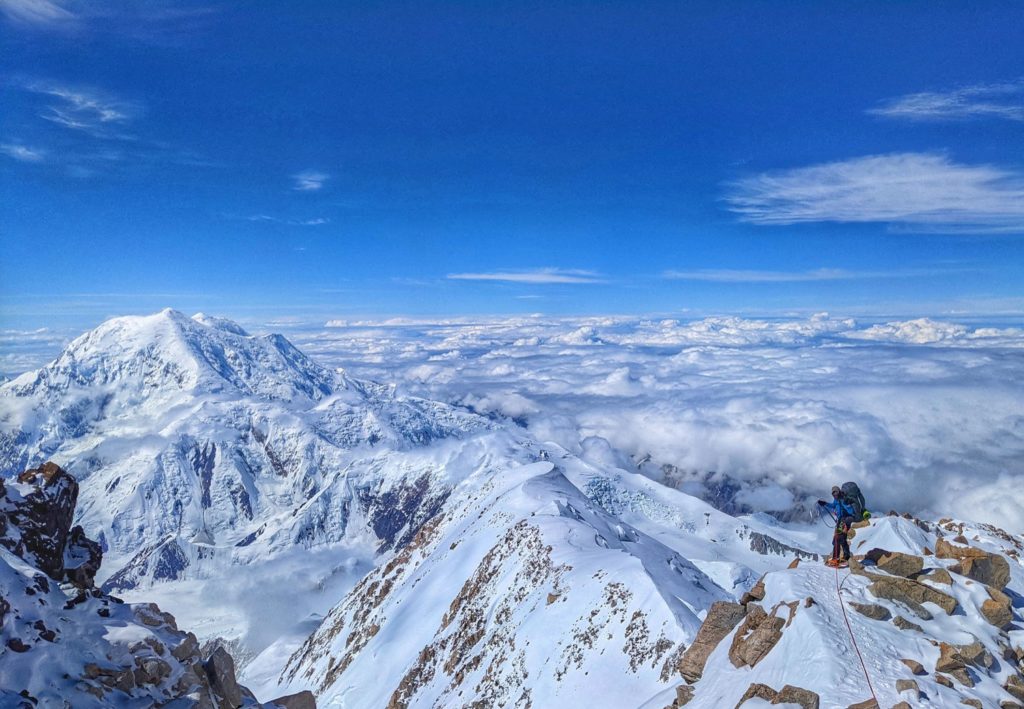
At the top though? Those fears of heights came back. I had been warned about the razor thin mountain top we’d have to traverse from atop the fixed lines unti High Camp, but it was sketchier than I had imagined! 4+ hours of razor thin edges. Somewhere we could clip our ropes in, many not. Again, I see how people die here. Wow. Eyes forward, stay sure footed, try to breathe. We were feeling the altitude now as we broke 5,245m (17k feet). Finally, High Camp was in sight.
Camp though hadn’t been built. So after 10+ hours of razor ridges, we had to build camp. -35 degrees, wind blowing. Tough gig.
Day 16: Acclimatization day at high camp, sleep at high camp
Hopefully our final rest day. Today we ran around camp, double and triple-checking our gear for tomorrow’s summit push.
The hardest thing for me at these high camps though, is hearing the yells and cheers of people who summited yesterday. I’m delighted for them, but also so envious. Their suffering is over, and their goals have been reached. We’re so close, but so far. Will we make it?
Doubt crept in as American mountain rescue helicopter force-landed at High Camp, something they almost never do, because 2 guys were at risk of death from altitude sickness. Suddenly those faint headaches you feel, you wonder are you too suffering? Doubt creeps in. Just eat, drink and rest.
Worry about it tomorrow.
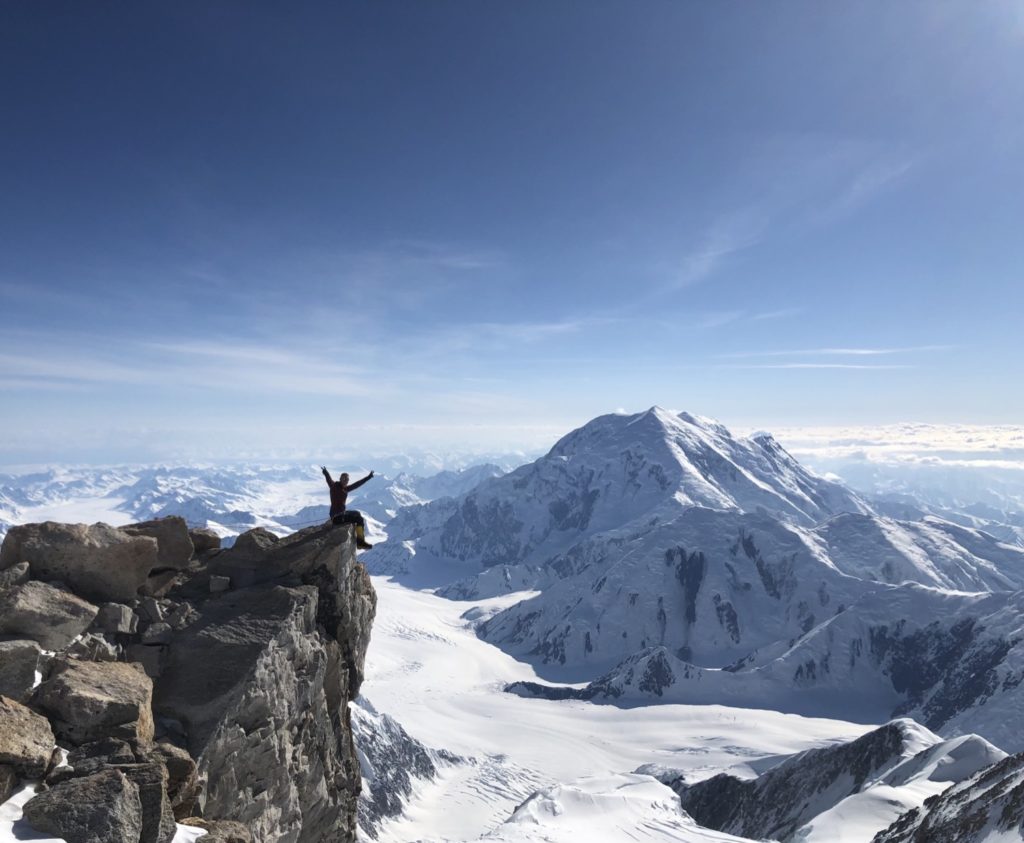
Day 17: SUMMIT DAY! back to sleep at high camp
I didn’t sleep well. So much was riding on today. 2 years delays of COVID, $15k USD of costs, months of my life preparing and now being here. It’s the worry that kills me most. When I’m in the motion, I just focus on the goal. But worrying about every detail in the lead up is torture.
So I shut that noise off. Prepped my bag, and counted the minutes until we set-off for our Summit Attempt. The weather was ‘ok’. But any weather that allows a summit attempt is more than ok by me. Windy and treacherously cold. But if we’re moving, then it’s all good. Bryan, me and our expedition leader set out in front at a good pace. Along a terrifying fixed rope session. It took 3 hours or so. Focus. We’re getting there.
After meeting the rest of the group, we saw some people turn back. But on we pressed. Next section. 2 or 3 hours of steep climbs. Out of breath each step as if I’ve done a 5km. It’s hard to describe unless youv’e been at altitude. Weaks of getting weaker doesn’t help. And not being able to use my right hand on the ski-poles was hell.
Next section. The saddle. The calm before the storm. There’s a long area called the ‘football pitch’. It’s the last break point before the steep, final Summit Ridge. The team was struggling now. One of the guides had altitude sickness and was looking like turning back. We reconvened and decided to push on.
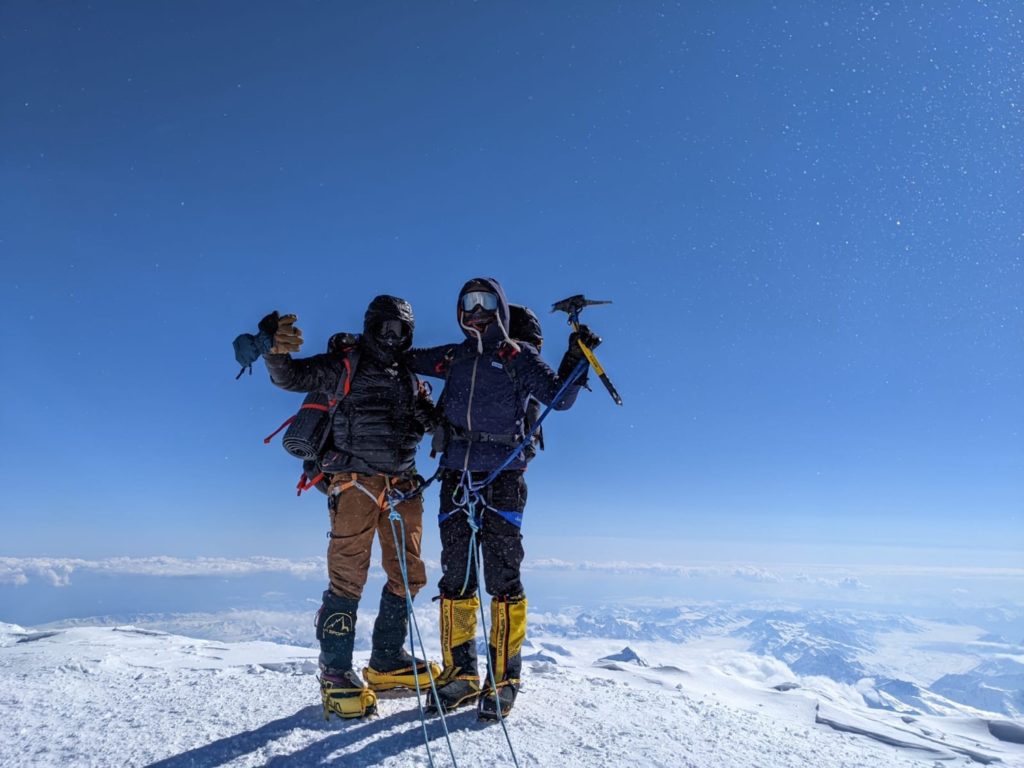
Bryan had frost bite forming on his nose, but still, we pushed on. Step, endless mountains. Then a false summit. Then the final summit ridge. Bryan was told to go back. He was on his last legs. But he stayed strong for the final hour or 2. Thankfully, we stumbled to the summit together. Brutal last hour or so.
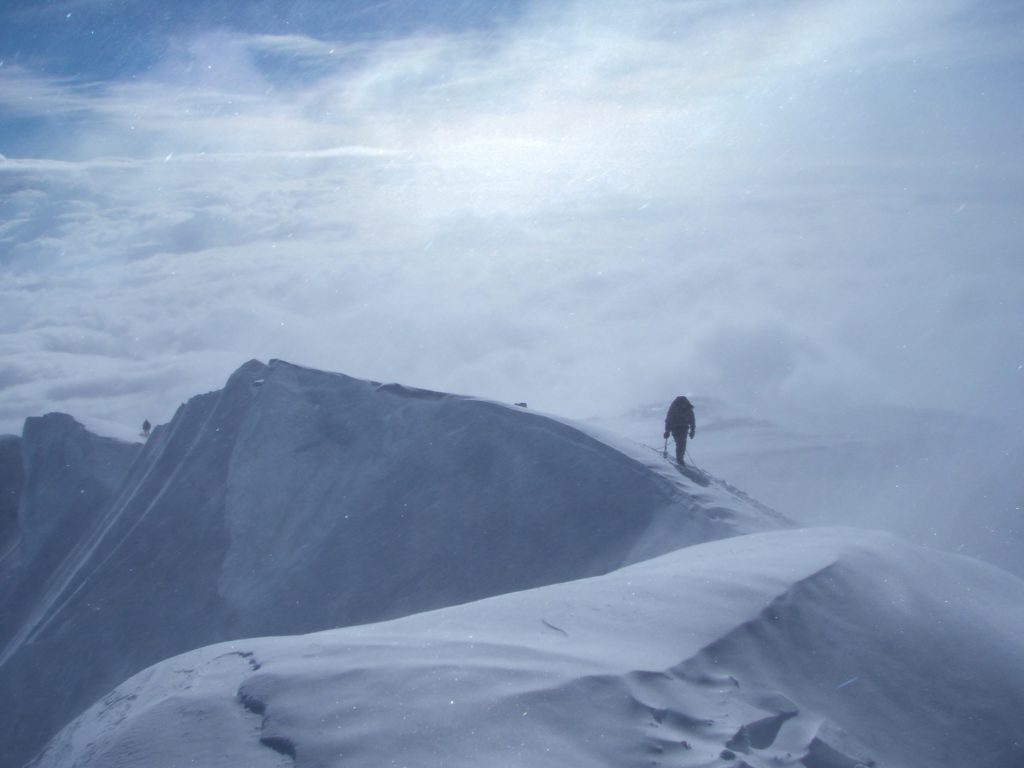
The wind was blasting. It was scary on the summit. I was relieved to have made it, but I was keen to get down as soon as possible. I’m only too aware that more people die going down mountains than going up. Bryan was knackered and I wasn’t so strong myself! 5 minutes on top, maximum, and we were out of there.
A long, happy but empty, march home. 4 hours or so back to High Camp. Clamber into the tent, a subdued celebration with the team and then straight to sleep.
What a day.

Day 18: Hike back down to Camp 3 in the day. All night climb down begins.
Day 18 in the mountain. We wake up at High Camp in TOP spirits. We did it. All 6 of us. F*ck yeah! We pack up high camp and move down the summit ridge, down the scary fix ropes and back to Camp 3, where we quickly knock-up our tents again.
Now we can get fat on all our goodies. Knowing we are on our way out. BUT we can’t eat everything. It’s not unheard of to take a week to get off and out of the mountain. Bad weather can stick you at each of the camps. And then for the ice-plane to get you out finally, wind can stop the plane and have you stuck at base camp for 2,3,4,5 days. Eurrrgh.
Although that would be hell, WE’VE DONE IT. So whatever.
The plan to get off the mountain is quite intense. We spent all day 18 at Camp 3. Then at 10pm, we pack everything up and march for the next 15,16 hours ALL through the night. To camp 2, to camp 1, and to Base Camp. Almost 50km. With 50kgs, after nearly 3 weeks in the mountains.
Still though, marching through the midnight sun, glaciers all around us. With the summit in the bag. I loved it, truth be told. What a life.
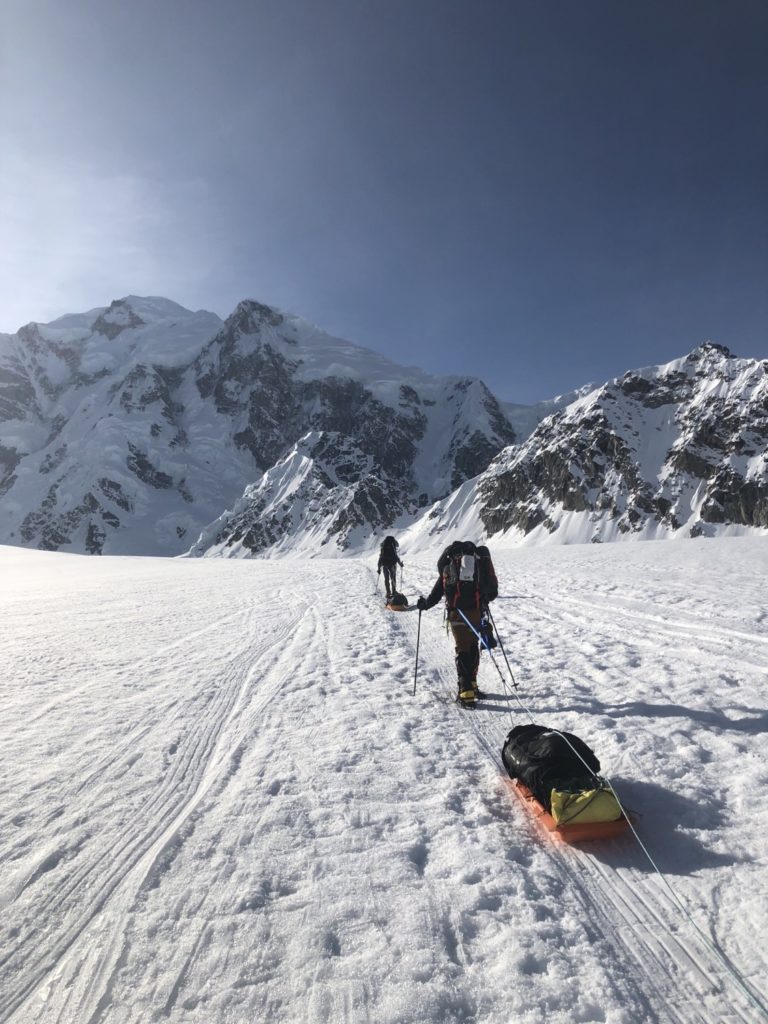
Day 19: All night climb down to base camp. Fly back to Talkeetna. Sleep in Talkeetna.
Around midday, we finally reach Base Camp. The weather is clear but there was a mix-up with flights. So we spend the whole day at Base Camp. We even manage to score a few beers. Cold, tired, but oh so happy, it gives me a nice period of time to process what happened.
We get on our final glacier airplane back to Talkeetna around 5pm. Heaven. Dinner and drinks in town. I was so up for a wild night, but the body wasn’t having it. In bed, drunk and ready for a shower and a night’s sleep. It was glorious.
Day 20: Drive back to Anchorage and get very, very drunk
Waking up in a bed! These endurance events teach us so much about ourselves. I appreciate the people in my life so much more. But also the safety of a bed and walls. Of running water. Warmth. Access to food. We have to know pain to know pleasure. And the amount we are open to suffering is directly correlated to the amount of success we will see. So bring on the suffering.
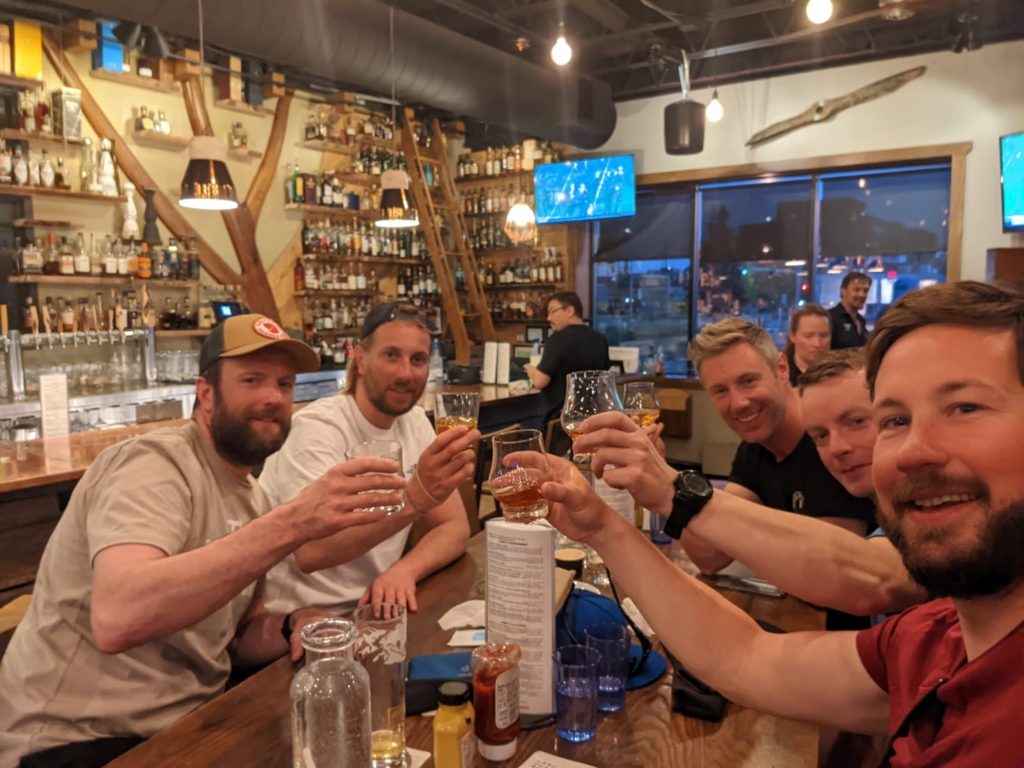
We made it back to Anchorage. It felt like New York City. And this time the body was willing for a proper party!
Final thoughts on my experience climbing Denali
I left the UK on May 8th, and got back to London on June 10th. Almost 5 weeks door to door.
Denali FAQs
Where is Denali? And how do you get there?
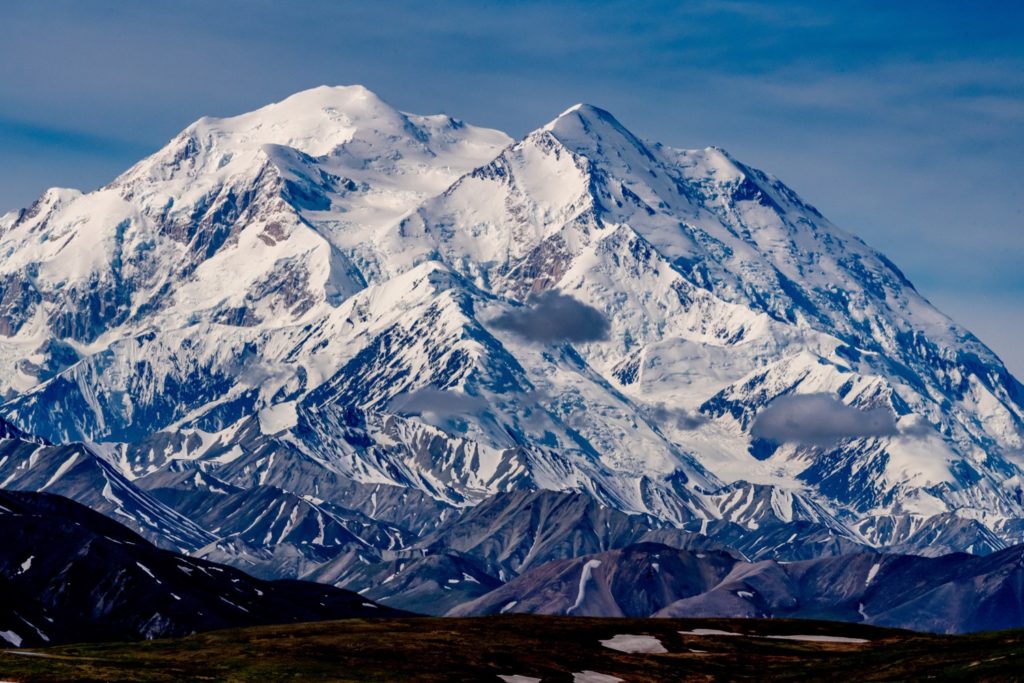
Denali is the highest mountain in North America, it’s found in Alaska. Unsurprisingly in the Denali National Park.
To get to Denali National Park, you normally go from Anchorage, the largest city in Alaska. From Anchorage you normally drive 2 or 3 hours to the town of Talkeetna. There is a small airport there, where you take a propellor plane to the Denali National park, and base-camp itself.
Is Denali one of the Seven Summits?
Yes, Denali is one of the seven summits (the highest mountain on each continent). If you want to read what the other seven summits are, you can do that here.
How high is Mount Denali?
Denali height is 6,190 meters (20,310 feet). Making Denali summit the highest peak in North America.
How much does it cost to Climb Mount Denali?
It varies, as usual. If you’re a SUPER experience climber, you can do it yourself. That way is pretty cheap to be honest. The actual permit cost is only about $400. So if you already have your gear, and your food etc, then that’s the price!
If you join an expedition though, like I did, with guides etc. Then the cost is around $13,000USD. That’s not counting cost of lunches, flights, insurance, geat etc. So figure for AT LEAST $15K. More like $20k if you don’t have any gear already.
Do I need a permit to climb Denali?
Yes, 100% you need it. And it needs to be pre-organised. They only issue around 1000 a year.
Do I need a guide to climb Mount Denali?
99% of people need a guide. Me included. Climbing Denali is dangerous, with deaths every year. Only do it without a guide if you’re a legitimately experienced mountaineer.
How long does it take to climb Mt Denali?
A standard climbing Denali expedition is 25 days. So including flights etc, it’s about 4 weeks door-to-door. If you’re a beast AND you’re lucky with weather, it’s possible to do in 2 weeks or so. But for most, you have to budget a month of your life.
Why was it called Mount McKinley Before?
Denali has been known as Denali by the indigenous population for centuries. In 1896, a gold prospector named it Mount McKinley after a presidential candidate he endorsed (William McKinley). In August 2015, the name was then offiicially changed permanently back to Denali.
When was Denali first climbed? And who climbed Denali first?
The first attempt to climb Denali was way back in 1903. But it was unsuccessful. The first successful assent of Denali was in 1906 by Frederik Cook.
When is the best time to climb Mount Denali?
Strictly speaking, if you’re good enough you can climb and attempt to summit Denali at anytime throughout the year. However 99% of people do it in the summer, between May and July. The weather isn’t as bitterly cold (still freezing though!), and the glaciers haven’t begun melting so much.
Has anyone ever summited Denali in the winter?
Yes. Crazy people. In fact, 13 people have summited Denali in Winter, and 6 have died trying. Not great odds.
Is the West Buttress route the only route to Denali Summit?
It’s the most popular (and ‘easiest’) way to summit Denali, but it’s not the only route. The 4 known routes are:
- The West Buttress. No hardcore technical skills required.
- The Muldrow Glacier (also not technical, but no air support so it’s a much longer route)
- The West Rib (technical and long)
- The Cassin Ridge (elite rock climbers only).
How does climbing Denali compare to climbing Everest?
I have yet to climb Everest (I’m attempting it in 2023 – WANNA JOIN ME?!) but many say it’s comparable. Everest is higher and longer, so that’s tougher obviously. However, there is one permanent base camp for Everest, so it’s more comfortable in that respect. Back and forth to the same place, you can kind of recharge and feel at home.
The shape of Denali means you don’t have that ‘home’. You’re constantly on the move. Which means you also have to drag and carry 50kgs (110lbs) every day you move. That’s tougher than the schedule on Everest.
Summit day is tougher on everest, as you’re probably breathing through an oxygen mask. But other than that, you ‘suffer’ more daily on Denali.
What’s the death rate on Denali?
The Denali fatality rate is 308/100,000 climbers. Half of which come from falls. So 0.3%, or 1 out of every 330 climbers. There are deaths every year, and even in my year a guy one day in front of me died on Day 2. Serious stuff.
How many people have summited Denali?
About 20,000 people in history have summited Denali.
How many people summit Denali each year?
About 500-700 each year summit Denali.
What’s the success rate in climbing Denali?
The success rate of climbers in Denali is 53%. This is depressingly low considering you have to be a bit of a beast to even take it on.
How cold is Denali?
F*cking cold! The top half of Mount Denali is literally permanently covered with snow and glaciers. Some of which are more than 48 km (30 miles!) in length. The temperatures can be -60 celsius (-75 degrees Fahrenheit). With wind chill that can reach -83 C(-118 F).
How about the Mount Denali Packing list?
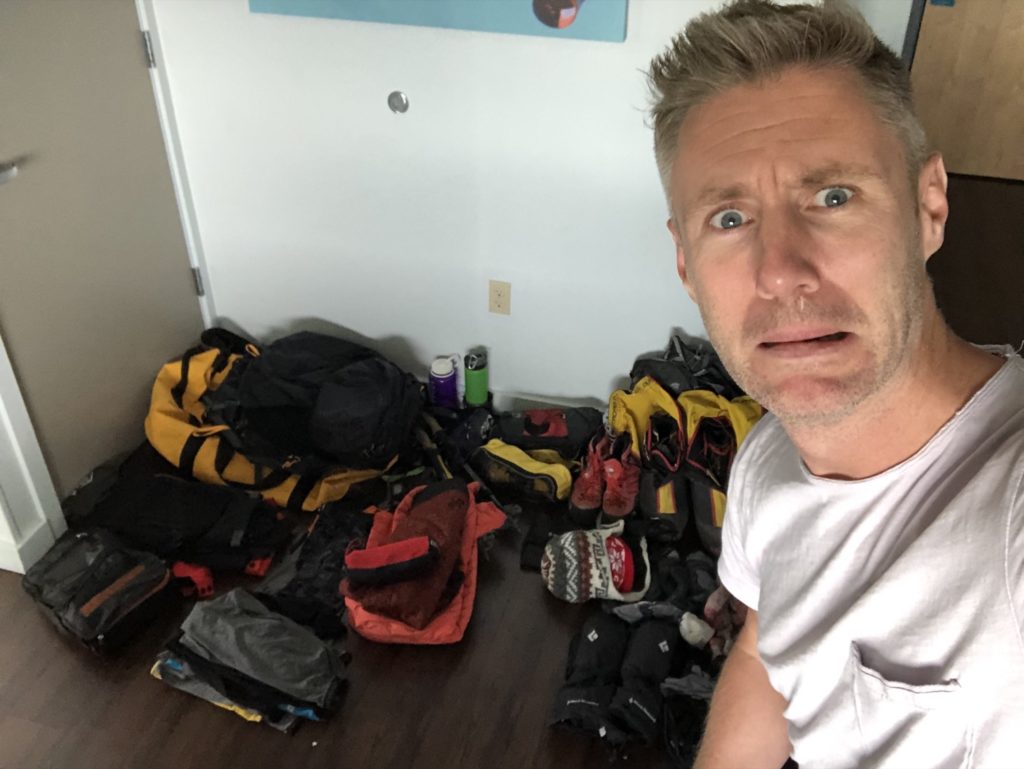
Here’s my climbing Denali Packing list:
BAGS
HOLD-ALL
A 90l-110l hold-all
SMALL RUCKSACK
Used as cabin baggage on the flight. About 35-40 litres.
RUCKSACK
For the Mountain. Suitable for carrying all your personal gear and a share of the team’s tents, food and fuel. Strong and comfortable with internal frame, but not too heavy or complicated. About 90 litres.
DRY LINER & DRY BAGS
Unfortunately, rucksacks and kit bags are not waterproof, so use waterproof bags to protect and organise your clothing (esp. down jacket and sleeping bag.)
TRAVEL CLOTHES
A set of clothes for wearing on flights and for road travel: underwear, socks, light trousers, light short sleeve shirt or T shirt, lightweight shoes/sandals/crocs.
PASSPORT
Make sure it is valid for at least 6 months beyond the end of the trip.
CREDIT/DEBIT CARDS
CASH (US Dollars) – see trip notes for recommended amount.
SLEEPING
SLEEPING BAG
For climbing Denali you need a Good quality down 5 season bag. This should have at least 1200g of 800 Fill Power Down and be rated to at least -35°C. Pack the bag in a good compression sack to reduce the volume. Recommended: Mountain Equipment Iceline or Mountain Equipment Glacier Expedition.
SLEEPING BAG LINER
Silk.
SLEEPING MATS
Two are required. One should be a full-length 1/2″ thick closed cell foam pad. The second pad can be either a closed cell pad or an inflatable pad. It can be 3⁄4 length or full length. Your inflatable pad should be a modern, lightweight, and packable version. Old Thermarest’s with metal valves are not acceptable as the valves freeze. Our Leaders’ recommendation: Mountain Equipment Aerostat.
FOOTWEAR
MOUNTAINEERING BOOTS
8000m Double boots (e.g. La Sportiva Olympus Mons, Scarpa Phantom 8000, Millet Everest) with plenty of extra room. Alternatively, the La Sportiva G2 SM. Make sure they fit comfortably with the sock system you plan to use. Our Leaders’ recommendation: La Sportiva G2 SM or Olympus Mons.
OVERBOOTS
Required for all boots except 8000m boots listed above and La Sportiva G2 SM. Please ensure these fit over your boots and that your crampons stay on without fail.
GAITERS
Alpine gaiters large enough to go over your double boots. Not needed if your boots have an integral gaiter.
SNOWSHOES
*Can be rented from Jagged Globe (Booked in Advance) and issued in country when climbing Denali.
They should be equipped with an integral crampon and/or aggressive traction on the bottom. Models by MSR are proven and quite durable. Length should not exceed 25-28 inches.
MOUNTAIN CLOTHES
SOCKS
3 sets: Thin and thick in combination. Make sure your boots are roomy enough to accommodate without pressing tightly on your feet, which will make them cold. Save a freshly-laundered set of socks for summit day.
BASE LAYERS
2 x long-sleeve tops, with at least 1 in a light colour for use on lower glacier. 1 x long-johns.
MIDLAYERS
1 x mid-weight fleece top with chest pocket and waffle-grid pattern.
1 x Powerstretch fleece tights.
SOFT SHELL JACKET
Softshell Jacket – comfortable to move in, breathable and windproof.
SOFT SHELL TROUSERS
For the lower mountain.
INSULATION LAYER
Synthetic insulation such as Primaloft or Cirrus.
Your boots must be the best and warmest available for climbing Denali. Ordinary plastic boots will not suffice. Make sure that they have ample space over and above what you would normally allow. Tight boots may feel good to climb in but they can cause cold feet, which could lead to the early onset of frostbite. If you have any doubt about which boots to take, please call us to discuss.
For legs, lightweight puffball/synthetic or down insulated trousers. Alternatively, fleece/ fibre-pile salopettes.
WATERPROOF HARD-SHELL JACKET
Lightweight. Make sure the jacket has an adequate “roomy” hood and ventilation (pit) zips. WATERPROOF HARD-SHELL TROUSERS
Lightweight. Full-length leg zips essential. Make sure they fit over your mountaineering boots.
DOWN JACKET
Good expedition duvet jacket. Essential as a final barrier against extreme cold when on the mountain. Should have at least 400g of 800 Fill Power Down. Recommended: Mountain Equipment Expedition Jacket or Rab Expedition Jacket.
MOUNTAINEERING MITTS
BIG and WARM – Robust with a breathable outer and fleece or fibre pile, non-compressible insulated inner. To achieve the standard of mitts you should be spending a minimum of £100+ on a pair. INSULATED GLOVES
BIG and WARM – Gloves should have a weatherproof breathable outer, a reinforced palm and a removable insulated liner. You must ensure that the gloves are big, with plenty of extra room around each finger – snug fitting gloves will be cold. However, you must be confident that you can clip in and out of anchors and put a belay device on whilst wearing your gloves. On summit day it is likely to be too cold to chance taking your gloves off at any point, as frostbite is a very real danger. Recommended: OR Alti Gloves or Black Diamond Guide Gloves.
Please do not compromise by buying lesser, cheaper gloves or mitts, even if they seem adequate. At altitude, your extremities will be excessively prone to cold as, due to the lack of oxygen, you will be hypothermic and hence colder than you would be ordinarily. It is worth buying top-of-the-range, for the added surety that this provides.
DOWN MITT
Used only in emergencies. These are bulky and cannot be used for everyday work on the mountain. They do offer good emergency protection. Recommended: Mountain Equipment Citadel Mitts, OR Alti Mitts, Black Diamond Absolute Mitts or Rab Expedition Mitts.
GLOVES – GENERAL
One pair of synthetic/powerstretch gloves for use lower on the mountain.
One set of liners for mitts/ insulated gloves above – so you never have bare hands when removing larger gloves to fiddle with something.
WARM HAT
One heavyweight fleece hat. Make sure that any hat can cover the ears and the back of the head and neck.
BALACLAVA
One mid-weight, powerstretch.
FACE MASK
Neoprene skiers’ mask covering nose and face to protect from cold wind.
BUFF
For sun protection and snow proofing the neck.
SUN HAT
Peaked cap, with neck flap, or wide-brimmed hat to prevent sunburn.
NOSE PROTECTION
Designed to protect your nose from the sun, this is a cloth nose guard that fits onto your glacier glasses. Try the fit on your sunglasses; they should fit well without pushing the frames off your nose. Can be purchased in Anchorage.
GENERAL EQUIPMENT for climbing Denali
TREKKING POLES
Telescopic flick-lock (not twist-lock) poles with snow baskets. Our Leaders’ recommendation: Black Diamond Expedition 3 Poles.
WATERBOTTLES
2 x 1 litre Nalgene bottles. Nalgene bottle covers to prevent freezing are essential. Platypus/Camel Backs are not recommended as the tubes will freeze.
PEE BOTTLE
Essential to make life easier at night. Nalgene 1L bottle, with wide neck, for men. Plastic measuring jug or Tupperware box recommended for women. Wrapping duct tape around the bottle a few times, is always a good idea. Grip and aids identifying which bottle is which in the dark. The duct tape can also be used for running repairs.
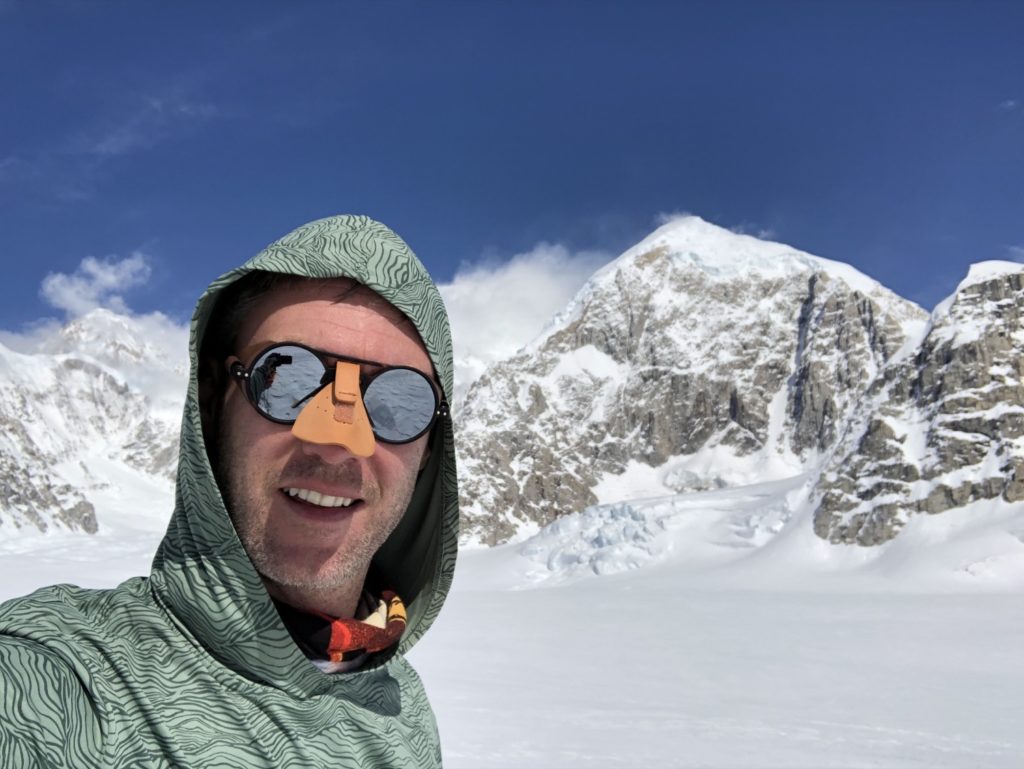
GLACIER/ MOUNTAINEERING SUNGLASSES
One pair with perhaps a spare lightweight pair in case of loss or damage. Full UV protection. I use IziPizi glasses for my expeditions.
Note – Contact Lenses. It is perfectly acceptable to use contact lenses for high altitude climbing trips and in very cold conditions. If you plan on wearing lenses then you should be familiar with the long-term intricacies of maintenance and care in these conditions. You need to bring several spare changes of lenses and some small bottles of any necessary solutions. It is highly recommended to bring a pair of glasses to be used in the event of any problems or to give your eyes a rest.
SNOW/SKI GOGGLES
For use in bad weather. Should have vent holes to prevent misting up. Make sure that the vents are covered with thin nylon gauze to prevent spindrift entering. It’s also possible to get OTG (over the glasses) versions.
SNACKS
Optional high energy snacks for high-energy expenditure days (like summit day) and for evening treats while in the tent. If you have special dietary needs, please consult with the Jagged Globe office.
EATING & DRINKING UTENSILS
Spoon: Bigger is better.
Thermal mug: 1 litre, with a lid.
Bowl: A lightweight Tupperware-type container is recommended.
GARBAGE BAGS
Bring two or three large ones.
MOUNTAINEERING EQUIPMENT
CRAMPONS
One pair (12 point) that fit boots reliably. Clip-on crampons are recommended.
MOUNTAINEERING ICE AXE
55-70 cm suitable for general mountaineering. An ice hammer is not required.
MOUNTAINEERING HARNESS
Sit-harness suitable for mountaineering. Comfortable for wearing all day. Make sure that it is big enough to wear on top of all of your outer clothing. If you intend to wear a harness that you usually use for rock climbing the chances are that it will be too small.
MOUNTAINEERING HELMET
A lightweight, alpine helmet. This will be used when conditions or activities dictate – on the advice of the leader.
CLIMBING SLINGS
2 x sewn slings (60cm each). Dyneema slings are best. An ascender will be supplied in-country, KARABINERS
3 x large, pear shaped (or HMS) locking Karabiners and 4 x wiregate non-locking karabiners. Label/tape them well if you want your exact biners back at the end of the trip.
PRUSIC LOOPS
2 Prusic loops made from approx 3 metres of 6mm accessory cord (11⁄2 metres each loop but cut to less for shorter loops as required). Don’t forget to ‘burn’ the ends to avoid fraying.
FIXED LINE KIT
Refer to the ‘Fixed Line Systems Booklet’ for more information on what to purchase and how to construct it.
HEALTH & HYGIENE
SUN SCREEN AND LIP BLOCK
Factor 50, UVA/UVB, sweat resistant. 2 lip blocks.
FOOT POWDER
Important for keeping feet in good condition.
NAIL SCISSORS/CLIPPERS
Keep toenails short.
TOILETRIES/ WASH BAG
Small mirror useful.
TOILET ROLL/ TISSUES
One roll to carry in your day sack for those unexpected moments. Small packs of tissues are useful too. Toilet roll is supplied on trek and in base camp for each day’s main event.
WET WIPES
Useful for keeping clean when soap and water is not readily available.
“DRY” SOAP HANDWASH
Brilliant for making sure your hands are kept clean, no matter how urgent things become, and bugs are killed and not spread around the team.
TOWEL
A lightweight, small micro-fibre towel.
TRAVEL WASH
Enables you to launder yesterday’s clothes, ready for tomorrow.
SOAP & A NAIL BRUSH
Use determinedly after toilet visits and before meals.
INSECT REPELLENT
Recommended for use in Talkneetna.
PERSONAL FIRST AID KIT
PAINKILLERS: Paracetamol, Brufen, Aspirins.
ANTIBIOTICS. Two courses as prescribed by your own GP. One for chest and upper respiratory tract infections and one for abdominal, bowel infections.
COUGH LOZENGES. Lockets and Strepsils are good. WOUND DRESSING. One.
TRIANGULAR BANDAGE. One.
MELONIN DRESSINGS. (10cm x 10cm) four. PLASTERS. Assorted.
STERI-STRIPS. For cuts too big for plasters.
REHYDRATION POWDER. Dioralyte, Gastrolite or similar. Six sachets. ANTISEPTIC CREAM. One small tube.
DIARRHOEA TREATMENT. Imodium or Lomotil.
MISCELLANEOUS
CAMERA/LENSES/MEMORY CARDS/SPARE BATTERIES/CHARGER/SOLAR CHARGER
REPAIR KIT/ TOOLS
PENKNIFE
Swiss Army knife with scissors for toenails or “Leatherman” Multi tool.
SEWING KIT
Needles, nylon thread, canvas and rip stop patches, etc.
THERM-A-REST
Remember, never travel without travel insurance! And never overpay for travel insurance!
I use HeyMondo. You get INSTANT quotes. Super cheap, they actually pay out, AND they cover almost everywhere, where most insurance companies don't (even places like Central African Republic etc!). You can sign-up here. PS You even get 5% off if you use MY LINK! You can even sign up if you're already overseas and traveling, pretty cool.
Also, if you want to start a blog...I CAN HELP YOU!
Also, if you want to start a blog, and start to change your life, I'd love to help you! Email me on johnny@onestep4ward.com. In the meantime, check out my super easy blog post on how to start a travel blog in under 30 minutes, here! And if you just want to get cracking, use BlueHost at a discount, through me.
Also, (if you're like me, and awful with tech-stuff) email me and my team can get a blog up and running for you, designed and everything, for $699 - email johnny@onestep4ward.com to get started.
Do you work remotely? Are you a digital nomad/blogger etc? You need to be insured too.
I use SafetyWing for my digital nomad insurance. It covers me while I live overseas. It's just $10 a week, and it's amazing! No upfront fees, you just pay week by week, and you can sign up just for a week if you want, then switch it off and on whenever. You can read my review here, and you can sign-up here!




 As you know, blogging changed my life. I left Ireland broke, with no plan, with just a one-way ticket to Thailand
and no money. Since then, I started a blog, then a digital media company, I've made
more than $1,500,000 USD, bought 4 properties and visited (almost) every country in the world. And I did it all from my laptop as I
travel the world and live my dream. I talk about how I did it, and how you can do it too, in my COMPLETELY FREE
Ebook, all 20,000
words or so. Just finish the process by putting in your email below and I'll mail it right out to you immediately. No spam ever too, I promise!
